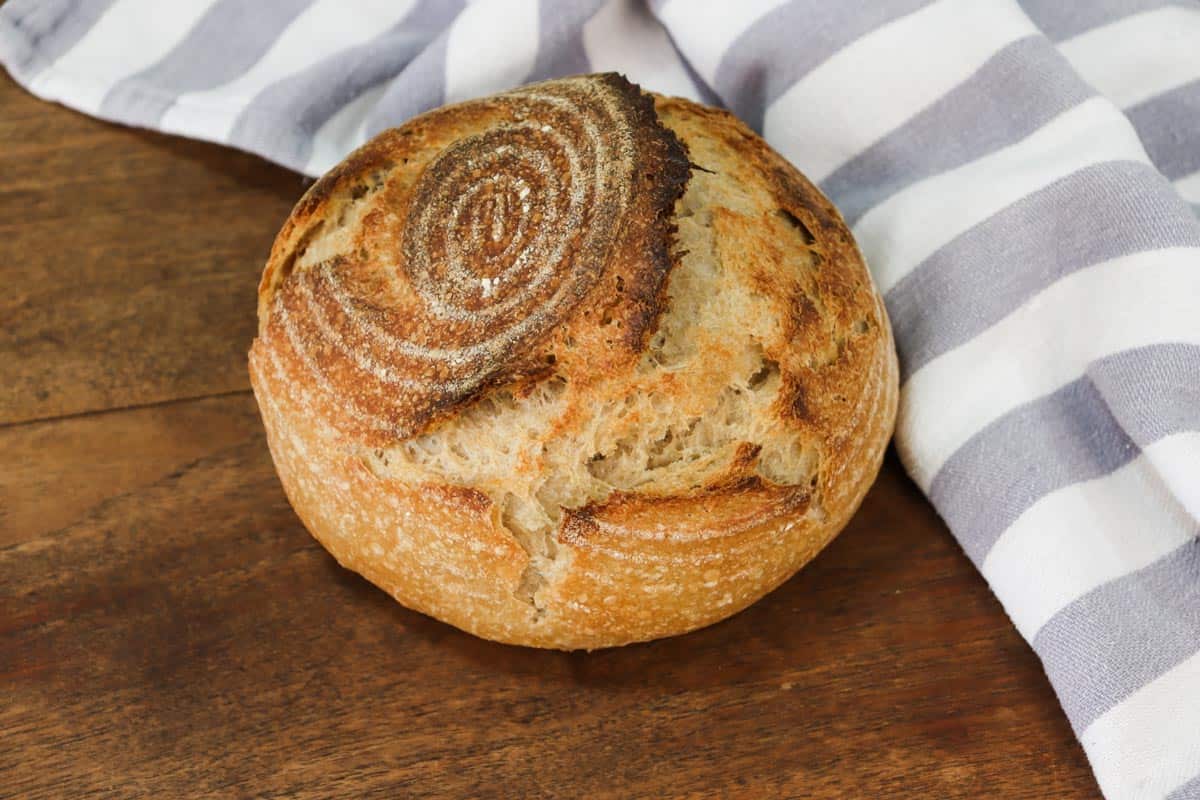
In this blog I'm sharing how to start a sourdough starter from scratch with just two simple ingredients; flour and water. Do you want to start making your own sourdough bread at home? Follow this simple recipe to create a sourdough starter from scratch and you'll be well on your way to your first delicious loaf of freshly baked sourdough bread.
Once upon a time, I used to think sourdough bread was just normal bread with lemon juice added in to make it taste sour. How wrong I was.
Sourdough isn't just an ingredient, it's a whole other way of making bread. And with benefits like being more easily digested and more nutritious, plus being more complex in flavour and texture, it's easy to see what it's so popular. Read more about what makes sourdough bread different.
Thankfully, I've come a long way in my culinary knowledge, and my family and I now enjoy freshly-baked homemade sourdough bread each week.
But before you can start chowing down on your own delicious homemade sourdough, you'll need a bubbly, active sourdough starter.
Luckily, starting a sourdough starter from scratch is easy as pie. And in this blog I'll show you how.
What is a sourdough starter?
Sourdough starter is a fermented mixture of flour and water. This mixture cultivates a colony of beneficial wild yeasts and lactic acid bacteria, found naturally in the flour and in the air we breathe.
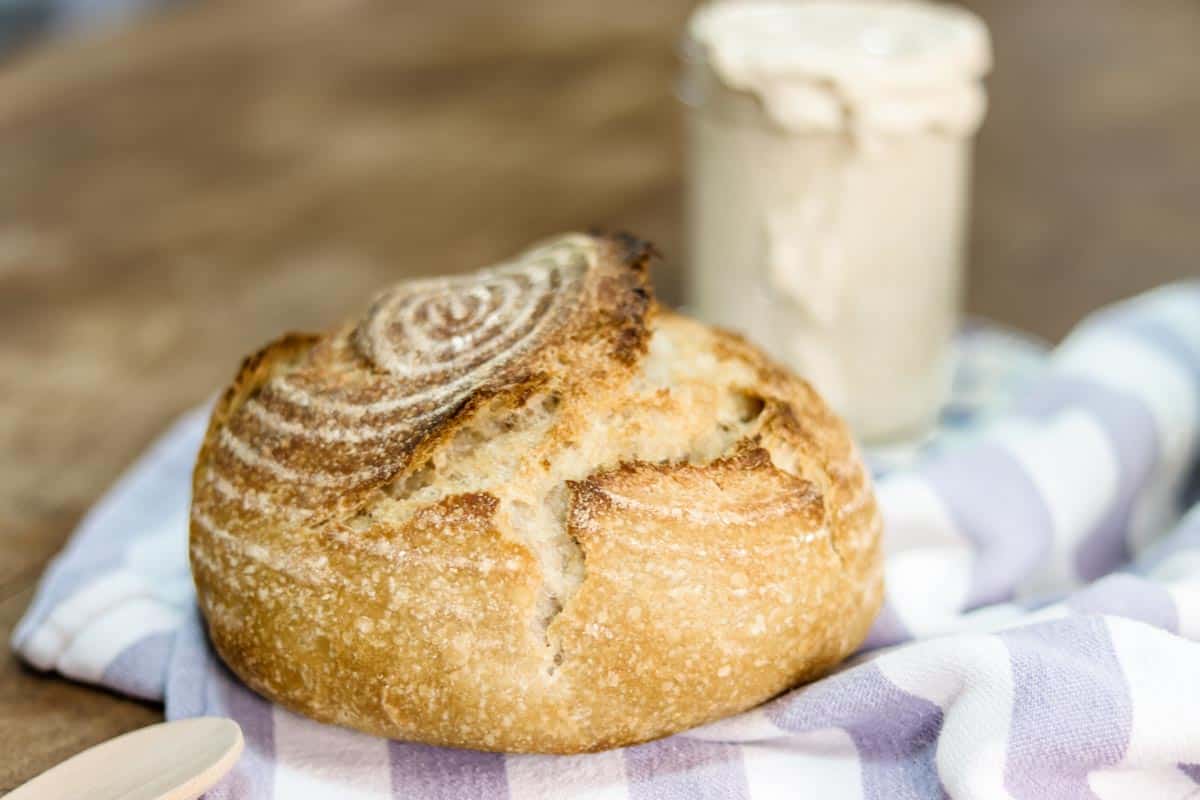
Once you have a bubbling, active sourdough starter the options for healthy-from scratch cooking are endless.
You can use sourdough starter to make sourdough bread, and a tonne of other delicious recipes like pancakes, waffles, flatbreads and more.
What flour should you use for sourdough starter?
You can use any wheat flour you like. I like to use wholemeal (wholewheat) flour as I find the extra nutrition in the flour results in a nice active starter, plus I cook a lot of recipes using just starter, so I like to have that extra nutrition and fibre in our diet.
You can also use unbleached white bakers flour, unbleached all-purpose (plain) flour, Einkorn, Spelt or Rye, however the results may vary in terms of how long it takes the starter to become active and mature.
You can also change between flours between feedings, just give your starter some time to adjust. I have fed my starter with white flour at times, and it's been just fine.
Don't use bread mix or self-raising flour, as these flours have other ingredients added, and avoid bleached flours as these lack the wild yeast and bacteria needed to grow a starter.
How to start a sourdough starter from scratch
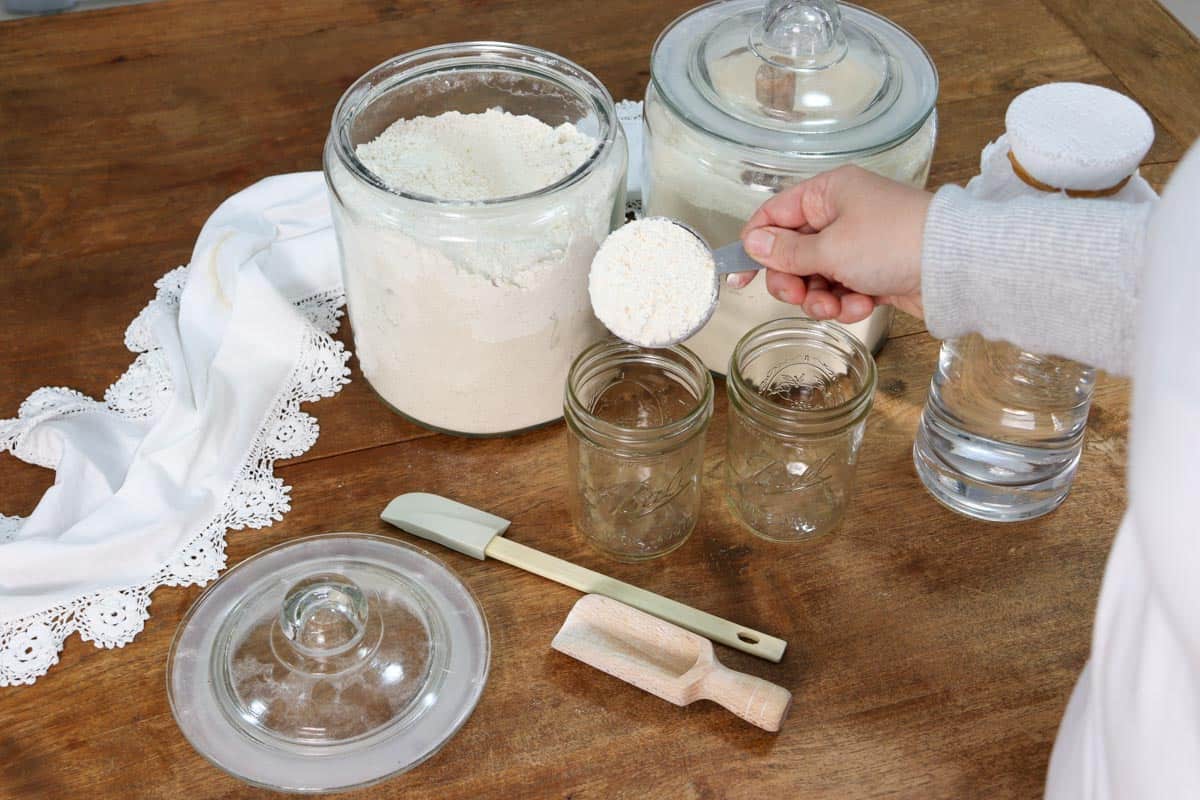
Equipment you may need
- Glass jar (at least 3 cup capacity) – I like to use an empty Moccona coffee jar or mason jar
- Loose fitting lid, or breathable cotton or muslin cloth and a rubber band
- Wooden spoon or silicone spatula
Ingredients
- Wheat flour of your choice
- Filtered, non-chlorinated water (or tap water that has been boiled and sat out for 24 hours allowing the chlorine to evaporate)
Method
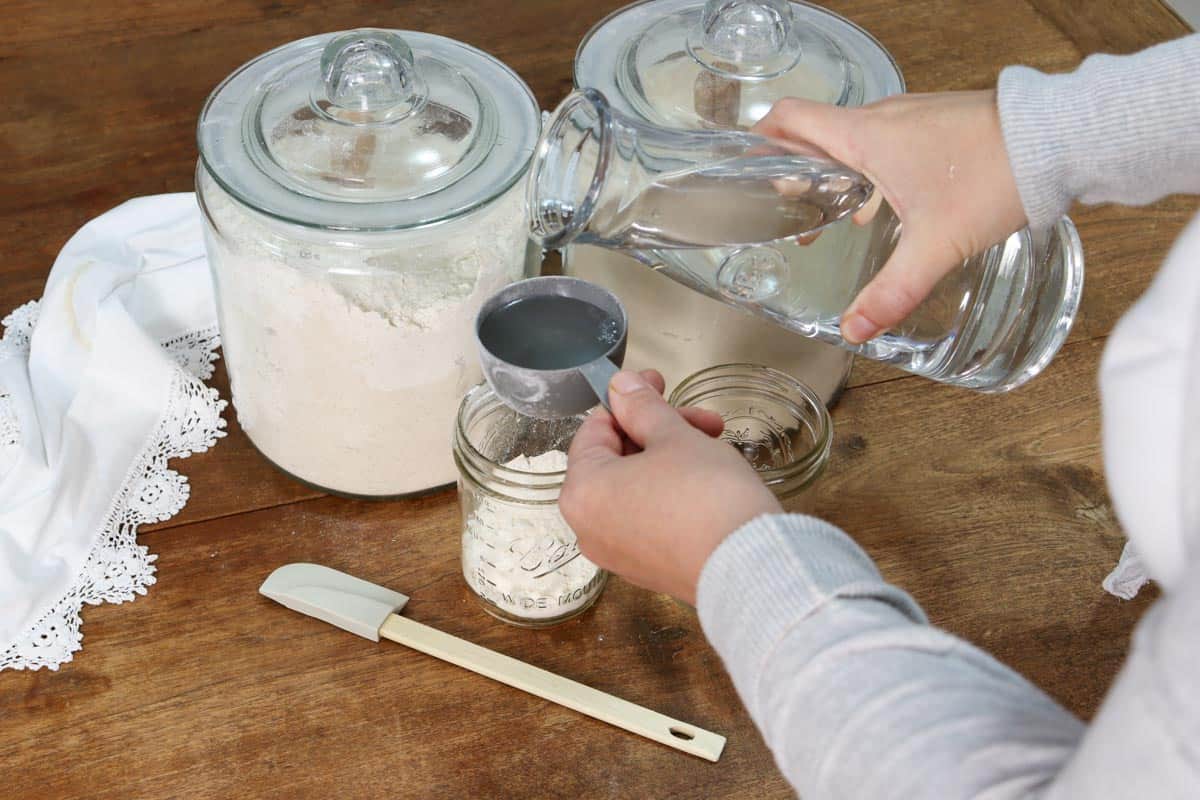
Step one/day one: Add ½ cup of flour and ½ cup water to the glass jar and stir well, ensuring no dry spots remain, scraping down the sides of the jar to ensure everything is well incorporated. Cover with the loose-fitting lid or cloth and leave to sit out of direct sunlight for 24 hours.
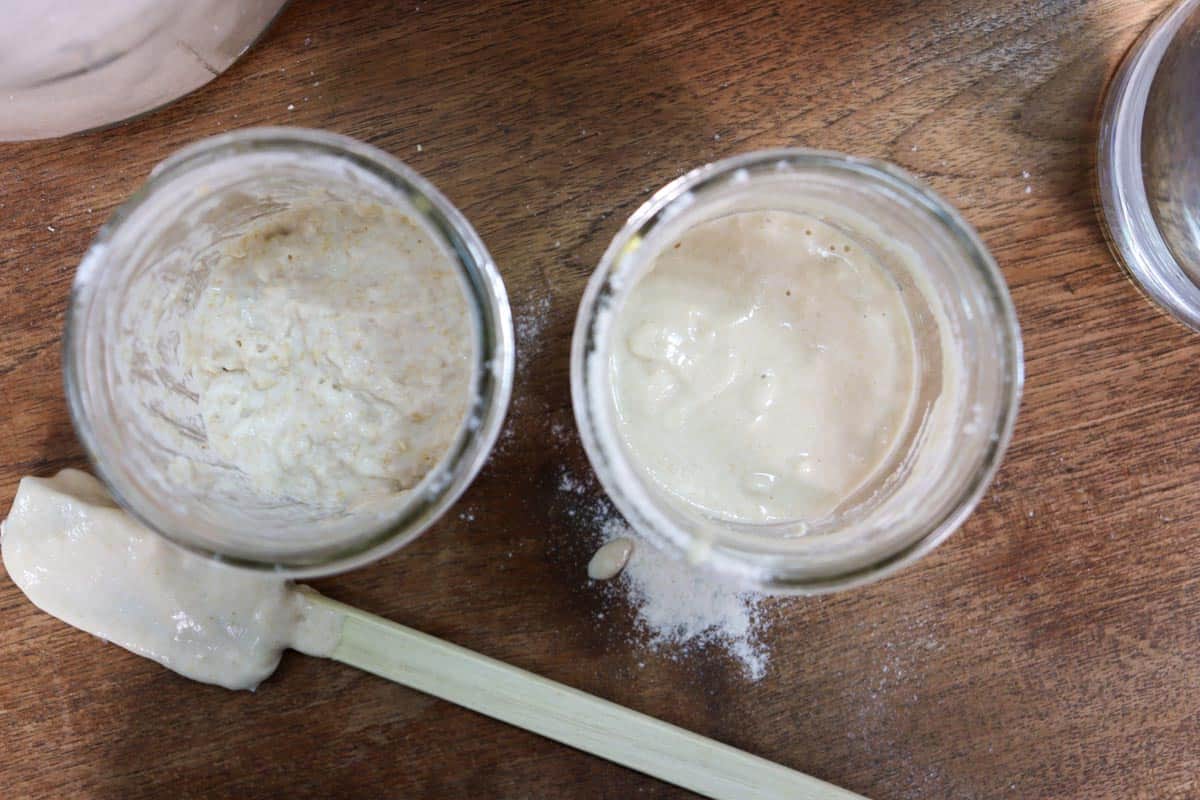
Step two/days two and three: Next day, after about 24 hours, discard all but ½ cup of the mixture (pour it in the bin or compost, not down the drain) and 'feed' the starter ½ cup flour and ½ cup water, stir well. Cover and leave to sit on the kitchen counter, out of direct sunlight for another 24 hours.
Repeat this step again on day three. The starter won't smell all that pleasant at this stage, that's normal. It will slowly begin to smell more pleasant and acidic over the coming days.
Why discard? The more starter you have, the more flour and water you need to feed it. If you just kept adding without discarding, you would end up a huge amount of starter that you would have to feed a huge amount of flour, which isn't practical.
Before your starter is active and mature, you're really just discarding flour and water, so it doesn't really matter (it's not recommended to consume). However once you have a mature starter, you can use your discard to make a host of delicious goodies.
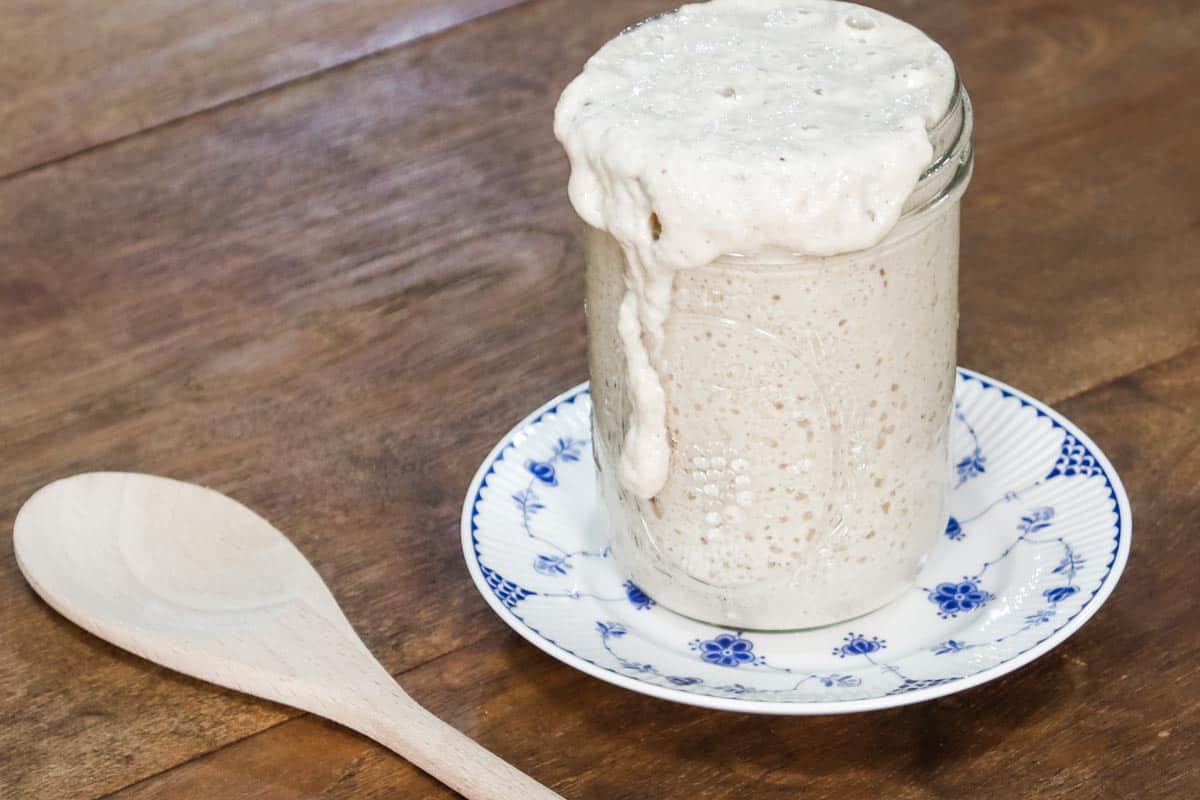
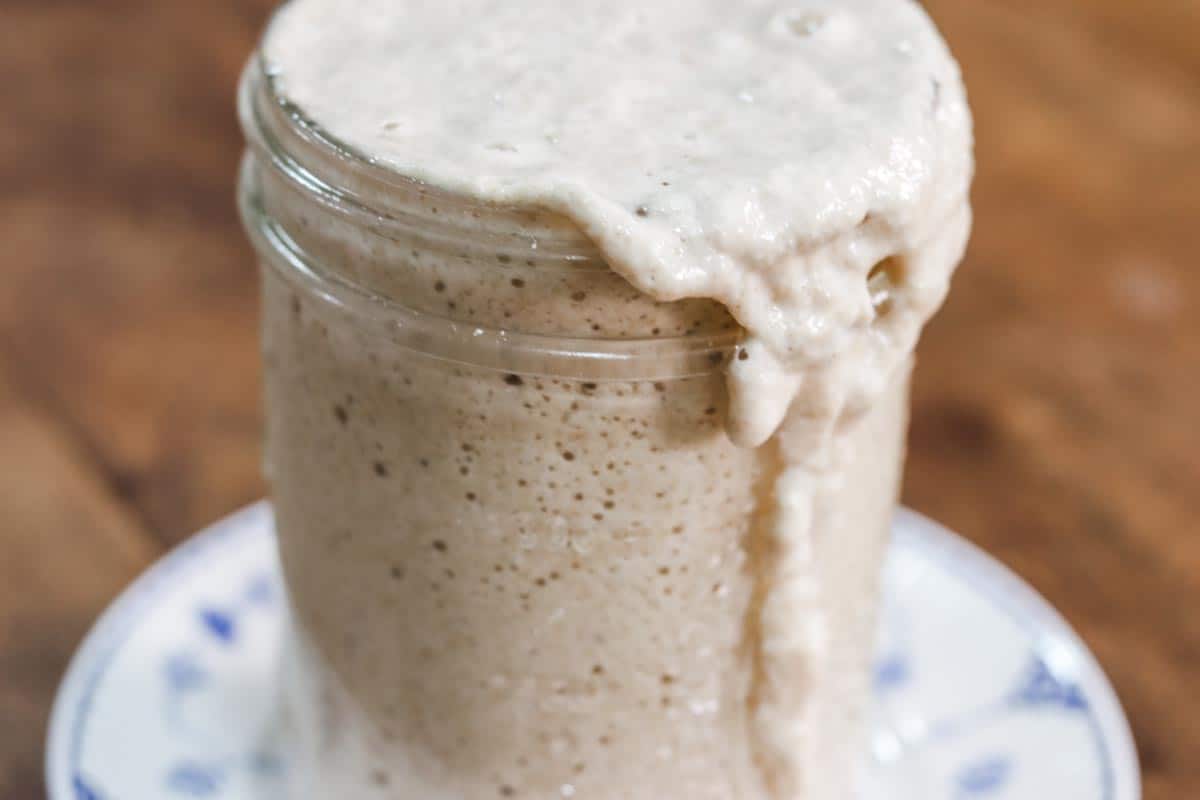
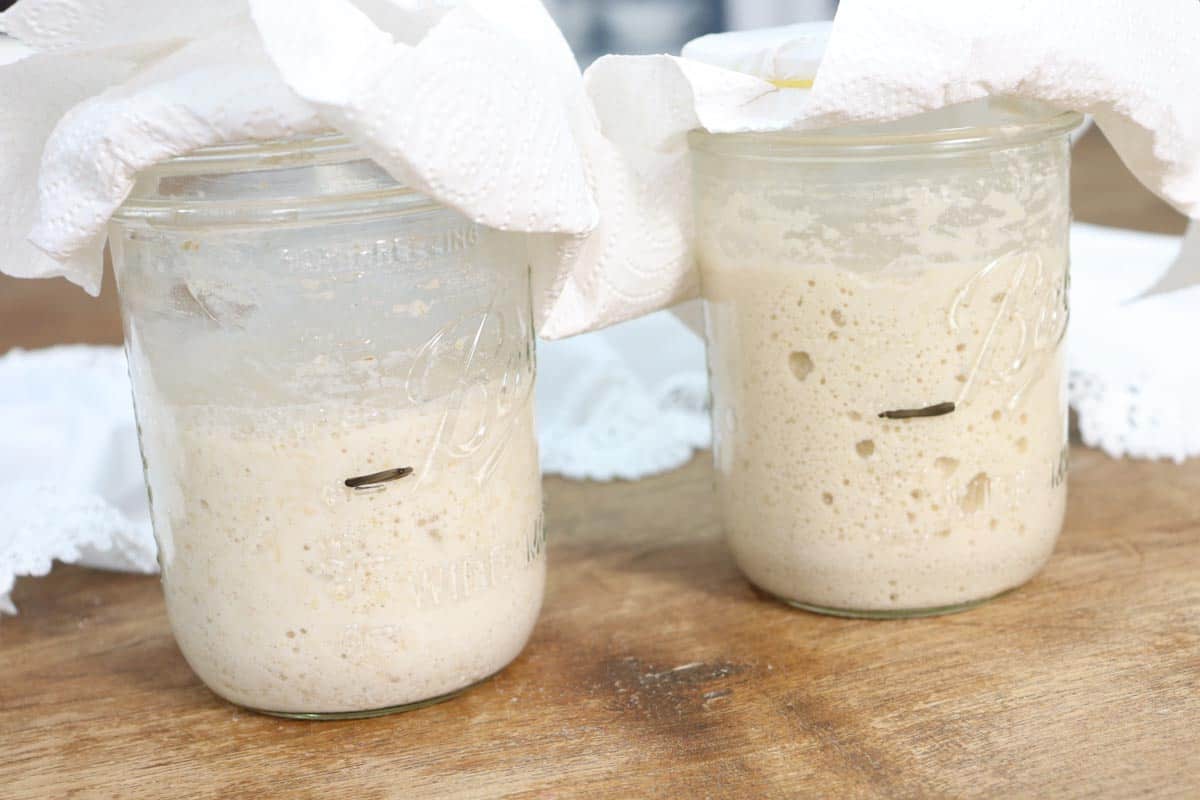
Step five/days four - seven (or more): By now you should be seeing some activity in your starter such as a thin layer of liquid otherwise known as 'hooch' forming on the top, and bubbles in the mixture.

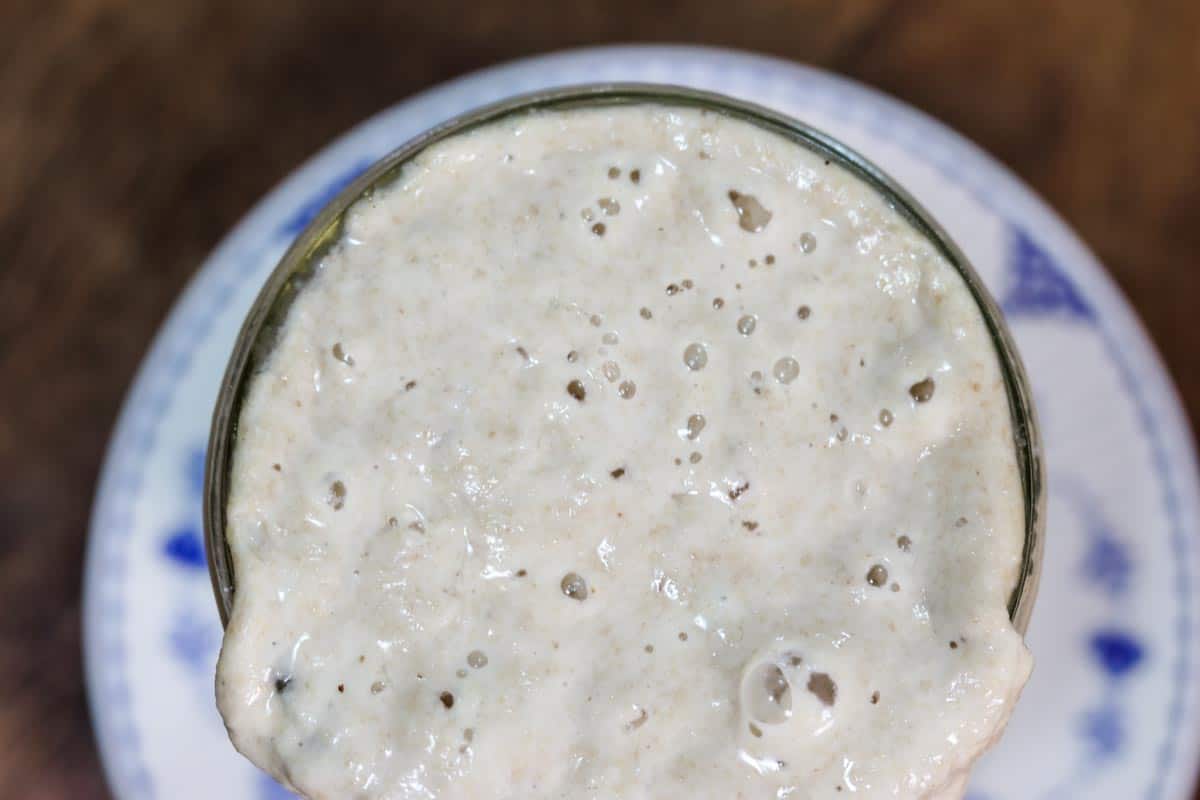
When this happens, increase the feedings to twice a day, or approximately every 12 hours. Repeat this step until day seven or more until your mixture becomes bubbly, rises in the jar and develops a sour smell.
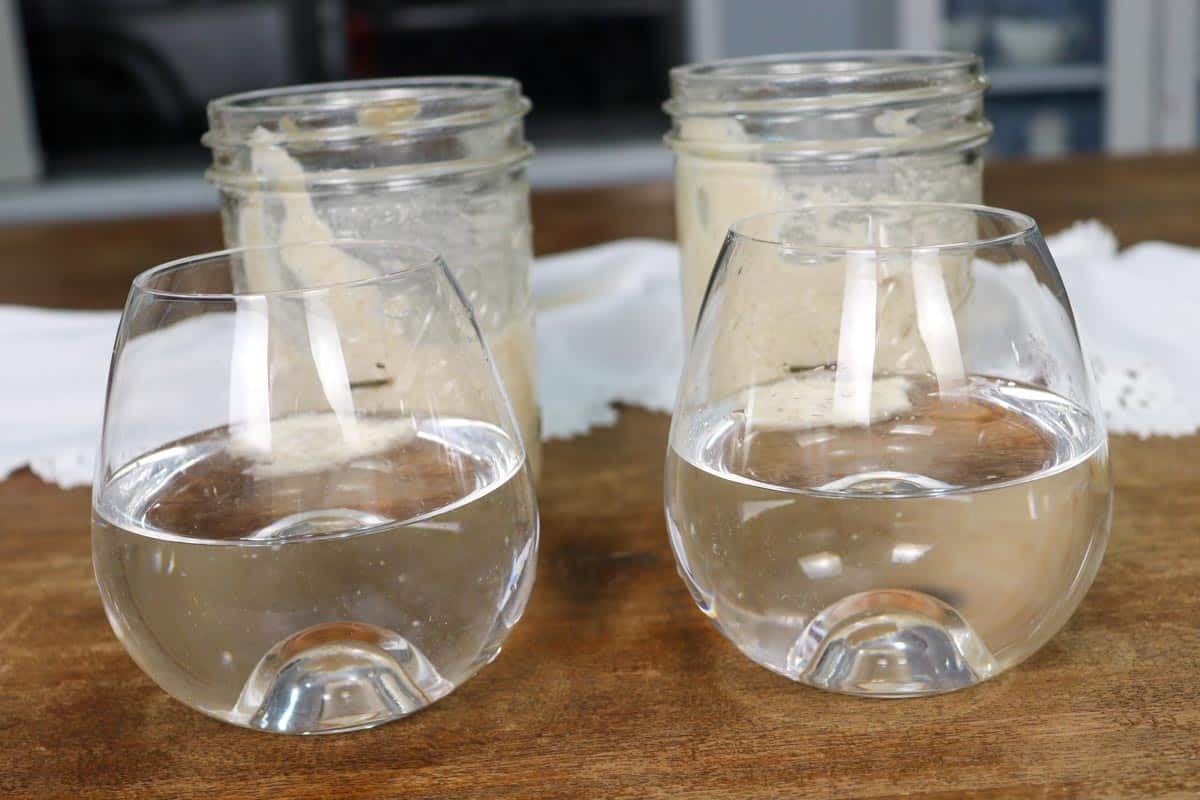
You will know your starter is 'ready' when in doubles in height within four hours of feeding, however this won't be true if you're using wholemeal/wholewheat flour which tends to rise a little less. A float test will also reveal if your starter is ready.
Step six: Once your sourdough starter is active and bubbly you have two options; store it in the fridge (like I do) for occasional use, or on the kitchen counter for daily use.
If you keep the starter on the kitchen counter at room temperature it will require feeding every 12 hours - 24 hours, however in the fridge it will last days between feedings.
Simply take it out the the fridge the day before/morning you're planning to use it, feed it, and wait for it to become bubbly and active again, which is usually around 4 - 12 hours.
Troubleshooting
- If you use clean utensils and hands, and keep the jar covered, it’s very unlikely mould will develop, but if this does happen, dispose and start again.
- If your starter isn’t bubbling or rising after 7 days try and move it to a warmer spot to kick start fermentation. The ideal temperate for Sourdough is around 24 -28 degrees Celcius/75 - 82 Fahrenheit). Above the fridge or near a heater is perfect.
- If a thin layer of clean, grey, black or pink liquid develops on top of your starter, and the mixture starts to sink back down before 24 hours, this is a sign that your starter is active and hungry. Feed it, don’t throw it away!
Frequently asked questions
Can you make sourdough starter from scratch?
Yes. Follow the steps in this post to start your very own sourdough starter from scratch.
You can also create a sourdough starter by taking a small amount of established starter, maybe from a friend or buy form a store, and feed it with flour and water following the same process. It should become bubbly and active a little sooner with this method.
How long before sourdough starter is ready to use?
This depends on a number of factors including the flour and water used, as well as the ambient temperate.
Between days 4 and 7 you should notice some of the signs of readiness such as tangy, slightly acidic and yeasty beer-like aroma and a bubbly appearance, however in cooler temperatures it may take longer.
How do you know if your sourdough starter is ready to use?
There are a few signs to know when you starter is ready.
- It will have a tangy, slightly acidic and yeasty beer-like aroma.
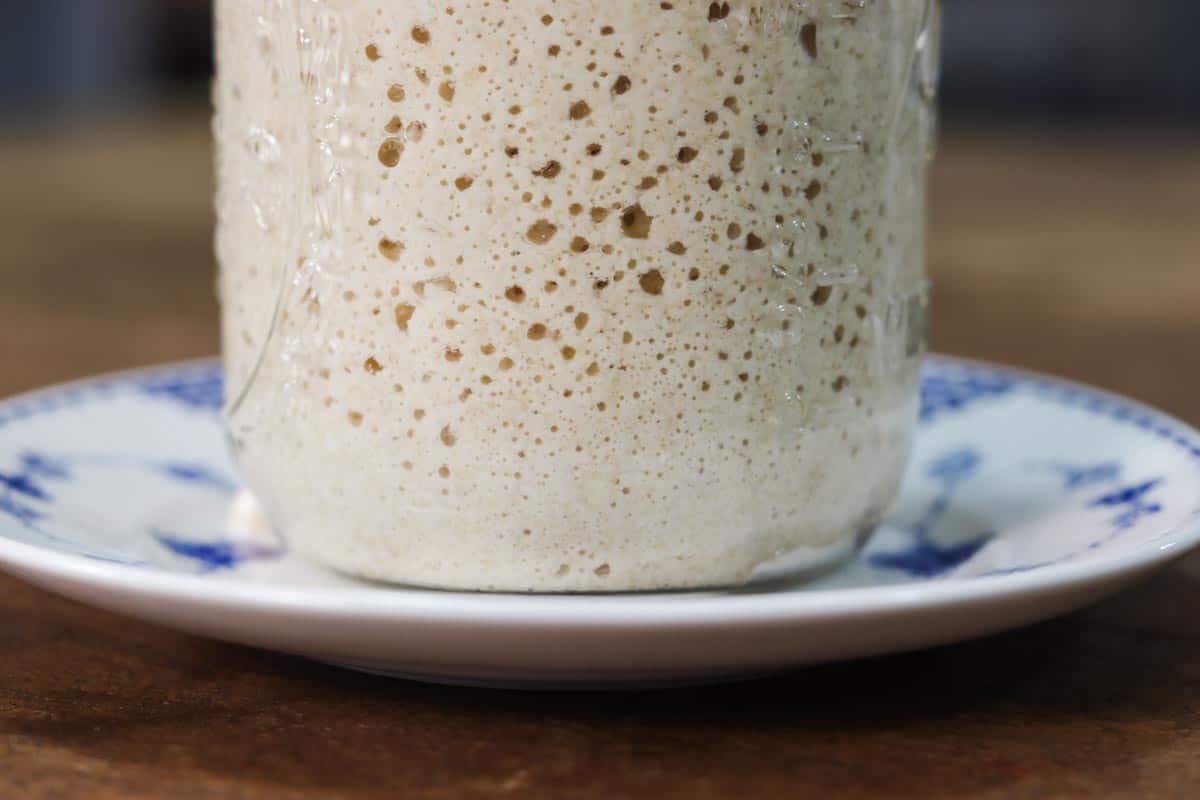
- It will be full of bubbles, and rise up in the jar after feeding.
You can test if the starter is ready to bake with by placing a spoonful of fed starter in a glass of water. If it floats, it’s ready to go.
If you haven't quite reached this stage, keep discarding and feeding the starter.
Why won't my sourdough starter start?
If you're not seeing activity after 7 days, don't fret. It can take longer, ever up to 14 days or more in some conditions.
According to Cultures for Health, the top reasons why your sourdough starter may be slow to start include feeding frequency and temperature.
The ideal temperature for sourdough starter is between 21 degrees Celsius (70 degrees Fahrenheit) and 29 degrees Celsius (85 degrees Fahrenheit).
To kick-start your starter, try feeding it more regularly, say every 12 hours, and place your starter in a warmer/cooler position depending on your situation.
Now you have learnt how to start a sourdough starter from scratch, start making your own very own sourdough bread at home with my favourite tools:
- Sourdough Bread Making Starter Kit (AU readers) includes proofing basket, dough scrapers and lame, similar kit (USA and other readers)
- Flour scoop (AU readers), similar (USA and other readers)
- 23cm Banneton Proofing Basket (AU readers), similar (USA and other readers)
You can also visit my page Sourdough bread making tools and substitutions to see what every day kitchen items you can use to make sourdough, without any special equipment.
Thanks for visiting the farmhouse!
Comments
No Comments