In this blog I'm sharing how to use a lotion bar, the benefits of using a lotion bar versus liquid lotion, plus my easy DIY lotion bar recipe with beeswax, cocoa butter, coconut oil and essential oils.
Jump to:
What is a lotion bar?
If you've never come across a lotion bar before you may be wondering what to do with it.
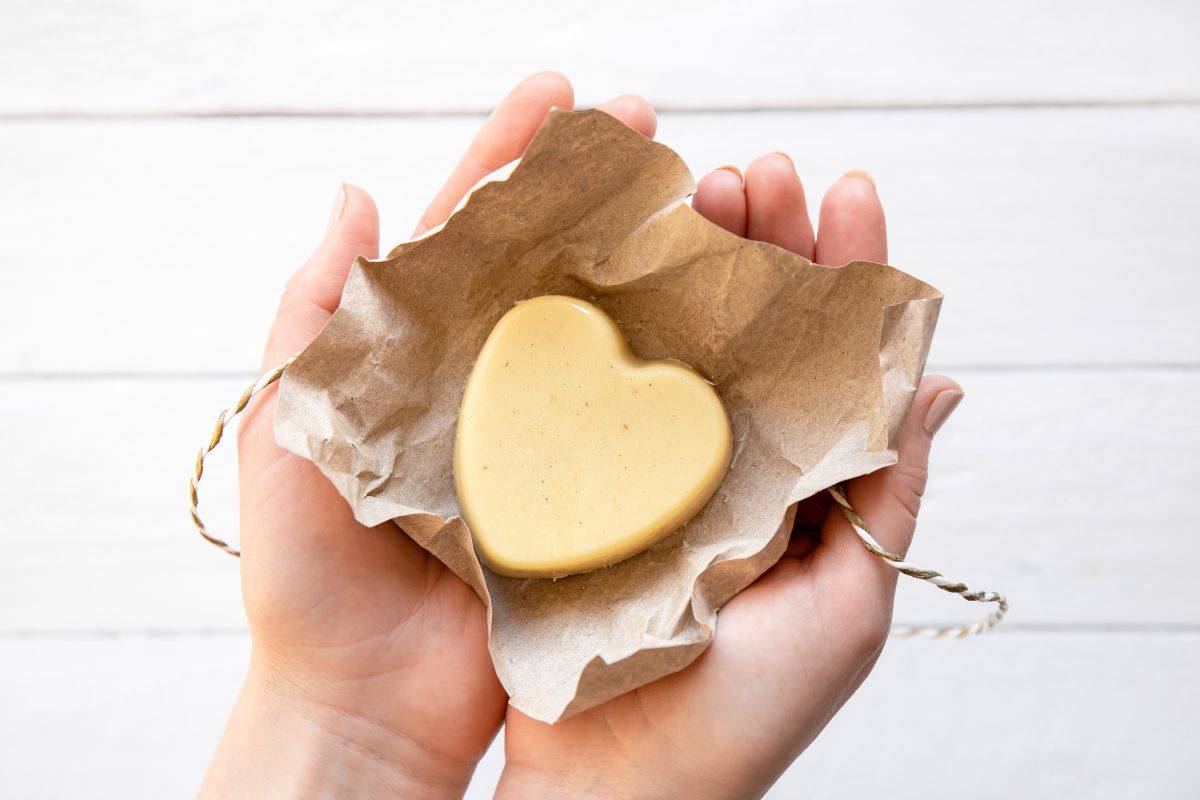
A lotion bar looks a lot like a bar of soap but it's not for washing. It's a solid bar made from oils, fats and other skin-loving ingredients such as essential oil that's applied to moisturise and protect the skin.
The benefit of using a lotion bar instead of a liquid lotion is that it requires minimal packaging, is solid at room temperature and very easy to make yourself.

How to use a lotion bar
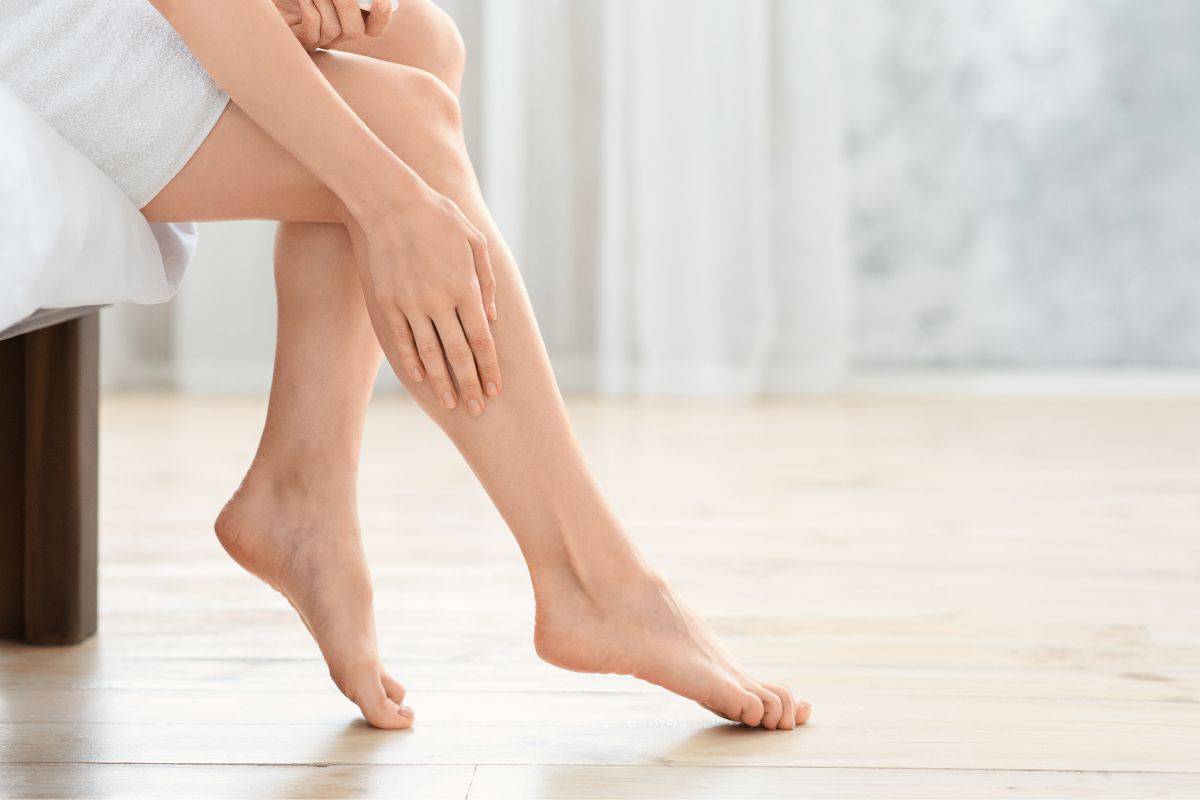
- To use a lotion bar simply run the bar over your dry skin.
- Your body heat causes the lotion bar to melt and deliver the perfect amount of lotion to your skin.
- After applying the lotion bar, store it away in a cool dry place for next time.

Who can use a lotion bar?
Anyone can use a lotion bar to moisturise their skin, especially people with sensitive skin types, and those who would like to opt for a natural product with less plastic packaging.
Lotion bars are are a great choice if you want to make your own lotion, as solid bars are much easier to make and less prone to spoilage compared to traditional water-based lotions.
Because no water is added to a lotion bar, it's less likely to harbour bacteria and there is no need to emulsify the oils with the water.
Why I love lotion bars
- Convenient to store and take away
- Quickly absorbed by the skin
- Require less plastic packaging
- Can be made with natural organic ingredients
- Super quick and easy to make for yourself or to give as gifts
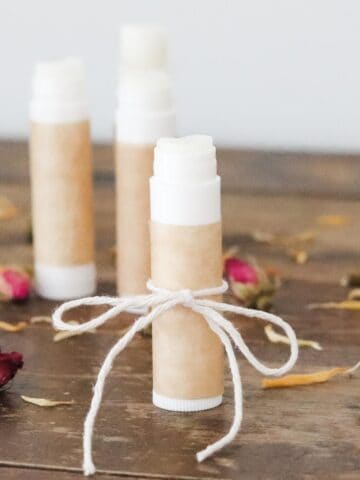
Making homemade lotion bars is similar to making your own lip balm. If you're interested in making other natural beauty products be sure to check out my easy essential oil lip balm recipe.
Now that we've covered the basics of how to use a lotion bar, let's move on to my easy DIY recipe.

Easy homemade beeswax lotion bar recipe
Make these easy homemade lotion bars with beeswax. Beeswax is a natural product that has many uses for skincare. It can help the skin attract and retain moisture and has been used to care for skin for centuries.
Before using beeswax on your skin you should test for allergies. Alternatives to beeswax include candelilla and soy wax.
Ingredients
- Coconut oil
- Beeswax
- Cocoa butter
- Rose geranium essential oil (or your preferred essential oil)
See recipe card for quantities.
Equipment
- Cup measurements
- Double boiler
- Wooden spoon
- Silicone 6 heart-shaped mould or standard 6 cupcake mould
If you don't have a double boiler you can make one by placing a glass bowl over a saucepan of simmering water.
How to make lotion bars
- Measure the coconut oil, beeswax and cocoa butter and place in the double boiler.
- Melt the ingredients together and mix well.
- Once combined, remove the mixture from the heat, allow to cool slightly and add the essential oils.
- Mix well then pour the mixture into the heart/cupcake mould.
- Once set, pop the lotion bars out of the mould.
- If not using right away, store the bars in a cool dark place for up to 12 months.
Hint: If you're short on time, you can set the lotion bars more quickly in the fridge.

Homemade Lotion Bars
A lotion bar looks a lot like a bar of soap but it's not for washing. It's a solid bar made from oils, fats and other skin-loving ingredients such as essential oil that's applied to moisturise and protect the skin.
The benefit of using a lotion bar instead of a liquid lotion is that it requires minimal packaging, is solid at room temperature and very easy to make yourself.
Materials
- 1 cup Coconut oil
- 1 cup Beeswax, grated
- 1 cp Cocoa butter
- 25 drops Rose geranium essential oil (or your preferred essential oil)
Tools
- Cup measurements
- Double boiler
- Wooden spoon
- Silicone 6 heart-shaped mould or standard 6 cupcake mould
Instructions
- Measure the coconut oil, beeswax and cocoa butter and place in the double boiler.
- Melt the ingredients together and mix well.
- Once combined, remove the mixture from the heat, allow to cool slightly and add the essential oils.
- Mix well then pour the mixture into the heart/cupcake mould.
- Once set, pop the lotion bars out of the mould.
- If not using right away, store the bars in a cool dark place for up to 12 months.
Notes
If you don't have a double boiler you can make one by placing a glass bowl over a saucepan of simmering water.
Hint: If you're short on time, you can set the lotion bars more quickly in the fridge.
Substitutions
- Oil - instead of coconut oil you can use olive, jojoba or sweet almond oil
- Wax - for a vegan alternative try candelilla or soy wax
- Cocoa butter - the fat in this recipe can be replaced with shea butter, mango butter or tallow
- Essential oil - use any skin-safe essential oil and avoid essential oils that cause photosensitivity. My favourites are rose geranium, lavender and frankincense.
Note: In different temperatures, and when substituting an ingredient, you may need to experiment to find the right ingredient ratio for the best results. If the bars turn out too hard or soft, you can melt the bars again and add more wax (if the bars are too soft) or more oil (if the bars are too hard).
Variations
This lotion bar recipe is yours to alter and make your own. Feel free to experiment with your own favourite ingredients and essential oils.
To make unscented lotion bars simply omit the essential oils from the recipe (keep in mind some of the other ingredients have their own natural scent).
If you're making lotion bars to give as gifts, they look really pretty sprinkled with some dried rose or calendula petals on top. Do this just before the bars have finished setting otherwise the petals will sink to the bottom on the bars.
Storage
Store the lotion bars for up to 12 months in a cool dry place away from direct sunlight. Avoid wetting the bars as water can harbour bacterial growth.
FAQ
Yes, absolutely. Lotion bars are an effective way to moisturise and protect dry skin.
I would say yes, they're great. Less packaging, natural ingredients and easy to make. What's not to love?
Since I have acne prone skin I prefer to use lotion bars on my hands, arms, feet and legs, and avoid my face, décolletage.
No. It's not recommended to use a lotion bar in the shower since the oils and fats can become quite slippery when melted. Also, it's best to keep your lotion bar dry to avoid the growth of potentially harmful bacteria. Using a lotion bar after a shower, on warm but thoroughly dried skin is best.
Lotion bars work by melting upon contact with warm (body temperature) skin, allowing the lotion ingredients transfer directly onto the skin.
You can use lotion bars as often as you like, depending on the dryness of your skin.
If you're interested in making other natural beauty products be sure to check out my other blog posts:




Comments
No Comments