

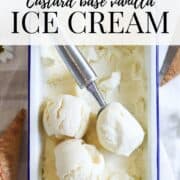
This custard base vanilla ice cream recipe yields a rich, creamy ice cream with a smooth texture and deep vanilla flavour. Made using the traditional French method, the ice cream starts with a homemade custard of cream, milk, sugar, and eggs before being churned in a machine, or by hand. Whether served in a cone on a warm summer day or alongside your favourite dessert, this timeless homemade treat is well worth the effort.

Jump to:
Old fashioned French vanilla ice cream recipe with eggs and egg yolks
Eggs play an important role in creating the rich, creamy texture by emulsifying the mixture, helping the fats and water in the milk and cream bind together smoothly.
While you can make ice cream with eggs without preparing a custard first, many people prefer eating egg cooked rather than raw. Making a cooked custard base offers additional benefits too, helping to dissolve the sugar and allowing the vanilla flavour to infuse more deeply.
Custard can be a little tricky to make, as it requires gradual heating of the egg to thicken the mixture without causing it to scramble. In this blog I'll step you through how to make a simple custard ice cream base with confidence.
Making ice cream with a custard base is a 2 day process, since the custard needs to be fully chilled before churning and freezing. If you're short on time try my ice cream with sweetened condensed milk recipe instead.
Simple custard based ice cream recipe with or without machine
This simple custard base ice cream recipe can be make with or without an ice cream machine/maker. Using an ice cream machine is by far the easiest way to make homemade ice cream and yields the best results. I love using my freezer-bowl style Cuisineart Ice cream maker which I picked up cheaply from Facebook Marketplace.
However, if you don't own an ice cream maker you can churn ice cream by hand and I have included instructions in the method below.
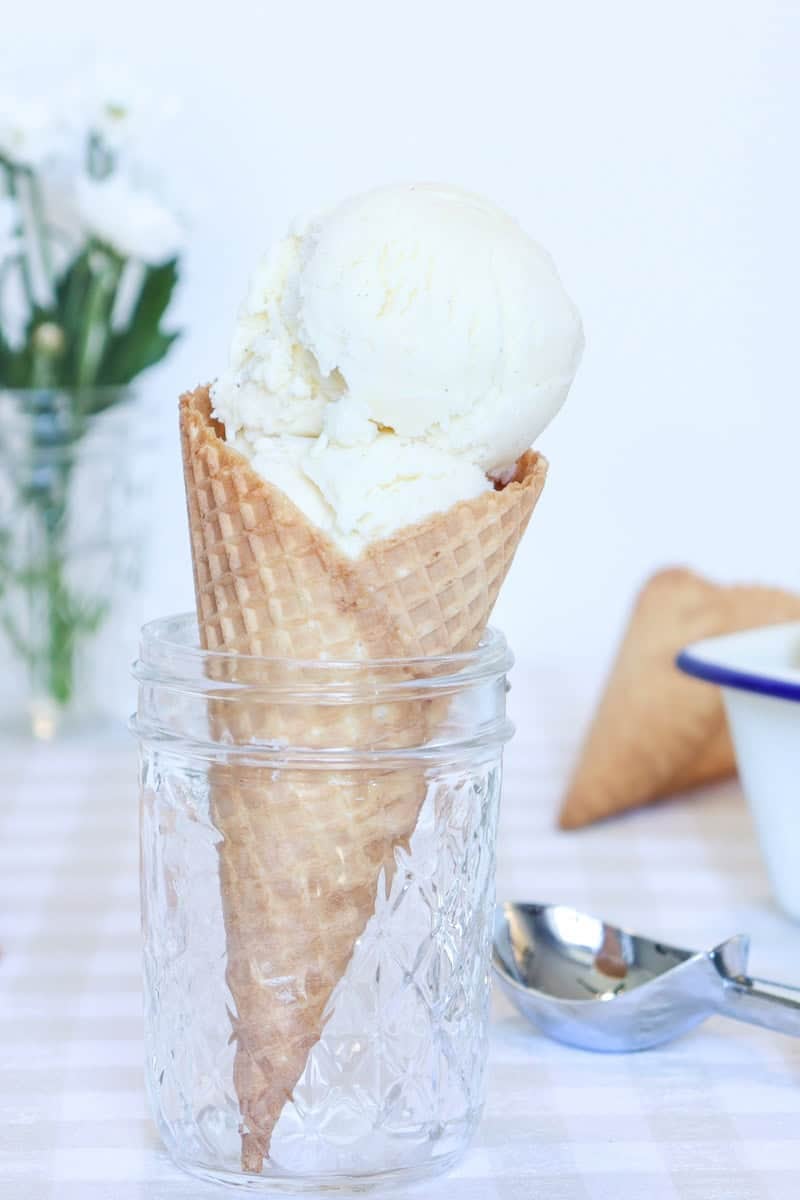
Ingredients
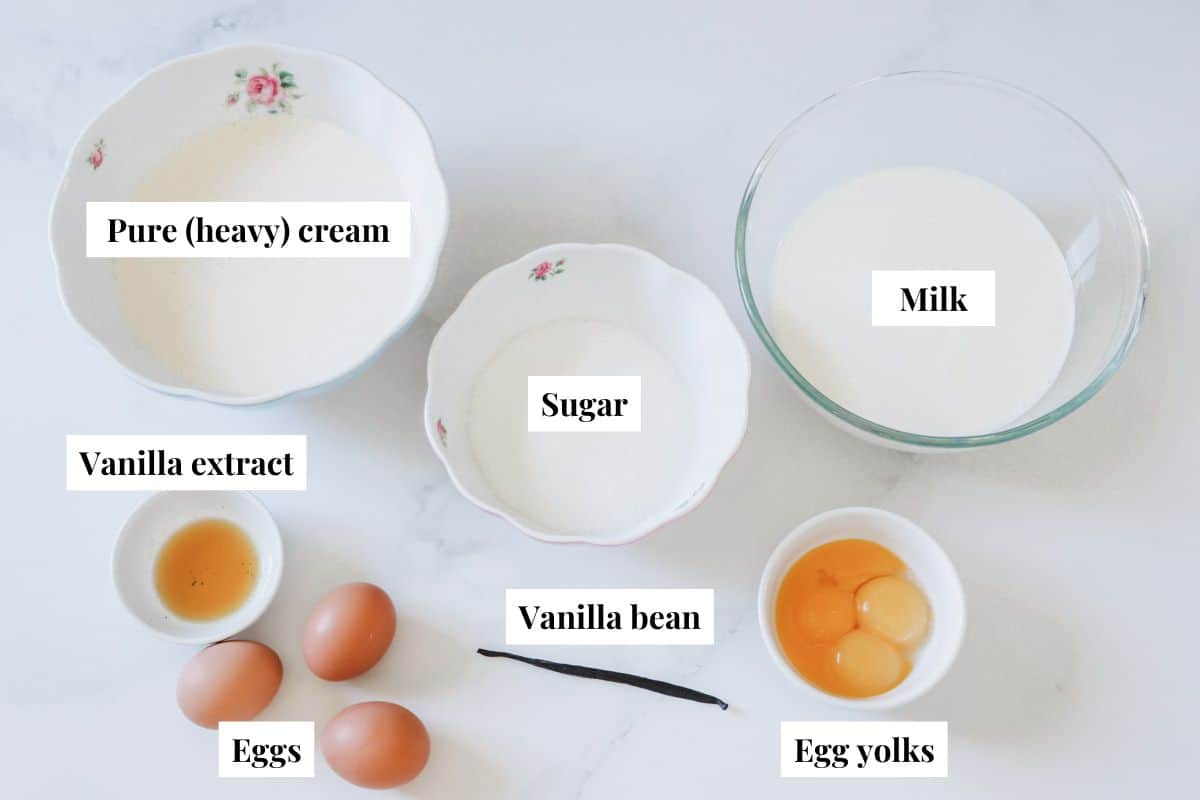
- Full cream (whole) milk
- Pure (heavy) cream
- Vanilla bean
- Eggs
- Egg yolks
- Sugar
- Vanilla extract - Choose pure vanilla extract for best results, or make it yourself with my homemade vanilla extract recipe
A full ingredient list with exact amounts can be found in the recipe card below.
Equipment
- Measuring cups and spoons
- Medium saucepan with a heavy base
- Paring knife
- Chopping board
- Whisk
- Mixing bowl
- Ladel
- Pouring jug
- Plastic wrap
- Wooden spoon
- Ice cream maker (optional)
- Plastic bowl scraper (optional) - I like to use a plastic bowl scraper (normally used in bread making) to scrape the ice cream from the sides of the ice cream maker freezer bowl without damaging it
- Large freezer-safe container to store the ice cream
- Ice cream scoop (optional) - makes serving ice cream easier, no more bent dessert spoons!
Method
If you're using an ice cream maker, be sure to read the instructions before you begin. If you're using a freezer-bowl ice cream maker, you will need to freeze the inner bowl for 24 hours prior to making this recipe.
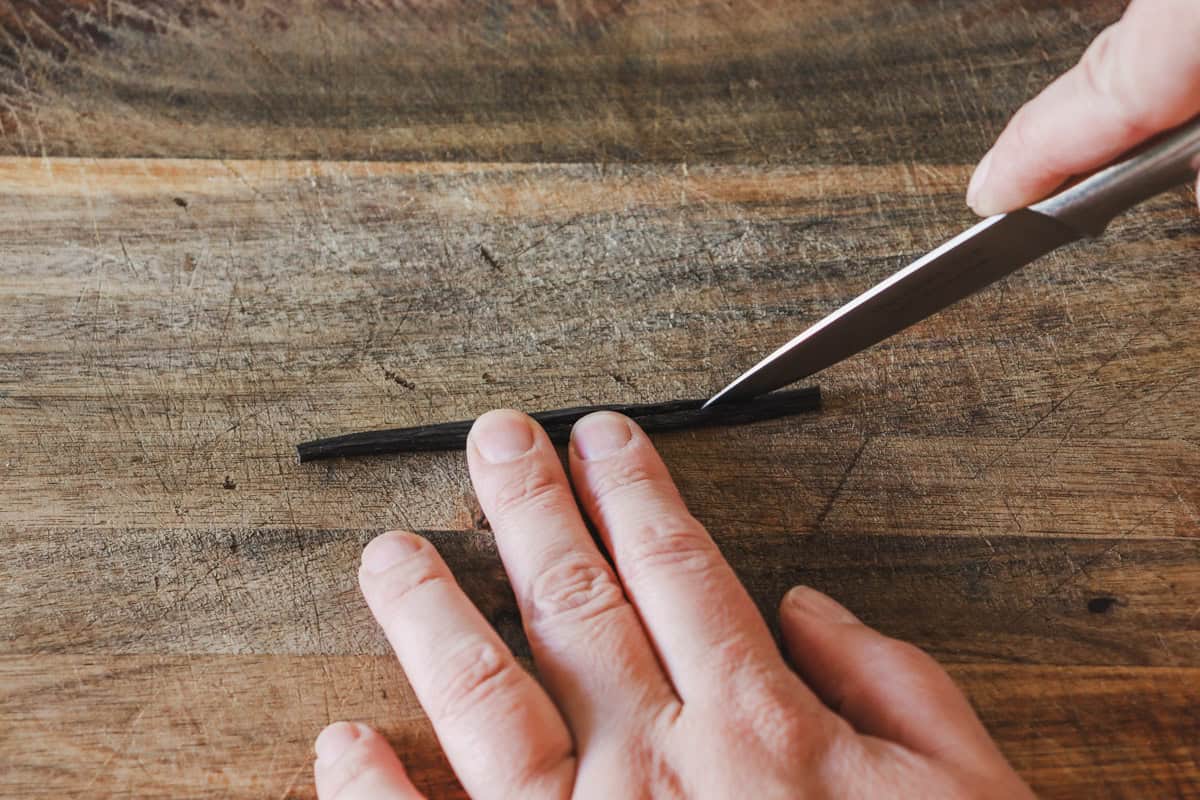
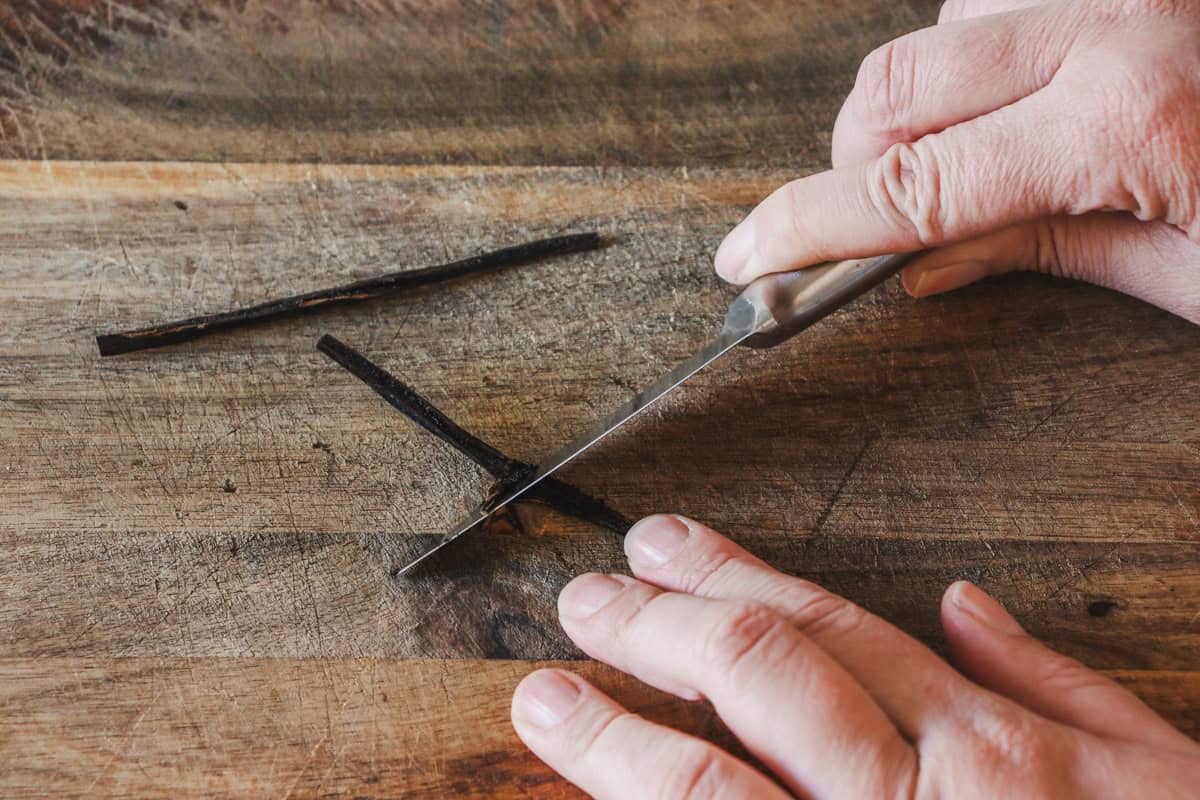
Step 1: Use a paring knife to split the vanilla bean down the middle. Then use the back of the knife to scrape the vanilla seeds out of each side.
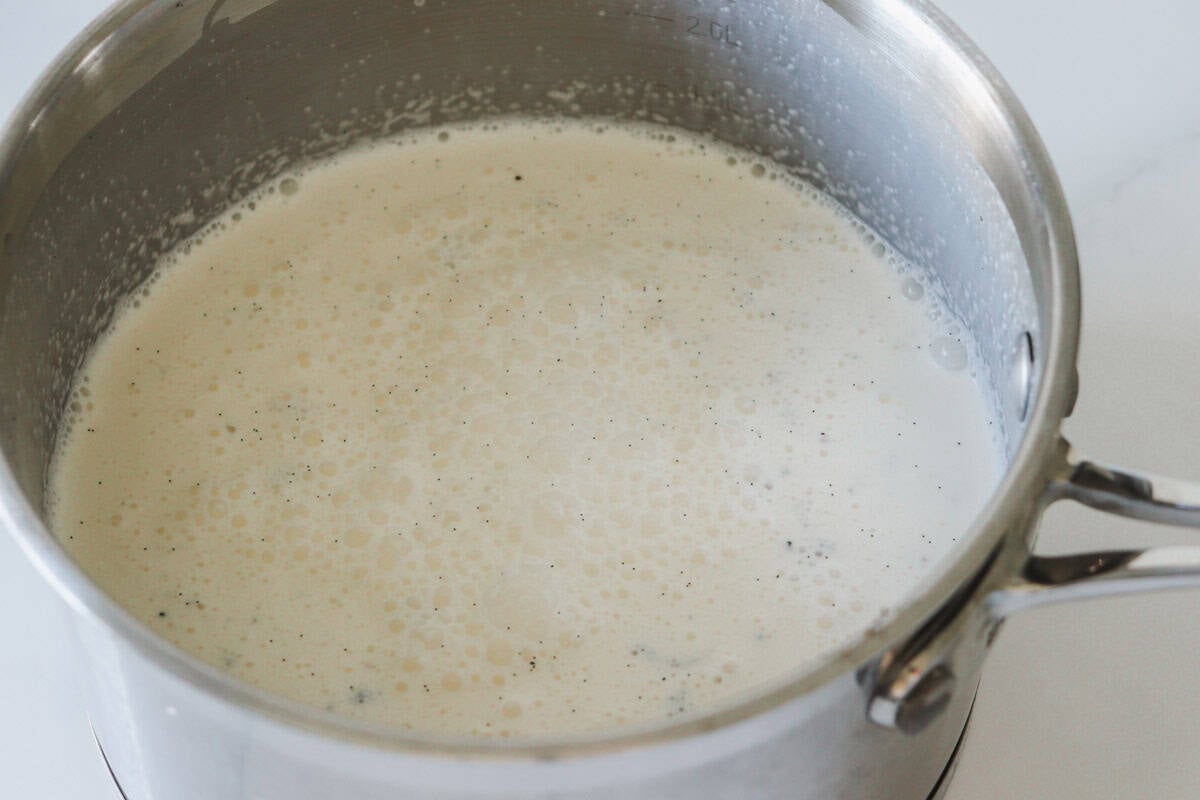
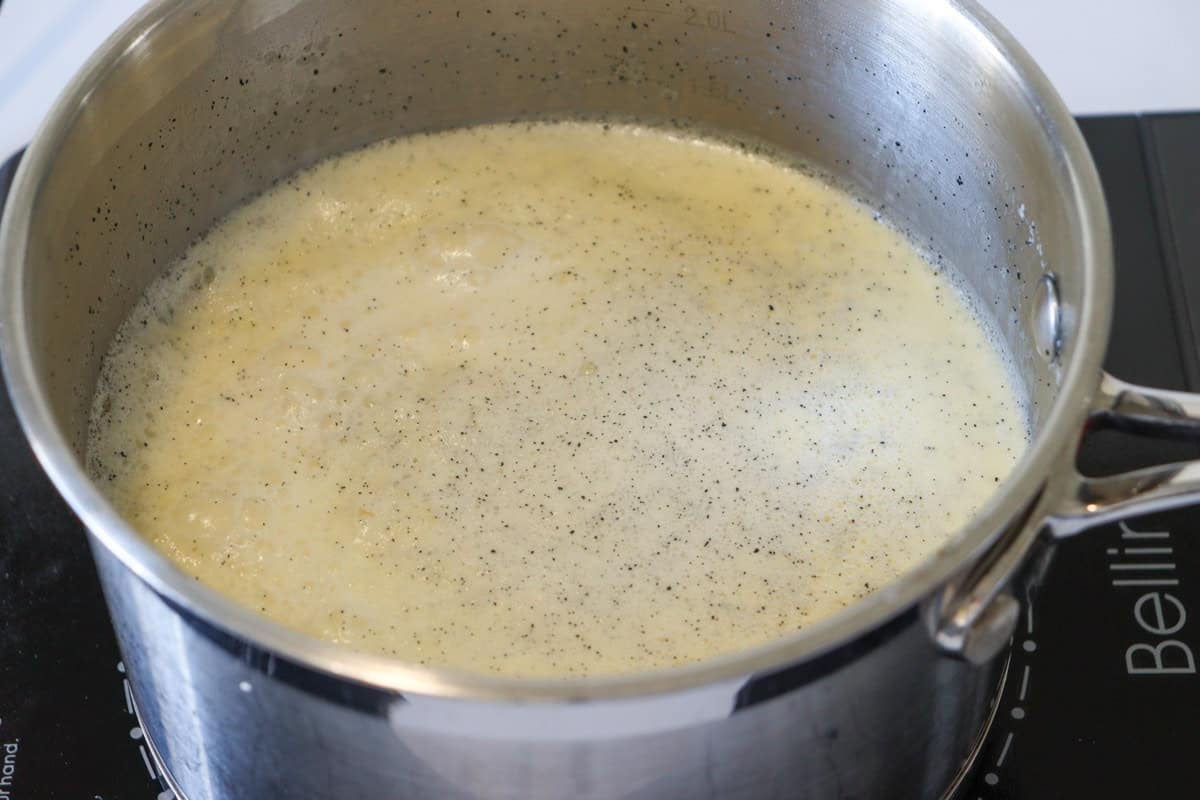
Step 2: Combine the vanilla bean and seeds, milk and cream in a saucepan and whisk to combine.
Step 3: Bring the milk, cream and vanilla mixture to a slow boil over medium heat stirring occasionally.
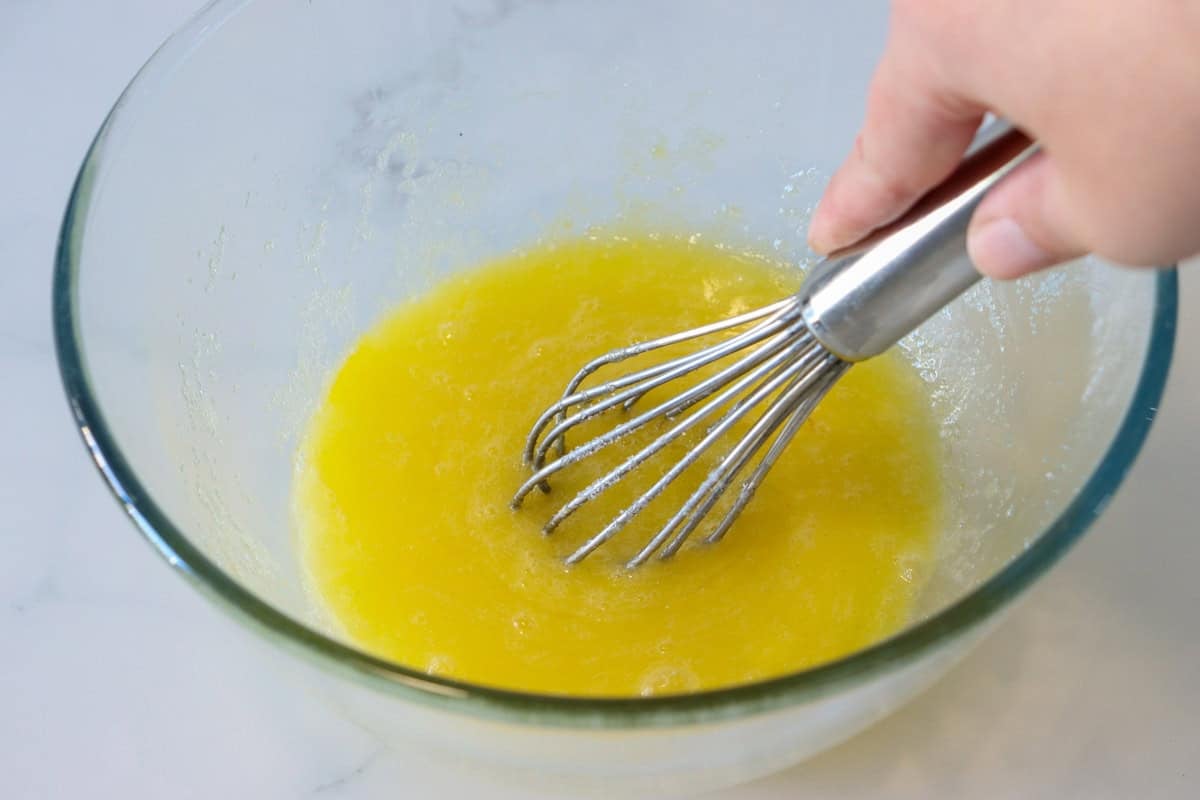
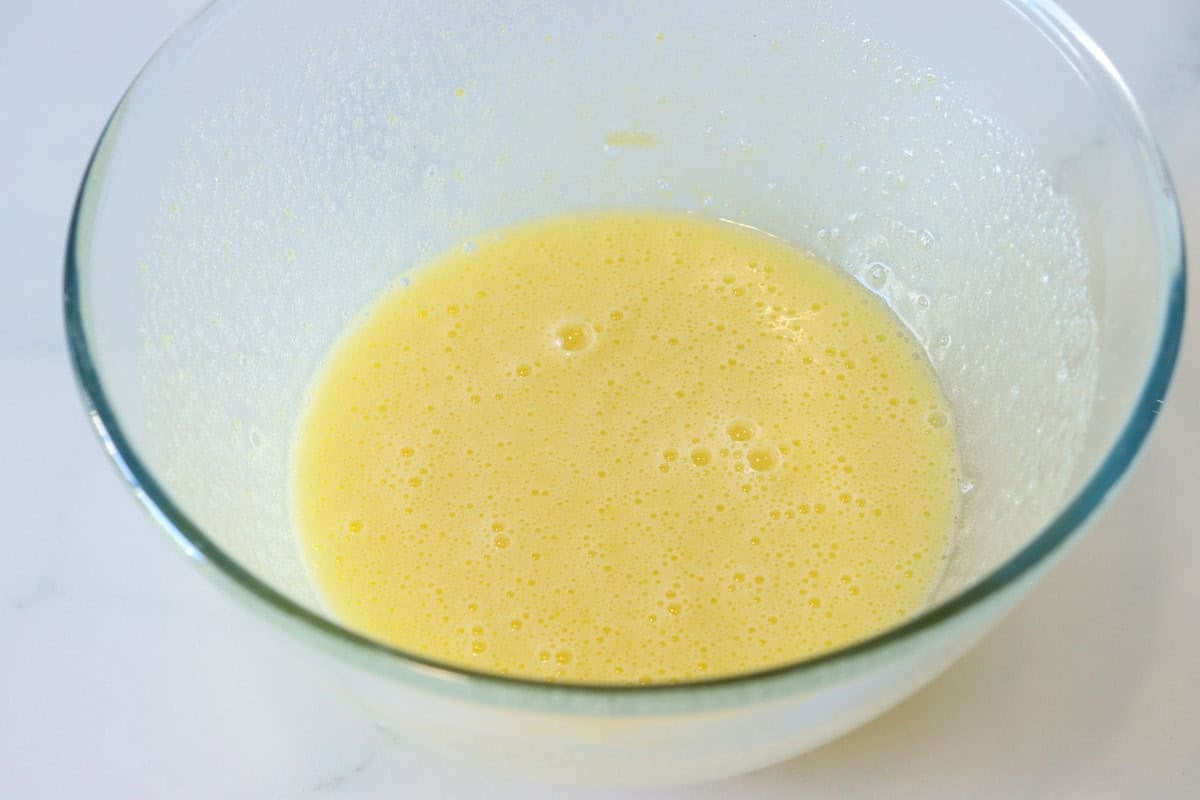
Step 4: Meanwhile, separate the egg yolks and add them to the mixing bowl. Add the eggs and sugar and whisk well for about 2 minutes or until the mixture becomes pale.
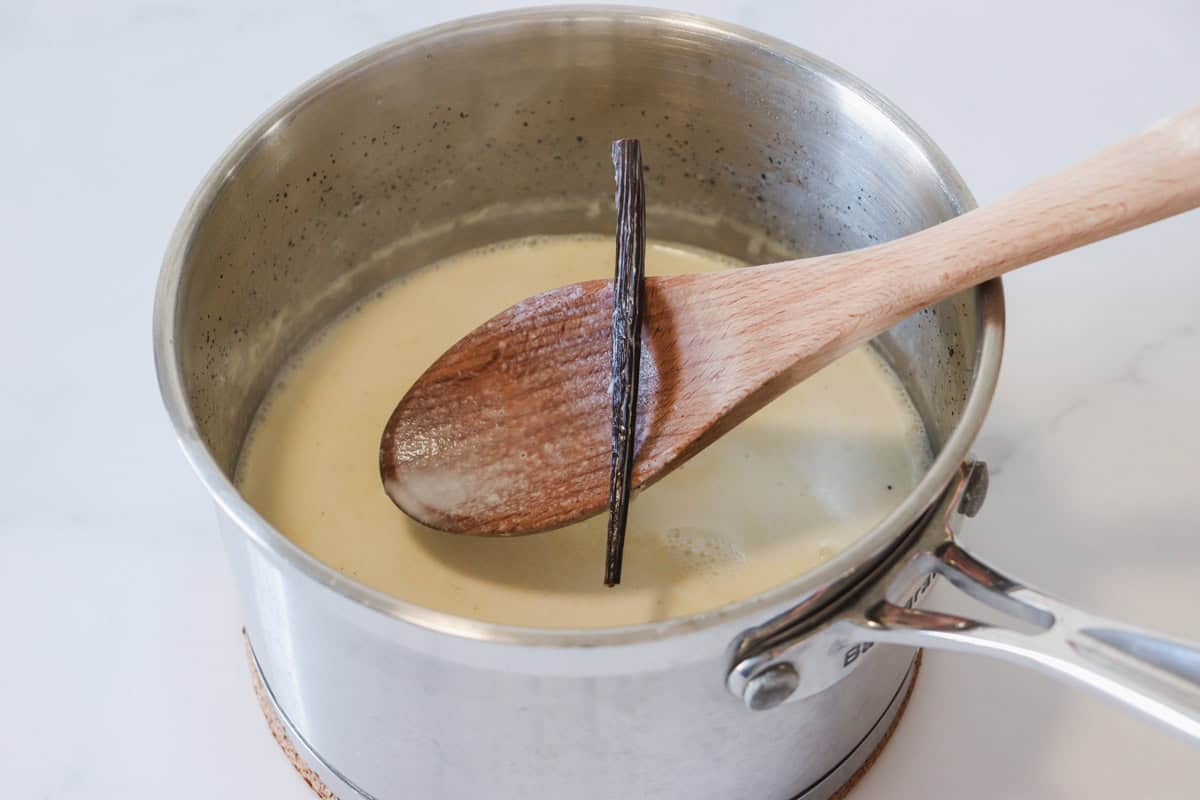
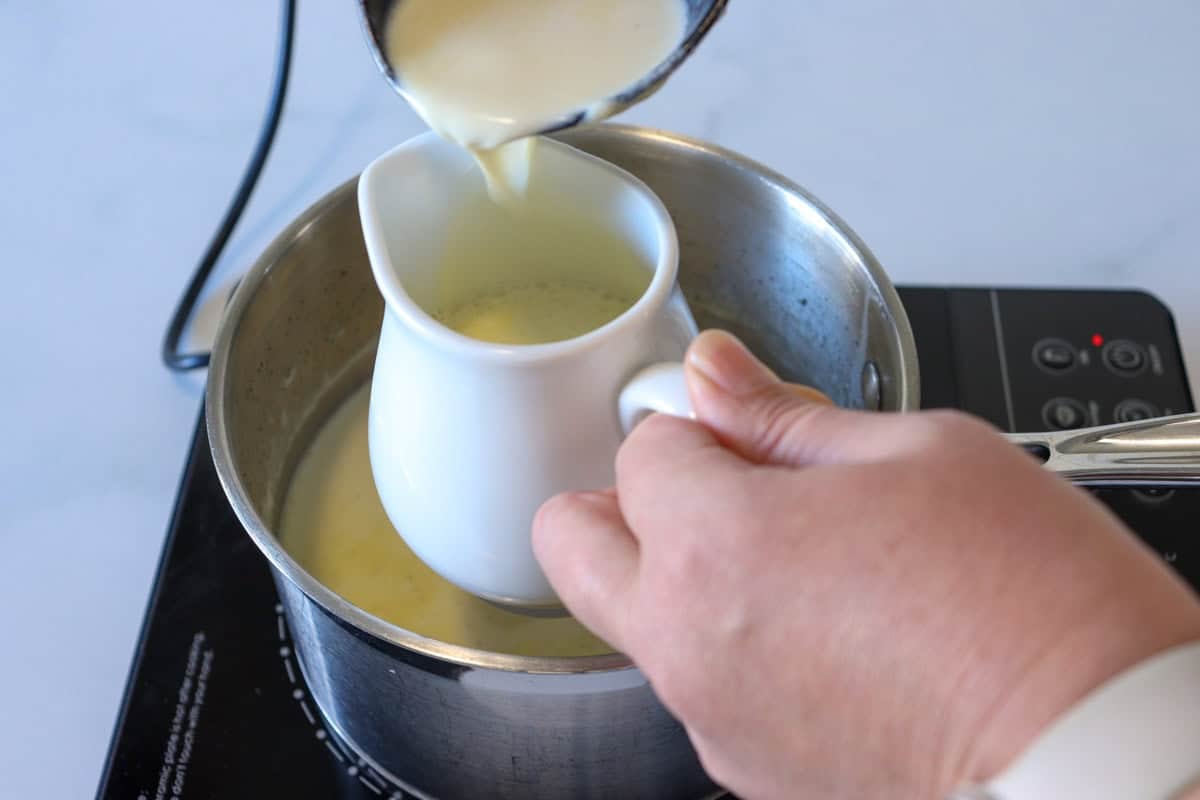
Step 5: When the milk, cream and vanilla mixture has come to boiling remove the saucepan from the heat and discard the vanilla bean.
Step 6: Transfer one cup of the milk, cream and vanilla mixture to a pouring jug.
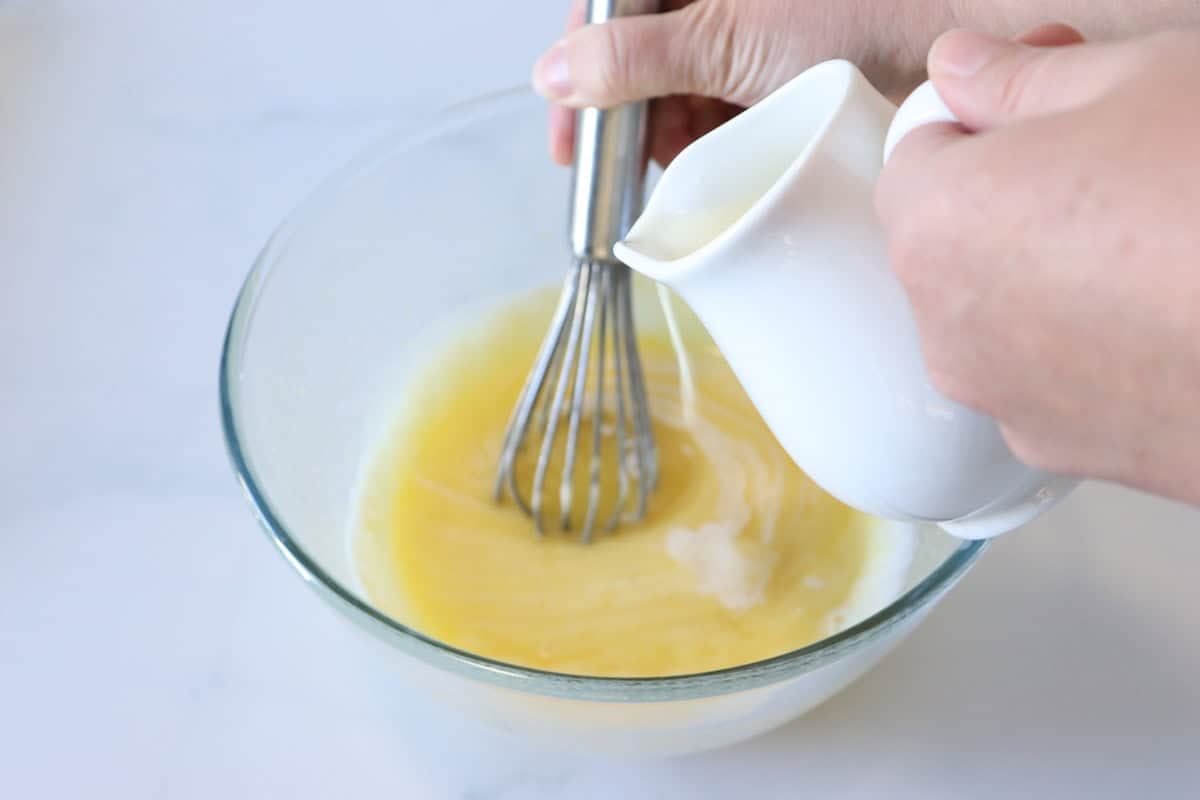
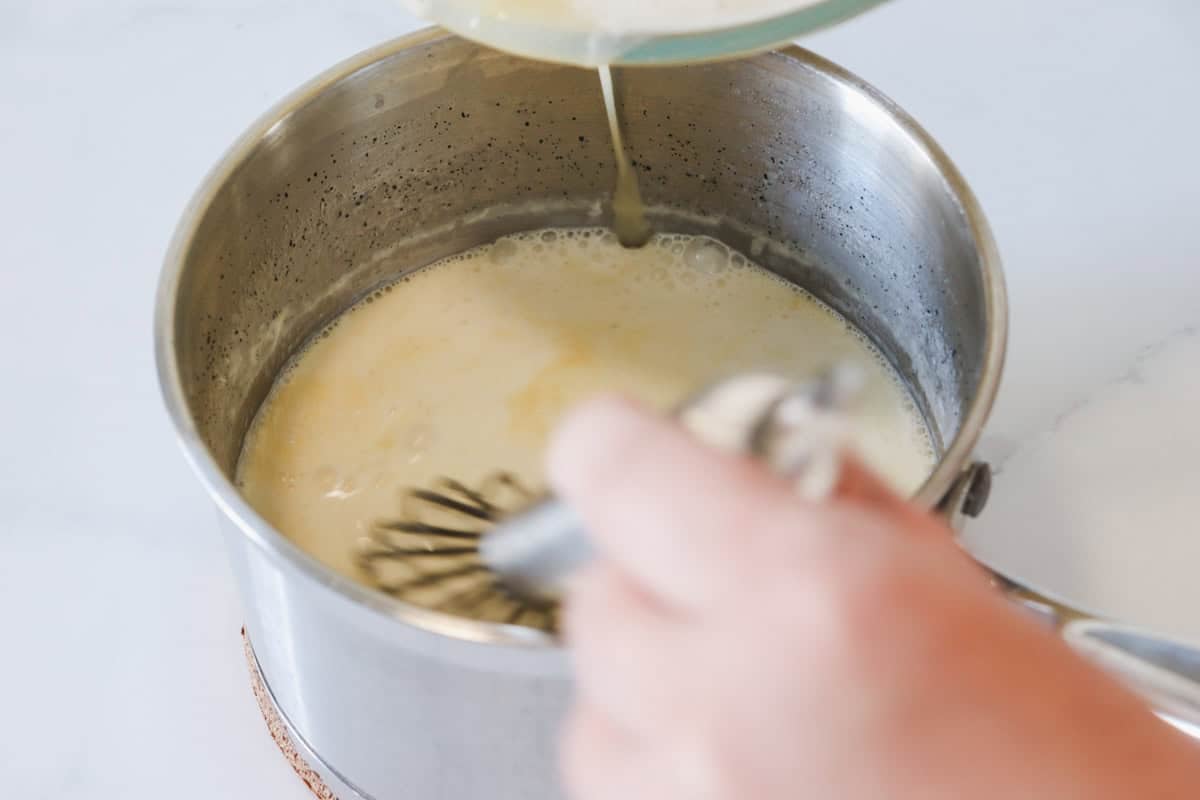
Step 7: Tempering the egg - Pour the cup of milk, cream and vanilla mixture into the egg and sugar mixture in a slow steady steam, whisking constantly.
Step 8: Pour the tempered egg and sugar mixture back into the saucepan with the remaining cream, milk and vanilla. Whisk well to combine.
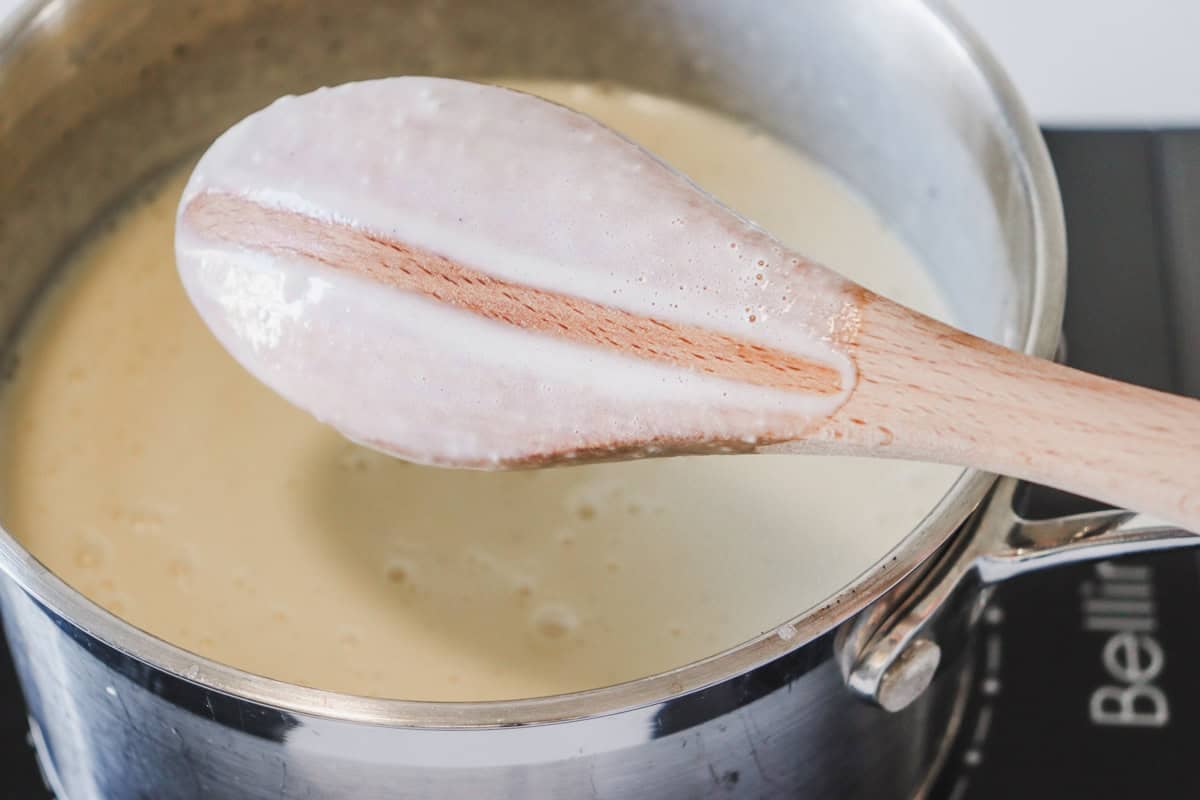
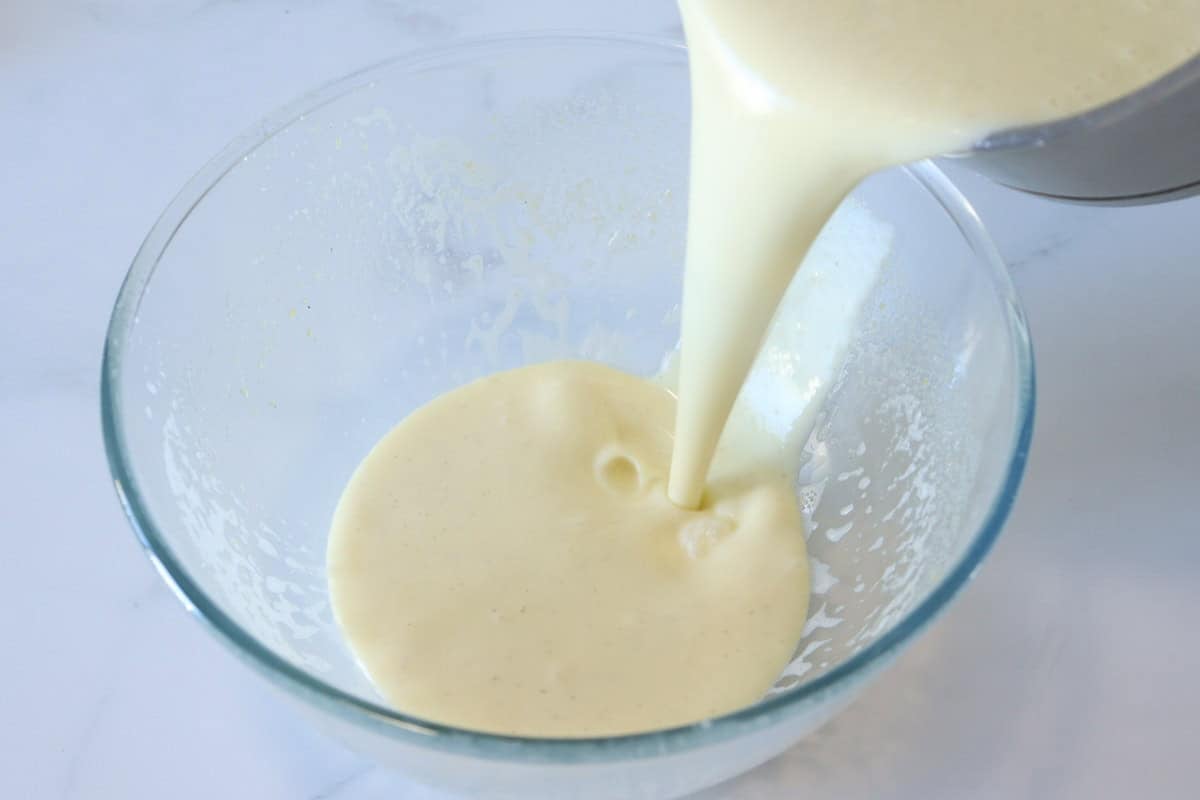
Step 8: Return the saucepan to the stove and cook the custard mixture over a medium-low heat stirring constantly with a wooden spoon until the mixture is thick enough to coat the back of the wooden spoon.
Step 9: Transfer into a bowl to cool.
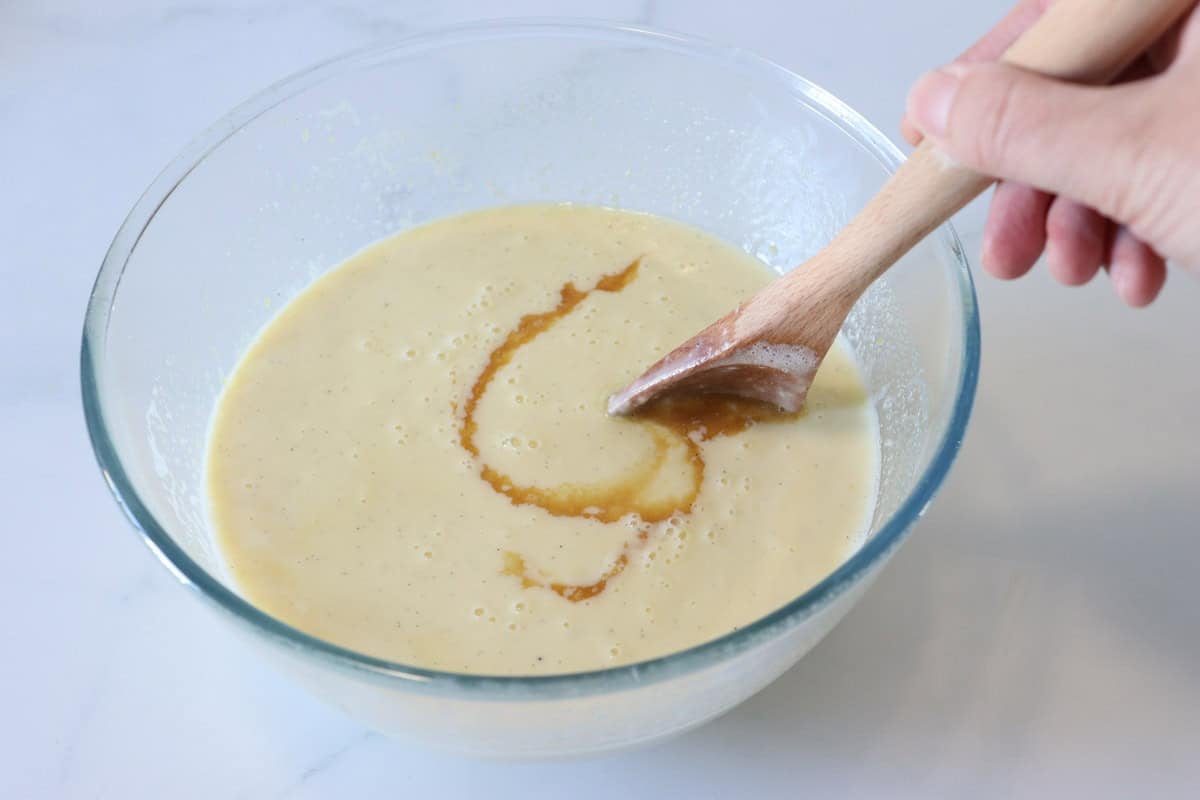
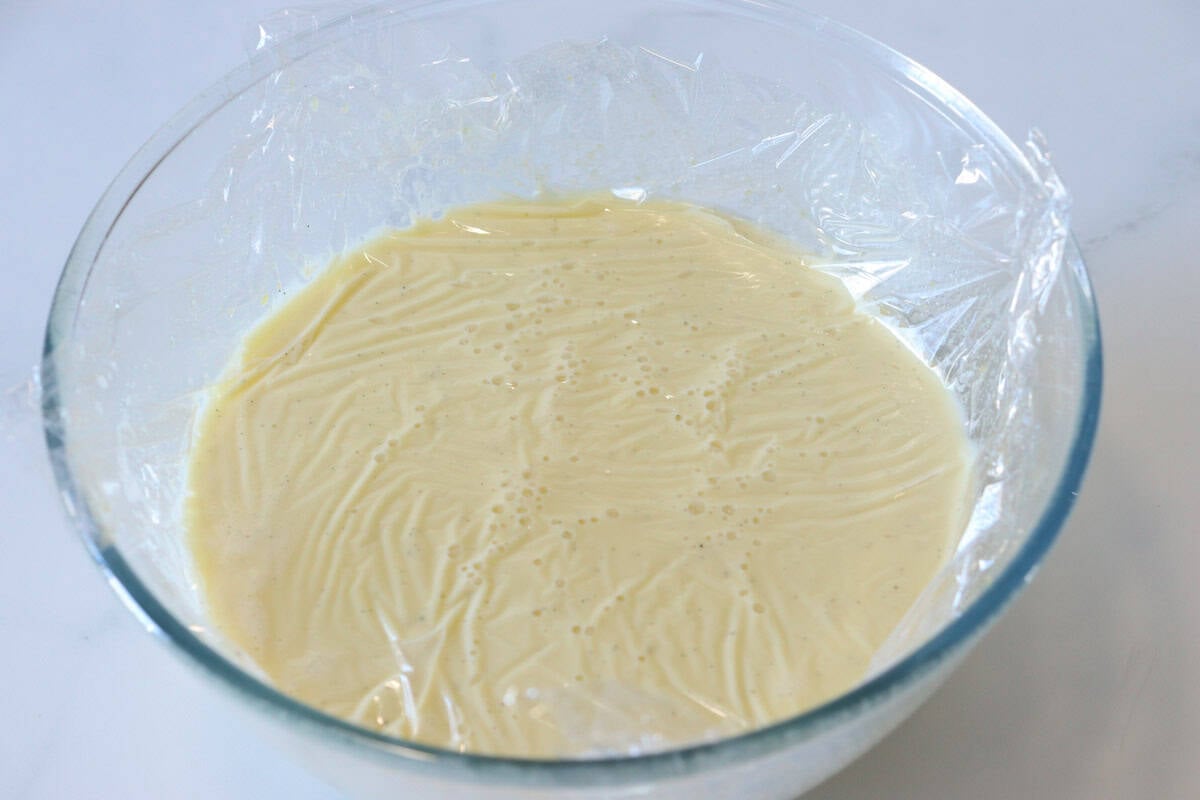
Step 10: Add the vanilla extract and stir well to combine.
Step 10: Cover with plastic wrap directly on top of the mixture. This helps to avoid a 'skin' forming as the custard cools. Leave to cool on the bench for about 1 hour then add another layer of plastic wrap to the top of the bowl (to avoid the custard absorbing unwanted flavours in the fridge) and transfer the custard to the fridge to chill overnight (or for at least 8 hours) and the custard is around 4°C (39.2°F).
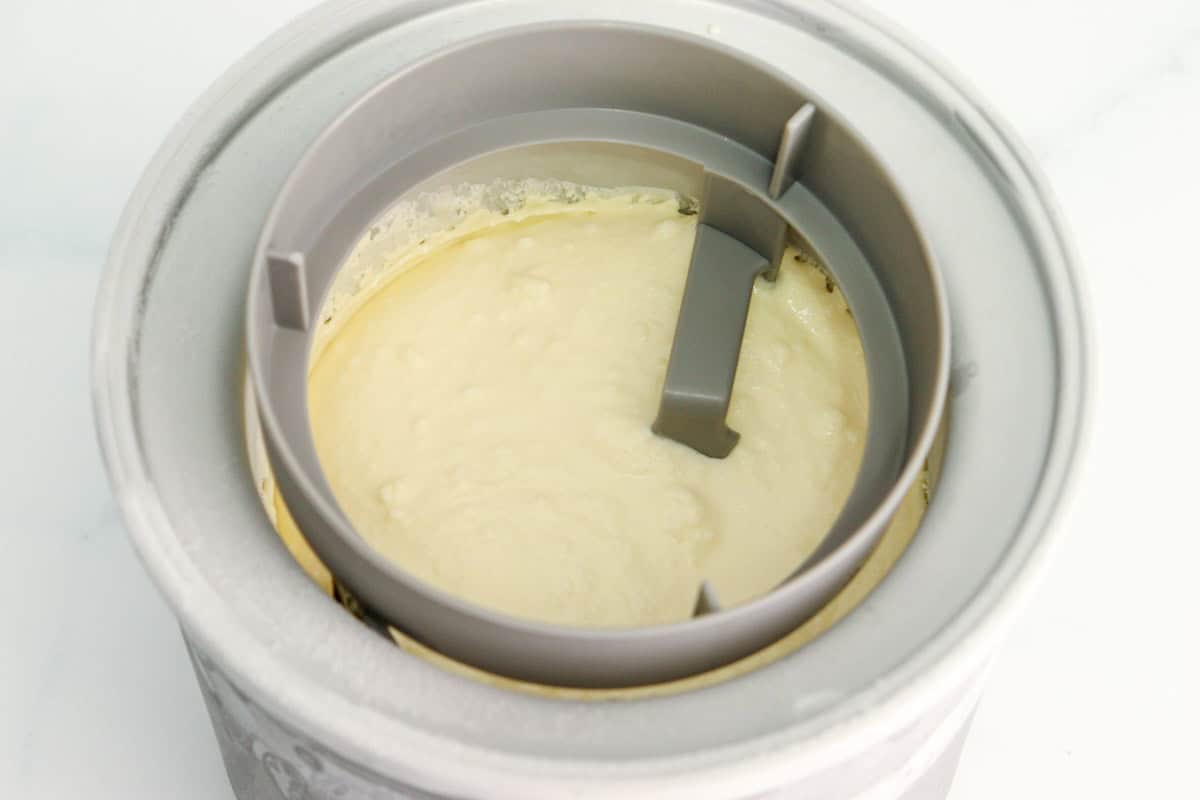
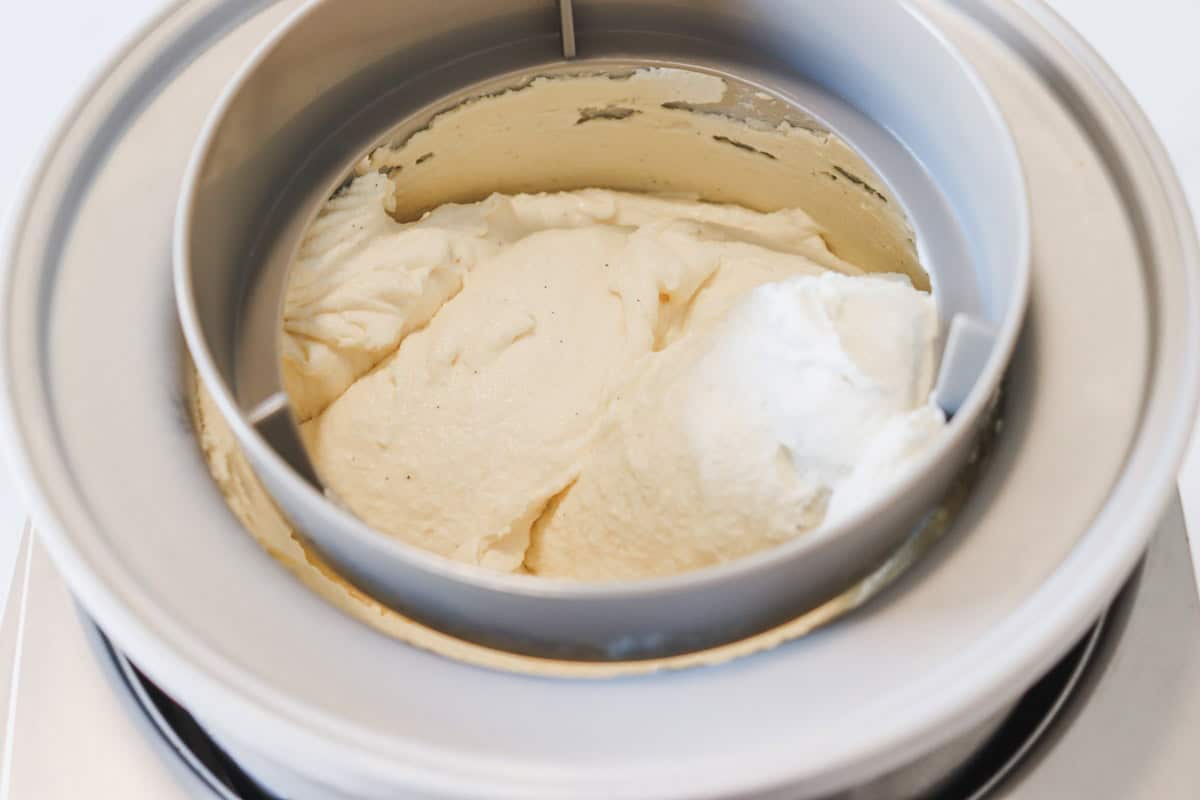
Step 12: Churn the ice cream.
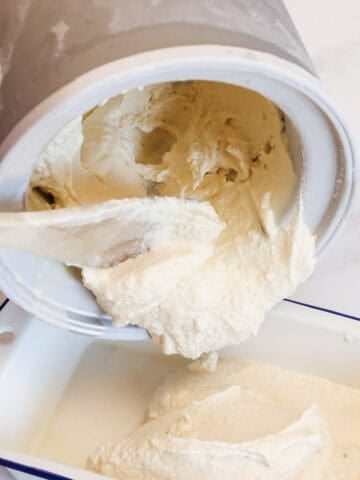
Ice cream maker method: Pour the chilled custard into the bowl of the ice cream maker, insert the whisk, attach the lid and begin churning. Churn for approximately 25 minutes. Then transfer the churned ice cream into a freezer-safe container. I like to use a plastic dough scraper to get it all out without damaging the sides of the freezer bowl. Cover and freeze for at least 3 hours before serving.
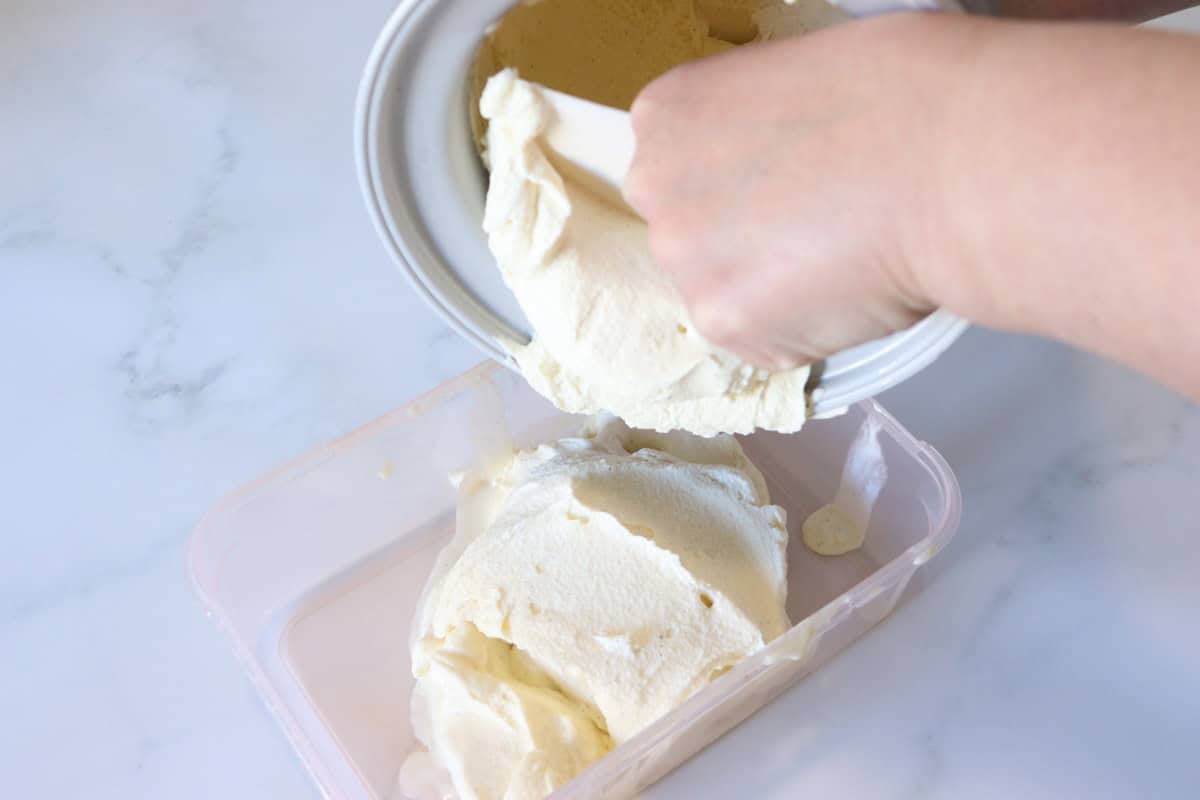
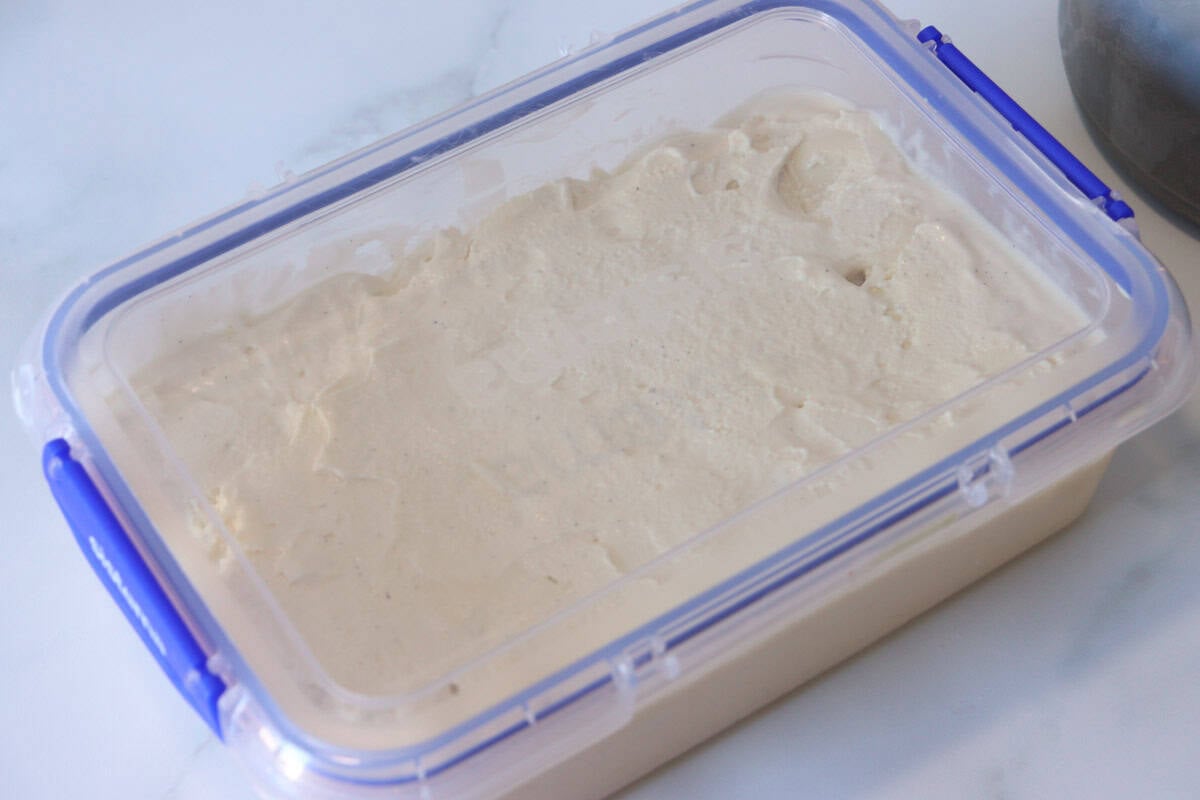
Hand churning method: Pour the chilled custard into a freezer-safe container and place it in the freezer. After 45 minutes mix the ice cream with a wooden spoon, scraping down the sides of the container. Return to the freezer for another 45 minutes. Continue this process until almost frozen, for about 8 hours. Cover and freeze for at least 3 hours before serving.
Tips
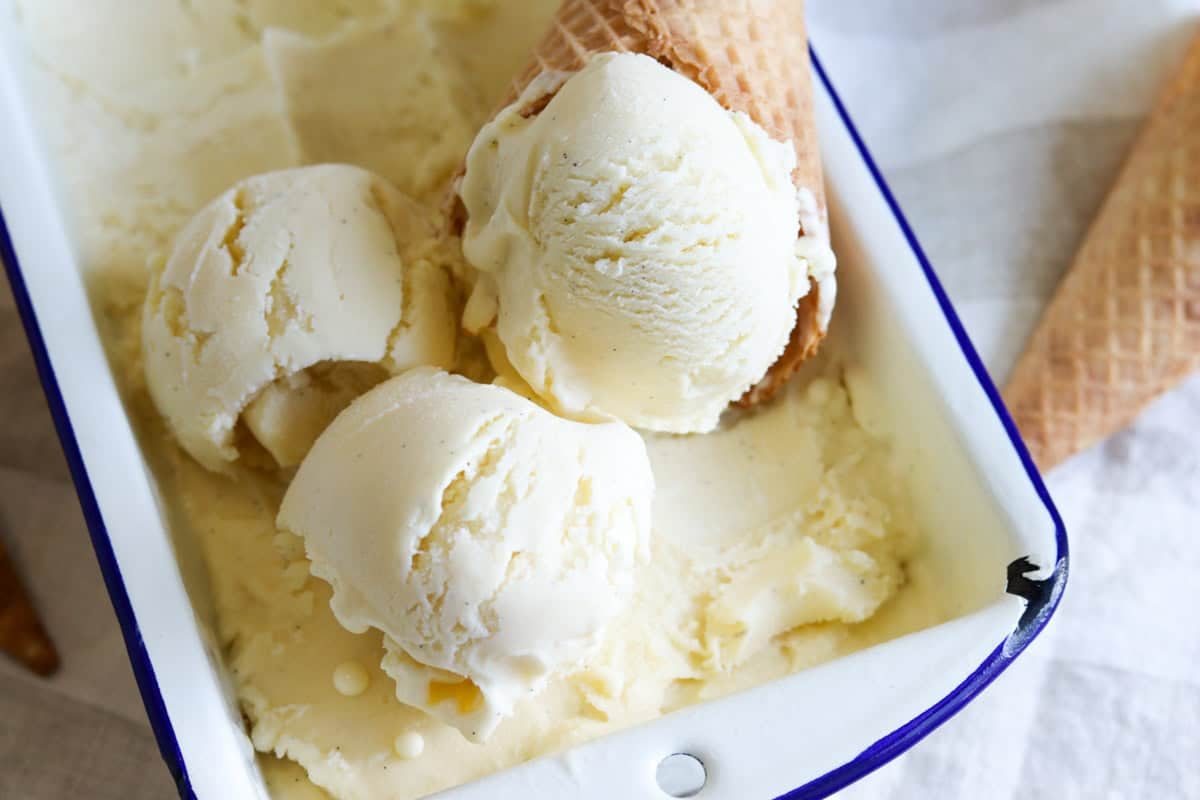
- After freezing, remove the ice cream from the freezer and allow it to sit at room temperature to soften for 5 to 10 minutes before serving.
- Use an ice cream scoop warmed in hot water (then dried with a tea towel) to serve the ice cream.
Storage
Homemade ice cream can be stored in an airtight container in the freezer for several months and will remain safe to eat, however for the best flavour and texture, it's best enjoyed within 1 to 2 weeks.
Frequently Asked Questions
Once the custard has cooled, it can be churned either by hand or with an ice cream maker. Churning incorporates air into the mixture while preventing large ice crystals from forming, resulting in a smoother, lighter texture that is much easier to scoop than custard that has simply been frozen.
Ice cream custard is prepared by gently heating milk, cream, and vanilla to infuse the flavour, then slowly whisking the warm mixture into eggs and sugar. The mixture is returned to the heat and cooked until it thickens into a smooth custard. Once thoroughly chilled, the custard is churned and frozen to create rich, creamy ice cream.
The main difference between traditional ice cream and custard-based ice cream is the addition of eggs, and egg yolks, in the custard base which is cooked and cooled prior to churning. While many ice cream recipes rely solely on milk or cream, the inclusion of eggs creates a richer flavour and a smoother, creamier texture. Eggs act as an emulsifier, helping the fat and liquid blend together more effectively, which reduces ice crystal formation and results in a softer, more luxurious ice cream. This is especially beneficial in recipes that use a higher ratio of milk to cream, as the eggs add fat and improve the overall texture of the finished ice cream.
Custard ice cream is made with milk, cream, sugar, vanilla and eggs.
Pour the chilled custard into a freezer-safe container and place it in the freezer. After 45 minutes mix the ice cream with a wooden spoon, scraping down the sides of the container. Return to the freezer for another 45 minutes. Continue this process until almost frozen, for about 8 hours. Cover and freeze for at least 3 hours before serving.
More ice cream recipes to try:
- Vanilla ice cream made with sweetened condensed milk and cream
- Vanilla ice cream eggs (raw with maple syrup)
If you try this custard base vanilla ice cream recipe and love it, please give it five stars in the recipe card below and leave a review. Your support means so much and helps me share my recipes for free. Tag me on Instagram @pineapple.farmhouse, I'd love to see what you make!
Recipe
Custard base vanilla ice cream recipe
Ingredients
- 2 ⅓ cups full cream milk
- 2 ⅓ cups pure cream
- 1 vanilla bean
- 3 eggs
- 4 egg yolks
- 1 cup sugar
- 2 teaspoon pure vanilla extract
Instructions
- Use a paring knife to split the vanilla bean down the middle. Then use the back of the knife to scrape the vanilla seeds out of each side.
- Combine the vanilla, milk and cream in a saucepan and bring to a slow boil over medium heat stirring occasionally.
- Meanwhile, separate the egg yolks and add them to a mixing bowl. Add the eggs and sugar and whisk well for about two minutes or until the mixture becomes pale.
- When the vanilla, milk and cream mixture has come to boiling, remove the saucepan from the heat and discard the vanilla bean.
- Take one cup of vanilla, milk and cream mixture and slowly pour it into the egg and sugar mixture in a steady steam, whisking constantly.
- Pour the egg and sugar mixture back into the saucepan with the remaining vanilla, cream and milk. Whisk well to combine.
- Return the saucepan to the stove and cook the custard over a medium-low heat stirring constantly with a wooden spoon until the mixture is thick enough to coat the back of the wooden spoon.
- Transfer the custard into a bowl and add the vanilla extract. Mix well to combine.
- Cover with plastic wrap directly on top of the custard. This helps to avoid a 'skin' forming as the custard cools. Leave to cool on the bench for about 1 hour.
- Cover with another layer of plastic wrap on top of the bowl (to avoid unwanted flavours being absorbed into the custard) and place the custard to the fridge to chill overnight (or for at least 8 hours) and the custard is around 4°C (39.2°F).
- Churn the ice cream. Ice cream maker method: Pour the mixture into the bowl of the ice cream maker, insert the whisk, attach the lid and begin churning. Churn for approximately 25 minutes, or until almost frozen. Then transfer the churned ice cream into a freezer-safe container. Hand churning method: Pour the chilled custard mixture into a freezer-safe container and place it in the freezer. After 45 minutes mix the ice cream with a wooden spoon, scraping down the sides of the container. Return to the freezer for another 45 minutes. Continue this process until almost frozen, for about 8 hours.
- Cover and freeze for at least 3 hours before serving.
Notes
- If you're using an ice cream maker, be sure to read the instructions before you begin. If you're using a freezer-bowl ice cream maker, you will need to freeze the inner bowl for 24 hours prior to making this recipe.
- After freezing, remove the ice cream from the freezer and allow it to sit at room temperature to soften for 5 to 10 minutes before serving.
- Use an ice cream scoop warmed in hot water (then dried with a tea towel) to serve the ice cream.
- Store in an airtight container in the freezer. Best enjoyed within 1 to 2 weeks.
Nutrition
Related recipes


Hi, I'm Emily!
I'm a mum of 2 who is passionate about making real food from scratch, homesteading and creating a cozy handmade home. Here on my blog you'll find recipes, DIY projects and inspiration for simple living.



Comments
No Comments