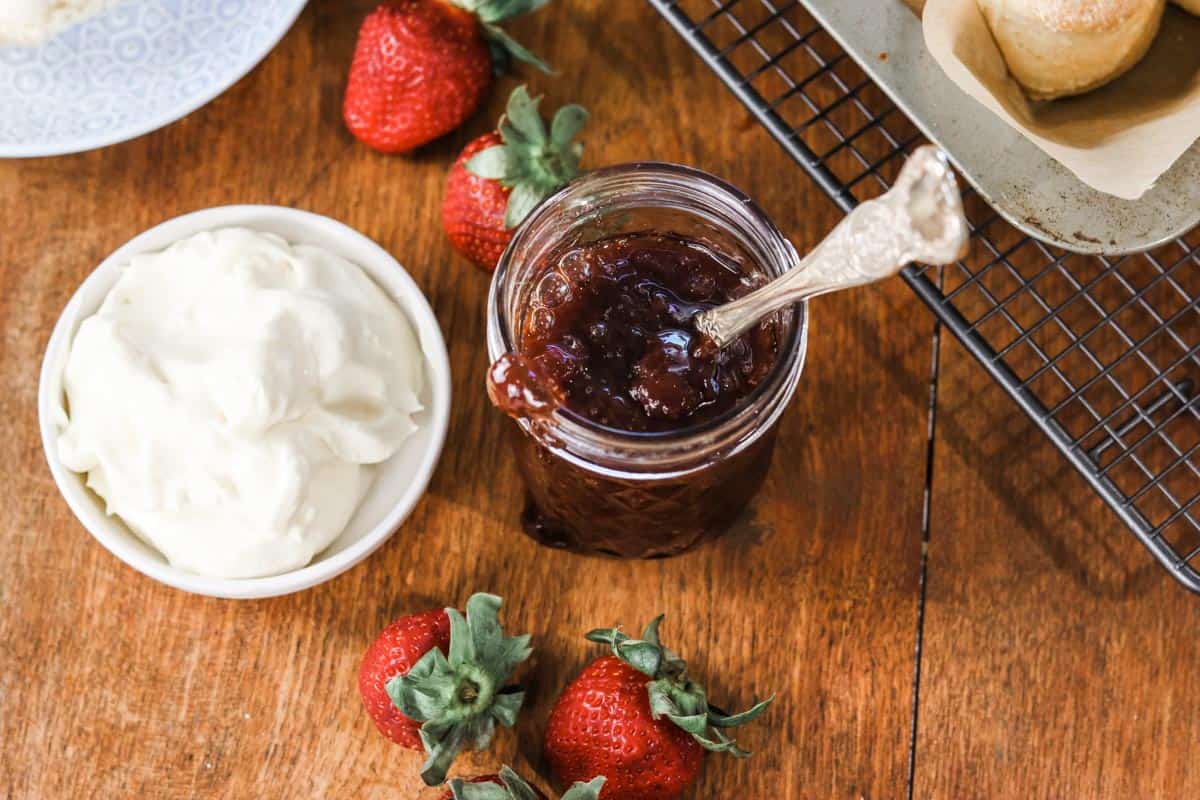
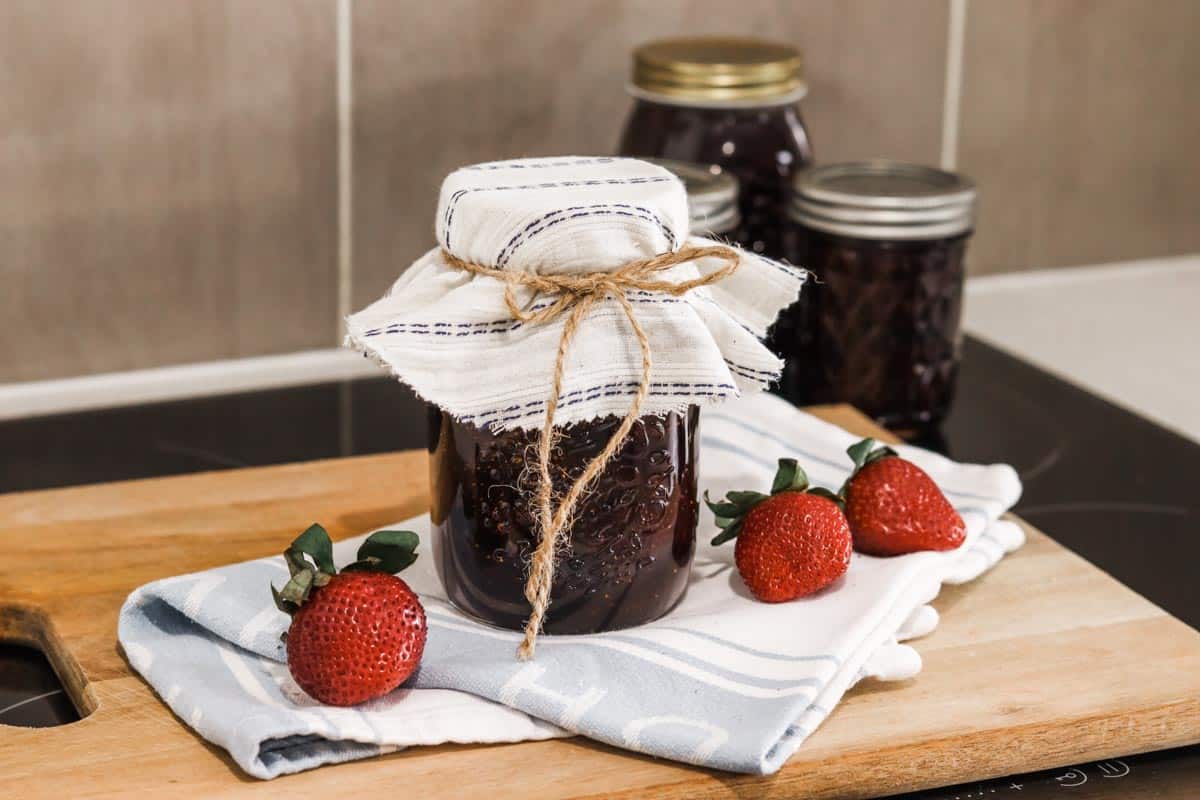
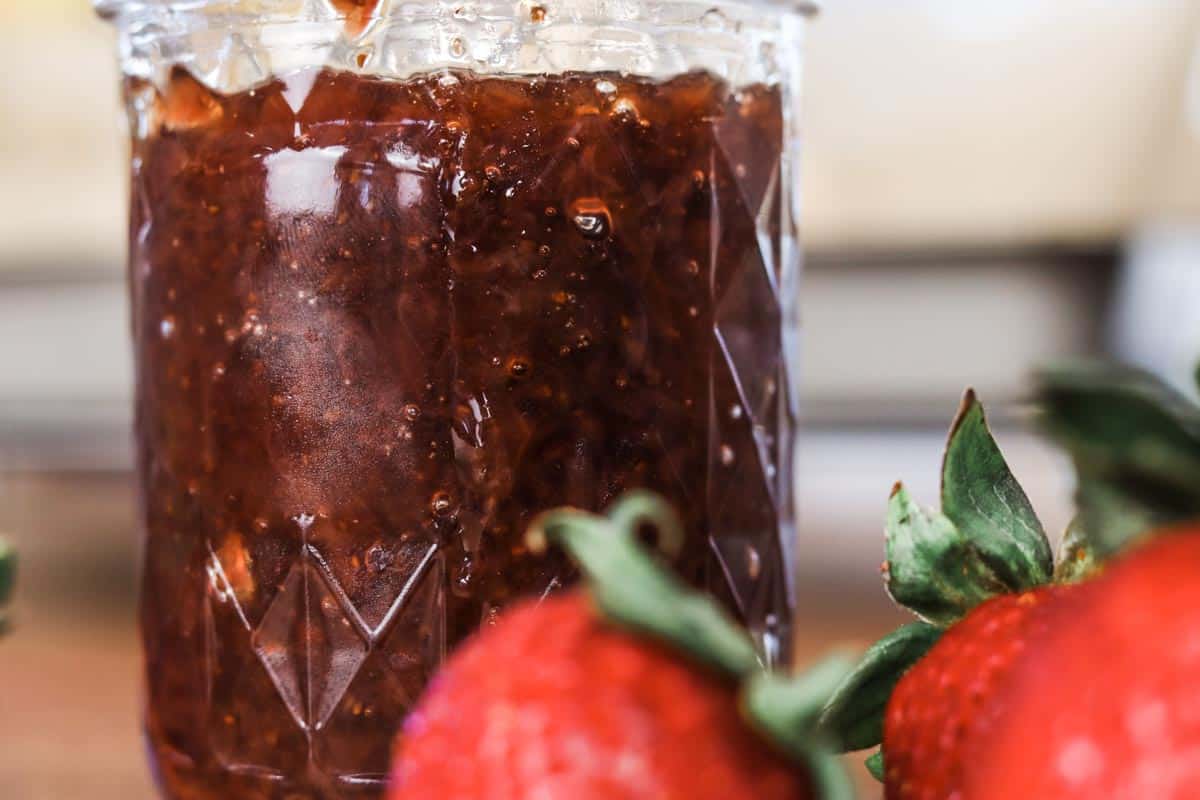
Thick, glossy and delicious strawberry jam begins with fresh in-season strawberries and makes the perfect accompaniment to scones, toast, pikelets and more. Perhaps the most famous of all jams, strawberry jam is a much-loved classic that's very easy to make. In this blog I'm sharing two strawberry jam making recipes; traditional strawberry jam, and a quick and healthy microwave chia version.
Jump to:
- How to make strawberry jam from scratch
- What makes strawberry jam set or thicken?
- Jam making tips
- How to make traditional strawberry jam: Step-by-step instructions
- How to make easy sugar-free microwave chia strawberry jam
- Frequently Asked Questions
- Is homemade strawberry jam healthy?
- Is homemade strawberry jam gluten free?
- Can homemade strawberry jam be frozen?
- Can you make strawberry jam without pectin?
- Can you make strawberry jam without sugar?
- Can you make strawberry jam without lemon juice?
- What can you make with strawberry jam?
- When is the best time to make strawberry jam?
- How long does it take for strawberry jam to set?
- What causes strawberry jam not to set?
- Comments
Each spring I look forward to getting a big bag of farm fresh strawberries from the markets and making enough strawberry jam to get us through the year, as well as a little extra to share with family and friends.
It's the perfect accompaniment to freshly baked scones and sourdough pikelets served for morning tea, or simply spread on your morning toast.
Making jam the traditional way takes a little prior knowledge and time, but it's quite easy and totally worth it to have simple, natural produce put up on the shelves for the year ahead.
Sometimes though we just don't have any spare time, so today I am going to show you both how to make strawberry jam the traditional way, as well as a super quick and healthy microwave chia version.
Some people balk at the amount of sugar in jam, however it is a necessary ingredient to thicken and preserve the jam. Most strawberry jam making recipes call for 70 to 80 percent sugar to fruit and I've read that the minimum you need is 60 percent. I like to use raw organic sugar, but you can you any sugar you like.
For a low sugar option, opt for the microwave chia jam which can be kept in the fridge for up to a week.
I learnt a lot about jam making and preserving from Sally Wise's book Complete Preserves and recommend this as a great resource for any budding home cooks.
How to make strawberry jam from scratch
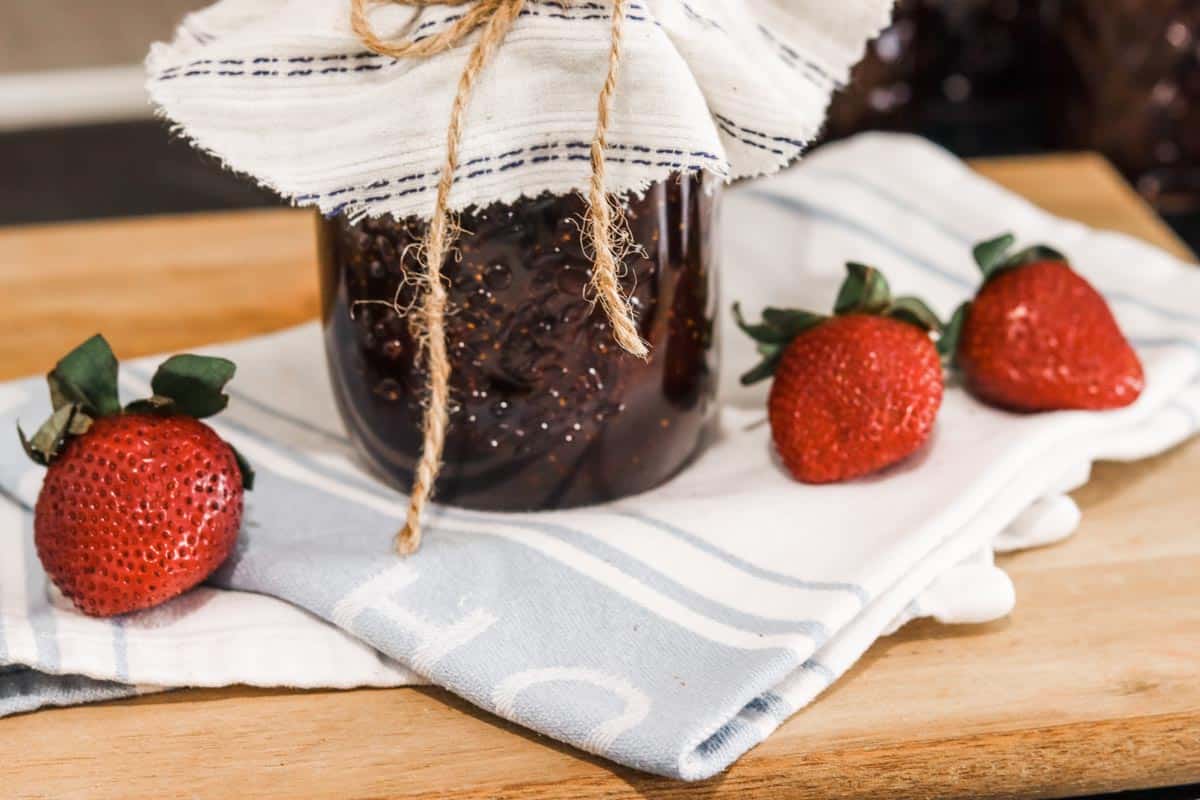
Strawberries can be preserved for up to a year by making them into jam.
The strawberry jam mixture is boiled until it reaches 105 degrees celsius, and the heat and added acids cause a reaction that activates the naturally occurring pectin in the fruit which 'sets' the jam, giving it a gel-like consistency.
It is then spooned into jars, sealed and processed in a water bath. Preserving jam this way gives it the best chance to stay fresh and safe to eat for up to a year.
Read on for my two favourite strawberry jam making recipes.
What makes strawberry jam set or thicken?
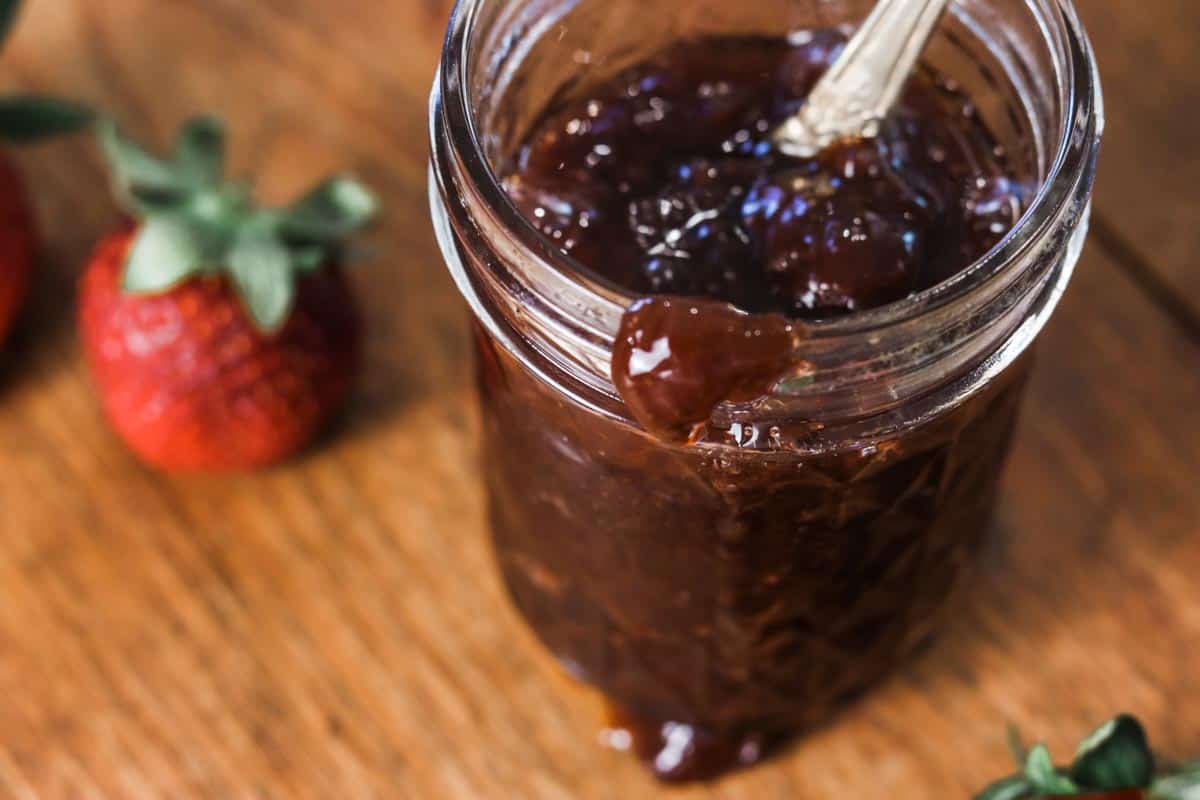
All fruits contains a substance called pectin and this is what sets the jam. Some fruits such as strawberries contain relatively low levels of pectin, so most strawberry jam recipes call for lemon, citric acid or pectin to be added to aid setting.
Microwave chia jam on the other hand relies on the gelling effect of chia seeds mixed with stewed strawberry.
Jam making tips
- Organise jars and equipment before you buy your strawberries.
- Unblemished, slightly under ripe strawberries work best due to their higher acid content
- Split your jam making over a number of days. For example, wash and chop the strawberries one day, sterilise the jars and equipment the next, and finally, allocate at least half a day to making and processing your jam. This way you won't feel too much pressure when you're first starting out.
- Keep a close eye on your jam as it boils and stir often otherwise the sugar may burn on the bottom of the pan. If this happens, stop stirring and transfer the mixture to a fresh pan and pick out any burnt bits or use a sieve before recommencing cooking. I'm speaking from experience!
- Wear comfy shoes in the kitchen and have a chair near the stove.
- Small jars work best, especially if you're planning on giving jam away as gifts.
How to make traditional strawberry jam: Step-by-step instructions
Tools you may need
- Large stock pot or saucepan (must be big enough to fully immerse the jars)
- Small saucepan
- Tongs
- Jar lifter
- 6 x 240 mL (8 oz) preserving jars and lids
- Wide mouth stainless steel funnel
- Baking tray
- Paper towel
- Knife
- Chopping board
- Lemon zester/rinder
- Heavy-based large saucepan
- Wooden spoon
- Saucer or dessert spoon
Ingredients
- 2 kg Strawberries (once stems removed approx. 1.8 kg)
- 1.3 kg Organic raw sugar
- Rind of 2 lemons
- juice of half a lemon
Method
To sterilise the jars and equipment
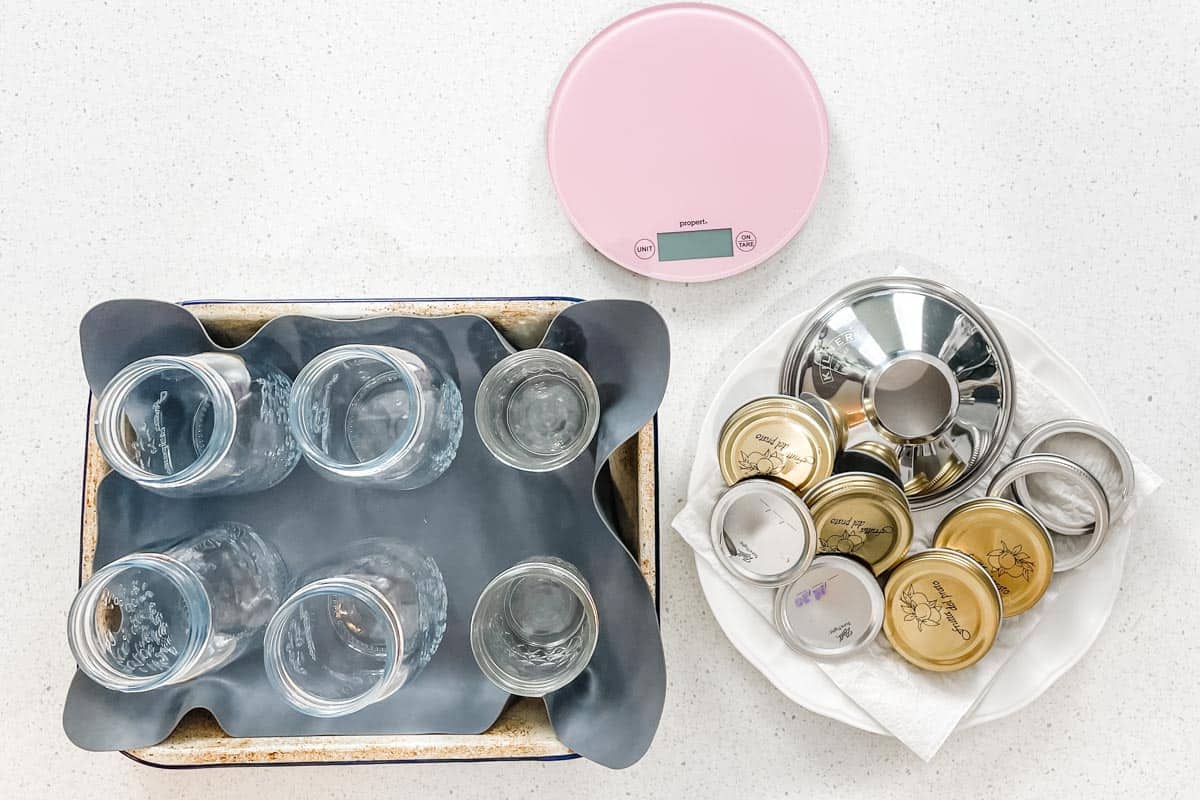
Wash the jars in warm soapy water and then place them on a baking tray.
Place the tray in the oven and turn the temperature to 110 degrees celsius (220 Fahrenheit). When the thermostat indicates the temperature has been reached, leave the jars for five minutes and then turn the oven off. Leave the jars in the oven to keep warm.
Meanwhile add the lids and funnel to a medium saucepan filled with water. Bring to the boil and boil vigerously for 5 minutes.
Lay 3-4 sheets of clean paper towel on a plate. Using tongs, careful remove the lids and funnel from the boiling water. Allow them to drip/air dry on the paper towel. If any water drops remain, hand dry with clean paper towel using clean hands.
Place the sterilised equipment in a safe position where it won't be touched or accidentally fall.
To make the jam
Place a saucer or dessert spoon in the freezer to chill. This will be used to test the jam has reached its setting point after cooking.
Fill a large stock pot with water (enough to cover the jars standing upright) and bring to the boil, ready for processing the jars after they're filled.
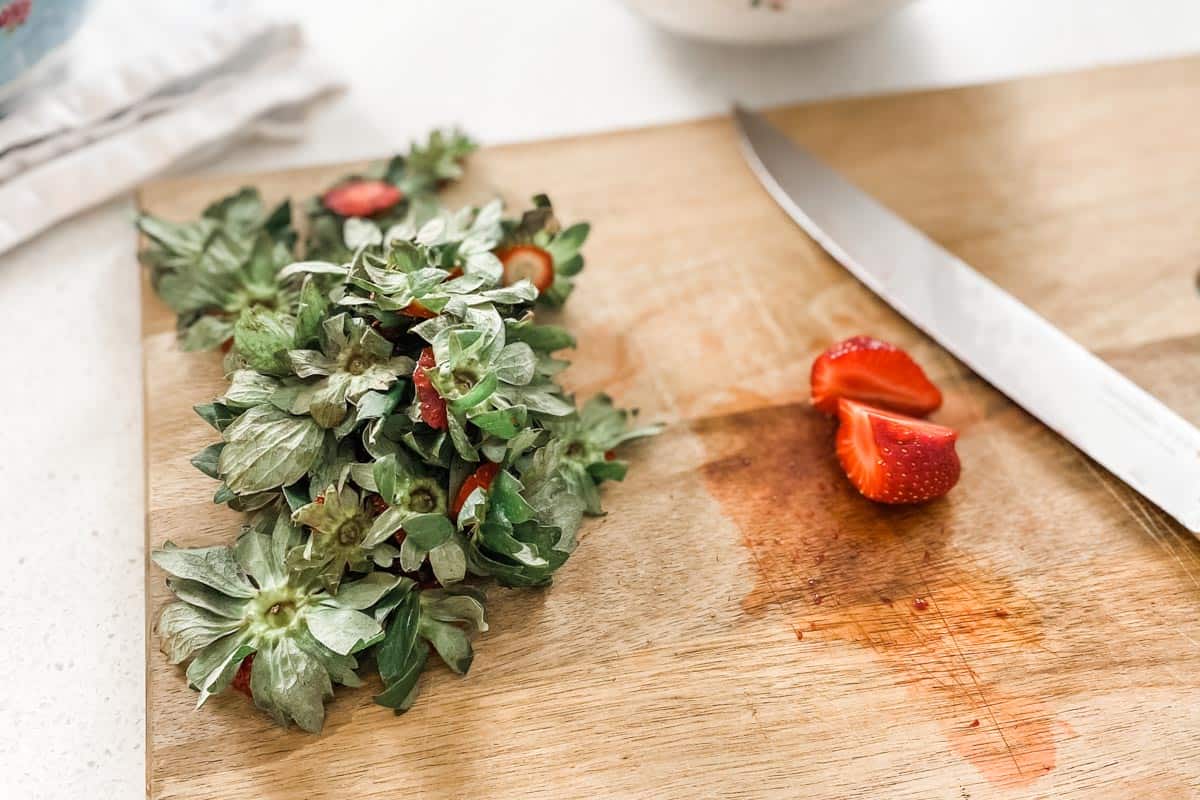
Remove the green tops and roughly chop the strawberries. You can mash the strawberries if you prefer a thinner jam consistency.
Add the strawberries to a heavy based saucepan and then add the sugar, lemon rind and juice.
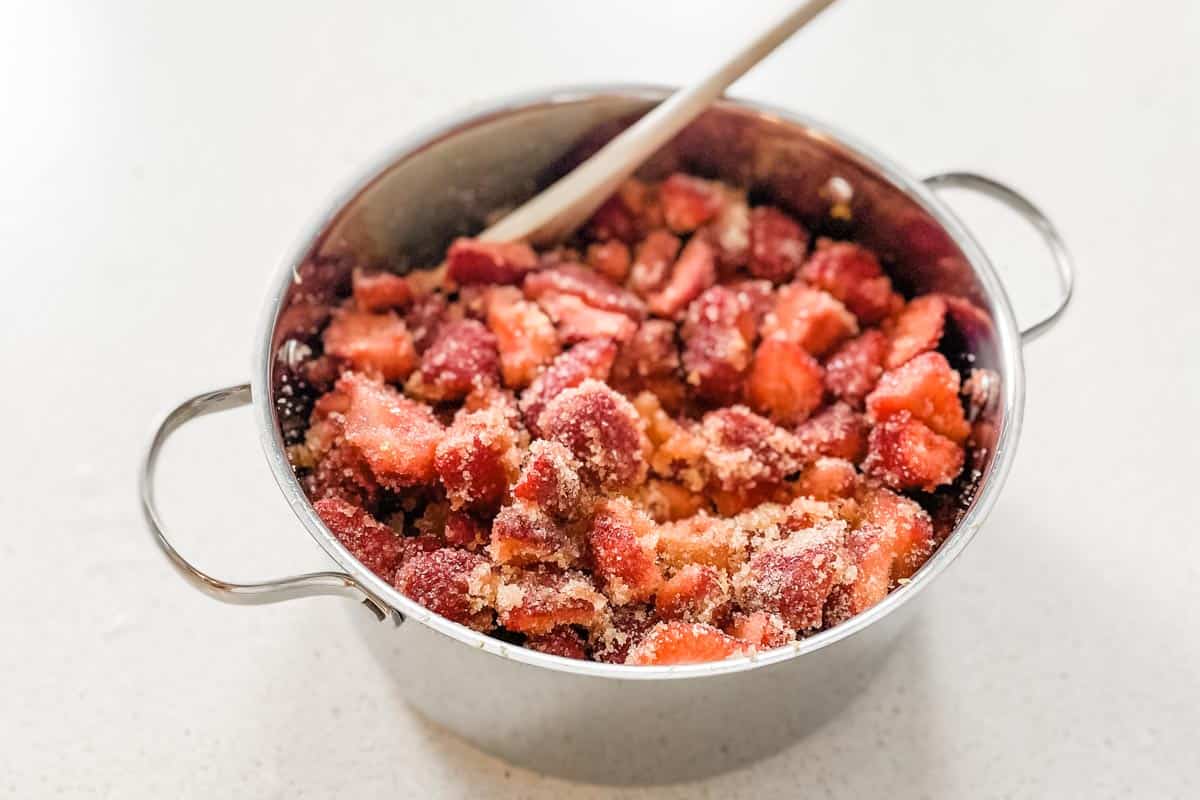
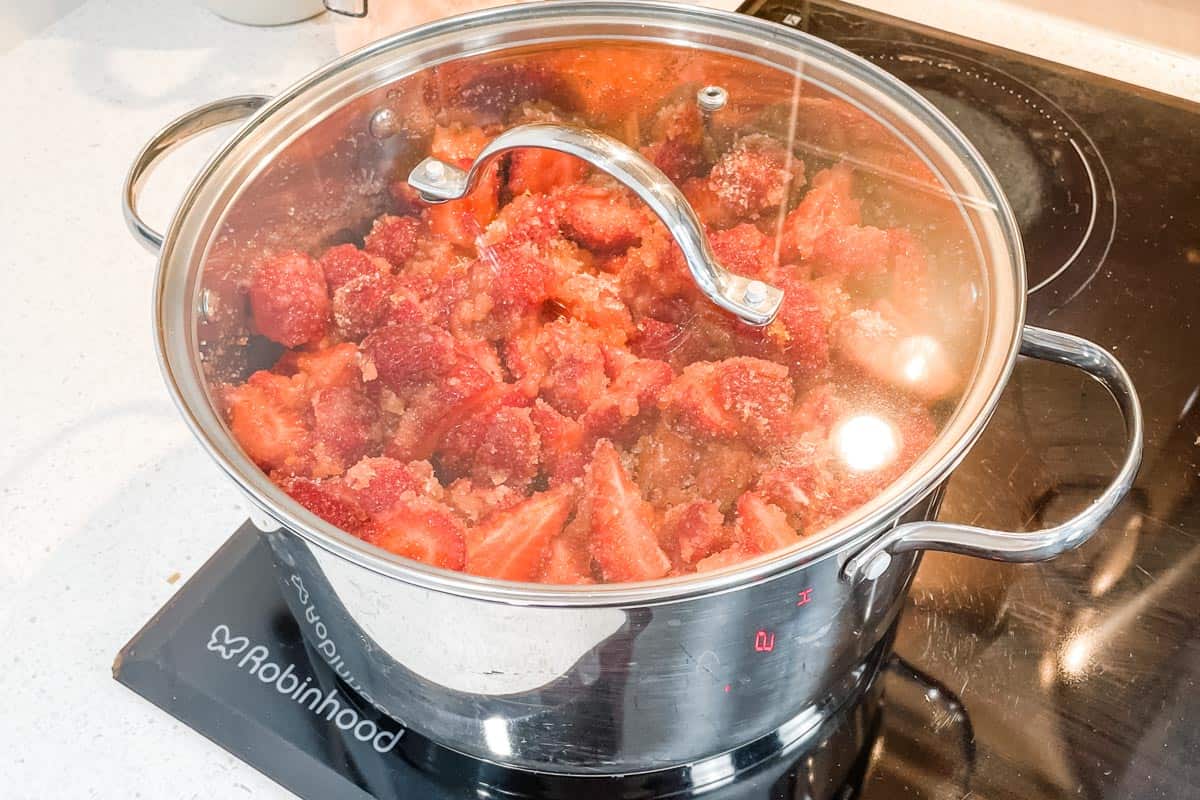
Cook over a medium heat until the sugar has dissolved, stirring frequently.
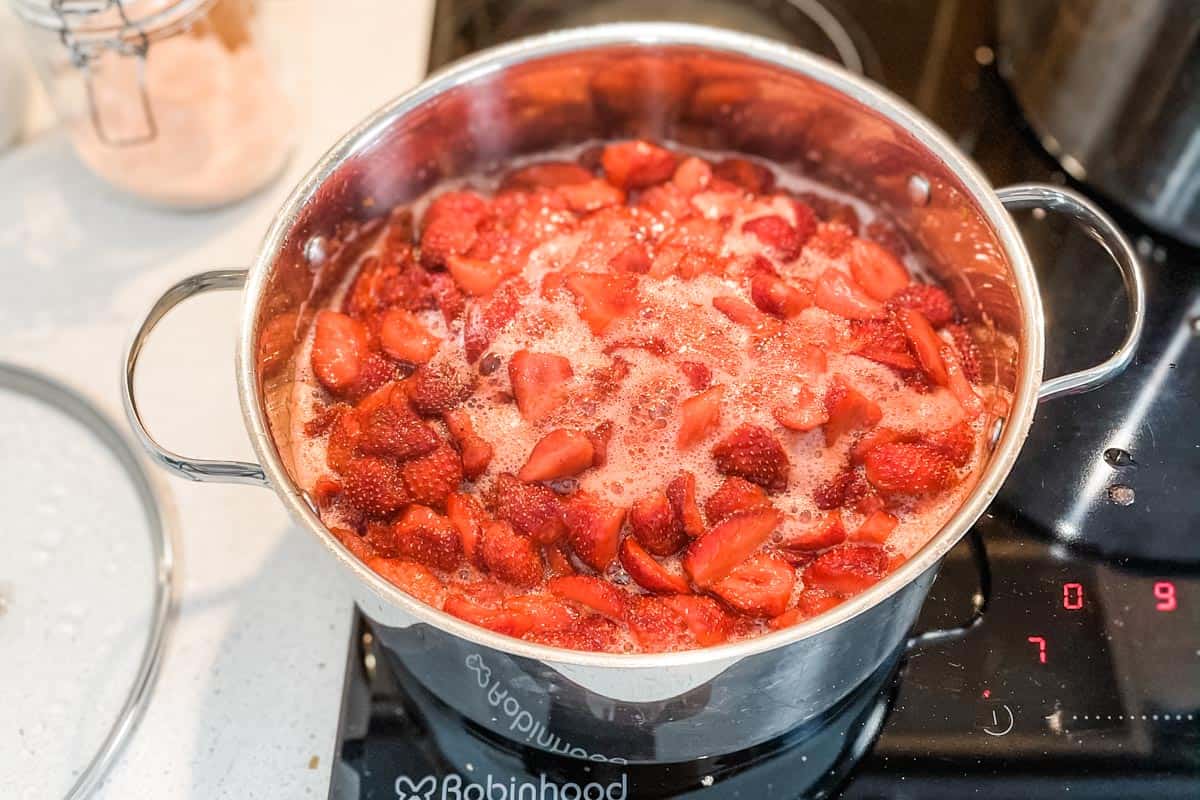
Bring the jam to the boil and cook vigorously until the setting point is reached (about 30 minutes of constant boiling), stirring frequently.
After 30 minutes, test the jam has reached the setting point by placing a teaspoon of jam on the chilled saucer or spoon. Return it to the freezer and after 2 minutes, run your finger through the jam. If the jam separates and stay separated/runs slowly, the jam has reached the setting point, if not continue cooking and checking every 5 minutes or so.
Once the setting point has been achieved, immediately ladle into the warm sterilised jars leaving 0.5 centimetres head space (distance from the top of the jar to the filling). Add the lids.
Using the jar lifter, carefully place the sealed jars in the stockpot of boiling water. When the water resumes boiling, set the timer and process for 5 minutes.
After 5 minutes, remove carefully remove the jars with the jar lifter and place them on a tea towel. When cool to touch, tighten the lids again.
As the jars cool the lids should compress. These can be stored for up to a year in a cool dark place. If any lids do not compress, store in the fridge and use within three months.
If you make this recipe and love it, I would love if you gave it 5 stars! Tag me on Instagram @pineapplefarmhouse with your delicious creation.
Strawberry Jam
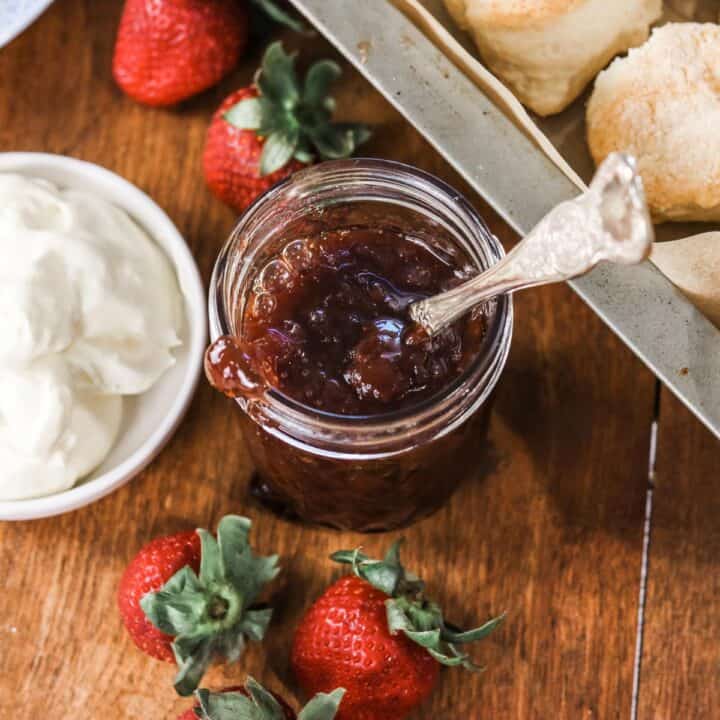
Thick, glossy and delicious strawberry jam begins with fresh in-season strawberries and makes the perfect accompaniment to scones, toast, pikelets and more. Perhaps the most famous of all jams, strawberry jam is a much-loved classic that's very easy to make.
Ingredients
- 2 kg Strawberries (once stems removed approx. 1.8 kg)
- 1.3 kg Organic raw sugar
- Rind of 2 lemons
- Juice of half a lemon
Instructions
To sterilise the jars and equipment
1. Wash the jars in warm soapy water and then place them on a baking tray.
2. Place the tray in the oven and turn the temperature to 110 degrees celsius (220 Fahrenheit). 3. 4. When the thermostat indicates the temperature has been reached, leave the jars for five minutes and then turn the oven off. Leave the jars in the oven to keep warm.
Meanwhile add the lids and funnel to a medium saucepan filled with water. Bring to the boil and boil vigerously for 5 minutes.
5. Lay 3-4 sheets of clean paper towel on a plate. Using tongs, careful remove the lids and funnel from the boiling water. Allow them to drip/air dry on the paper towel. If any water drops remain, hand dry with clean paper towel using clean hands.
6. Place the sterilised equipment in a safe position where it won't be touched or accidentally fall.
To make the jam
1. Place a saucer or dessert spoon in the freezer to chill. This will be used to test the jam has reached its setting point after cooking.
2. Fill a large stock pot with water (enough to cover the jars standing upright) and bring to the boil, ready for processing the jars after they're filled.
Remove the green tops and roughly chop the strawberries. You can mash the strawberries if you prefer a thinner jam consistency.
3. Add the strawberries to a heavy based saucepan and then add the sugar, lemon rind and juice.
4. Cook over a medium heat until the sugar has dissolved, stirring frequently.
5. Bring the jam to the boil and cook vigorously until the setting point is reached (about 30 minutes of constant boiling), stirring frequently.
6. After 30 minutes, test the jam has reached the setting point by placing a teaspoon of jam on the chilled saucer or spoon. Return it to the freezer and after 2 minutes, run your finger through the jam. If the jam separates and stay separated/runs slowly, the jam has reached the setting point, if not continue cooking and checking every 5 minutes or so.
7. Once the setting point has been achieved, immediately ladle into the warm sterilised jars leaving 0.5 centimetres head space (distance from the top of the jar to the filling). Add the lids.
Using the jar lifter, carefully place the sealed jars in the stockpot of boiling water. When the water resumes boiling, set the timer and process for 5 minutes.
8. After 5 minutes, remove carefully remove the jars with the jar lifter and place them on a tea towel. When cool to touch, tighten the lids again.
9. As the jars cool the lids should compress. These can be stored for up to a year in a cool dark place. If any lids do not compress, store in the fridge and use within three months.
Nutrition Information:
Yield: 71 Serving Size: 1Amount Per Serving: Calories: 81Total Fat: 0gSaturated Fat: 0gTrans Fat: 0gUnsaturated Fat: 0gCholesterol: 0mgSodium: 8mgCarbohydrates: 21gFiber: 1gSugar: 20gProtein: 0g
This information is approximate and should be used as a guide only.
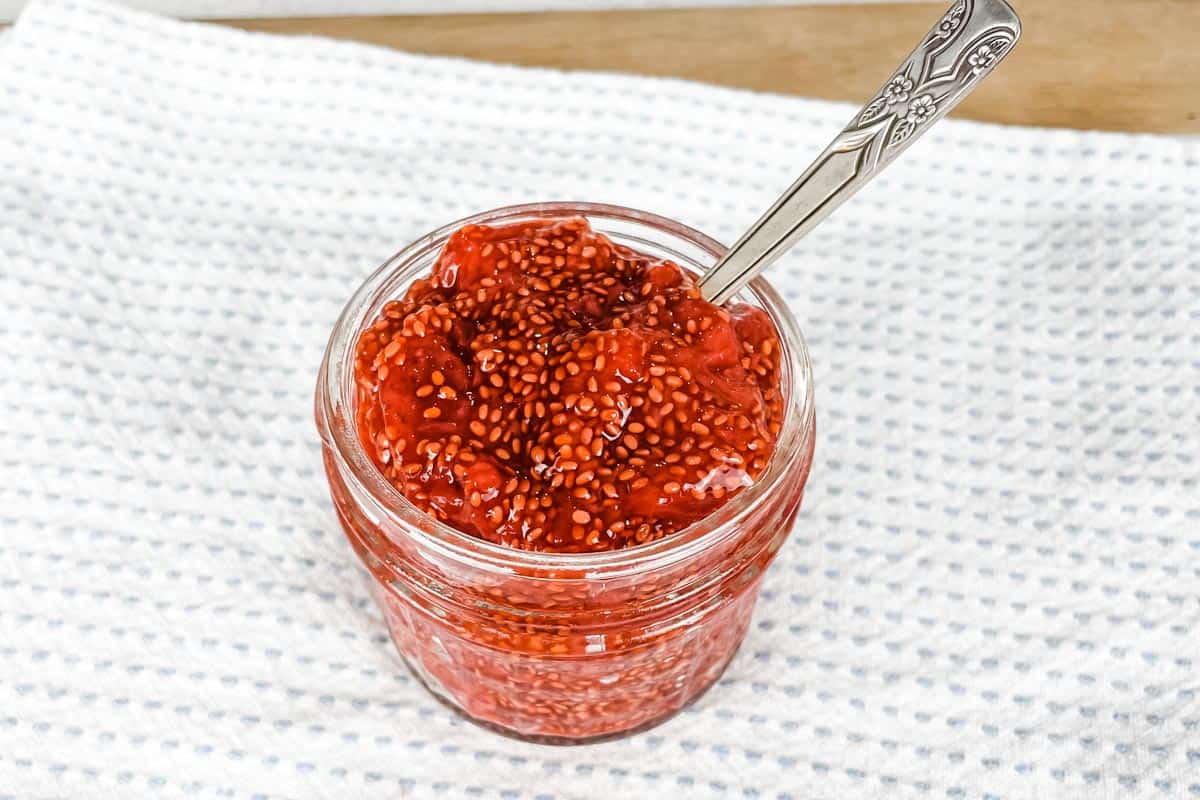
How to make easy sugar-free microwave chia strawberry jam
If you're trying to reduce your sugar consumption, or are just short on time, try my quick and easy microwave chia strawberry jam recipe.
Frequently Asked Questions
Is homemade strawberry jam healthy?
Homemade strawberry jam is healthier than store bought because you can control the amount of sugar you use and you can choose to use all-natural, organic ingredients.
Though strawberry jam making recipes are usually high in sugar, they can be enjoyed occasional as part of a balanced diet, or by making sugar-free microwave chia strawberry jam.
Is homemade strawberry jam gluten free?
Yes, strawberry jam ingredients are typically gluten free.
Can homemade strawberry jam be frozen?
You can freeze traditionally prepared jams after they have cooled. If you're going to store your jam in glass jars in the freezer, ensure they are freezer safe and leave about 2 cm head space to allow for expansion.
Frozen jam can be kept for up to a year, however it may start to loose some of its flavour after 6 months.
Microwave chia jam can be frozen for up to 3 months.
Can you make strawberry jam without pectin?
You can make strawberry jam without pectin by adding lemon juice and rind or citric acid.
Can you make strawberry jam without sugar?
You can't make traditional strawberry jam without sugar, but you can make microwave chia jam without it.
Can you make strawberry jam without lemon juice?
If you don't have lemon juice and rind on hand you can use 1 teaspoon of citric acid instead.
What can you make with strawberry jam?
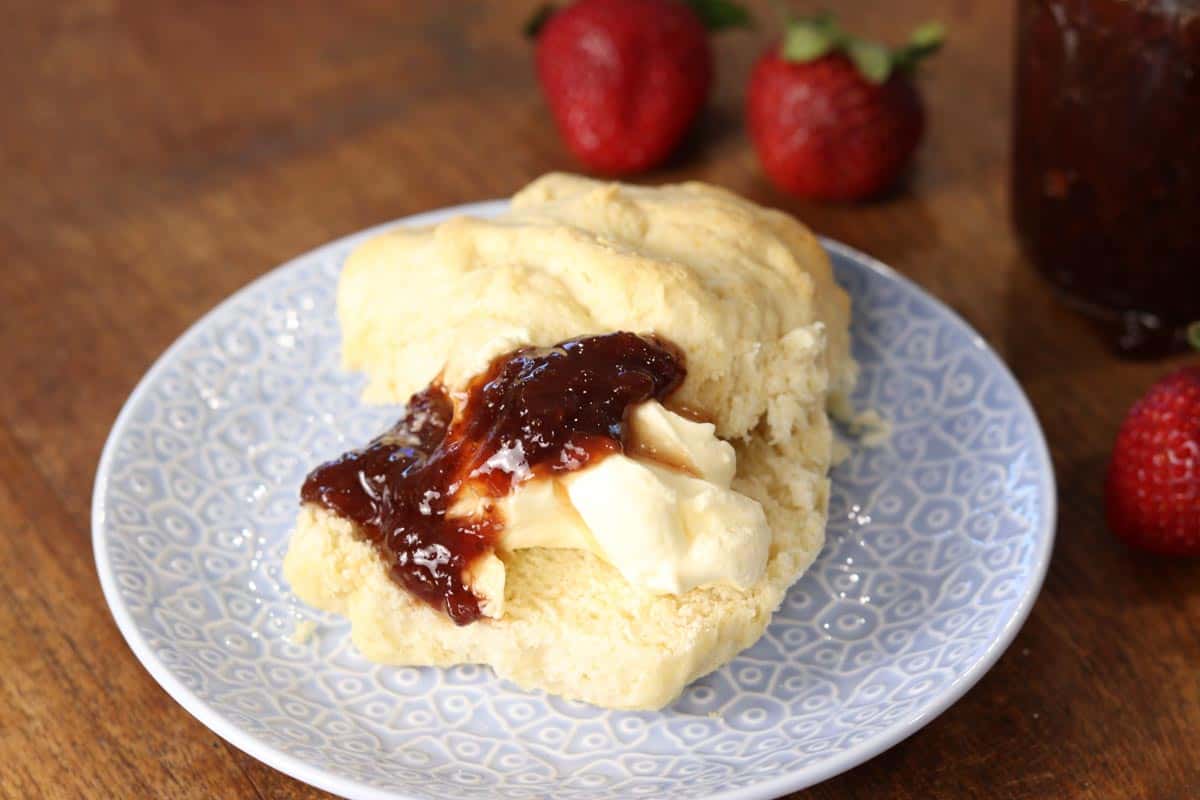
Strawberry jam is delicious served with scones, pikelets and toast. You can also use jam with cream to ice and fill cakes and tarts, and flavour drinks.
When is the best time to make strawberry jam?
The best time to make strawberry jam is when strawberries are fresh and in season.
In Australia, in subtropical regions, this is from May to October, and in temperate regions from October to June.
How long does it take for strawberry jam to set?
Once your jam is boiling vigerously and producing foam, it should only take 20 - 30 minutes to reach setting point. If the fruit is low in pectin it may take longer and this will produce a darker jam as the sugar caramelises.
What causes strawberry jam not to set?
There are a number of reasons why your jam may not set and it might take you a few batches to get it right.
The main reasons jam won't set include:
- not enough cooking time
- not enough sugar
- not enough pectin
- too much added water or other added ingredients.
Jam that hasn't set hard is still safe to eat (as long as it has been boiled for 20 - 30 minutes and processed correctly) and can be used as a dessert syrup or to flavour drinks. So if your jam doesn't set, don't throw it out snd enjoy it anyway!

Comments
No Comments