


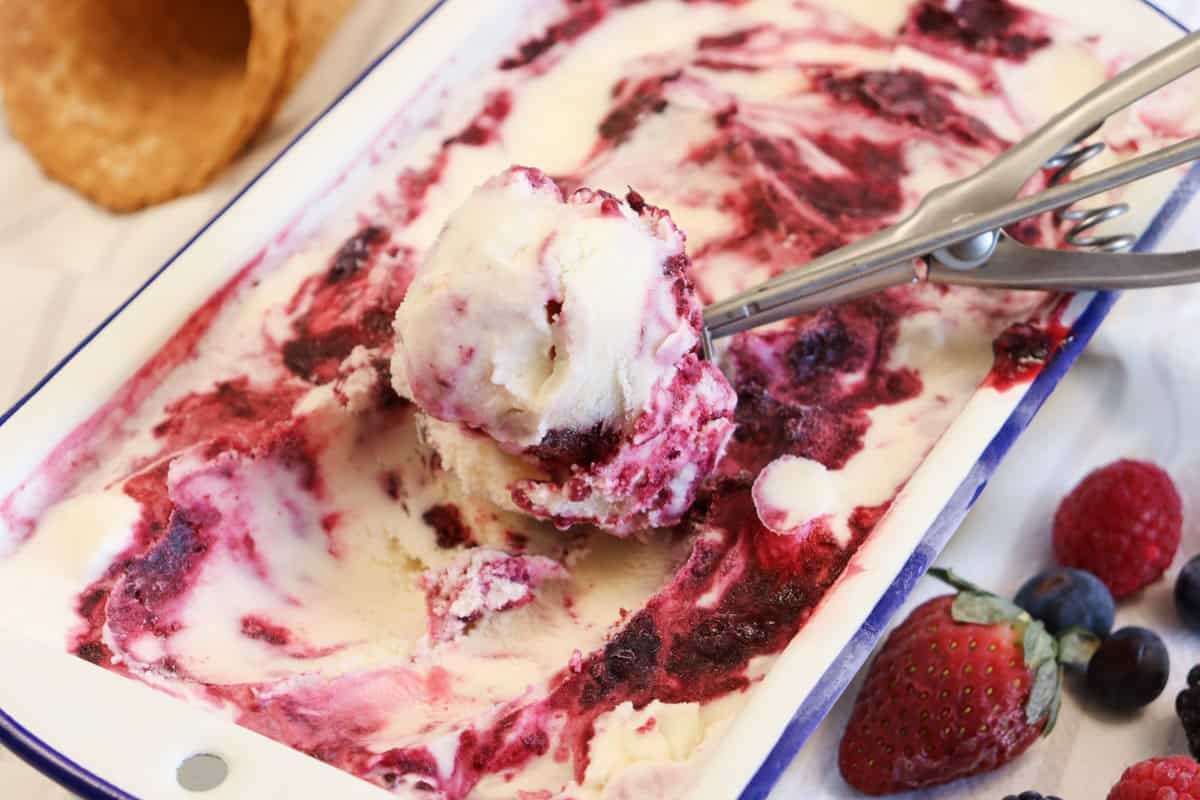
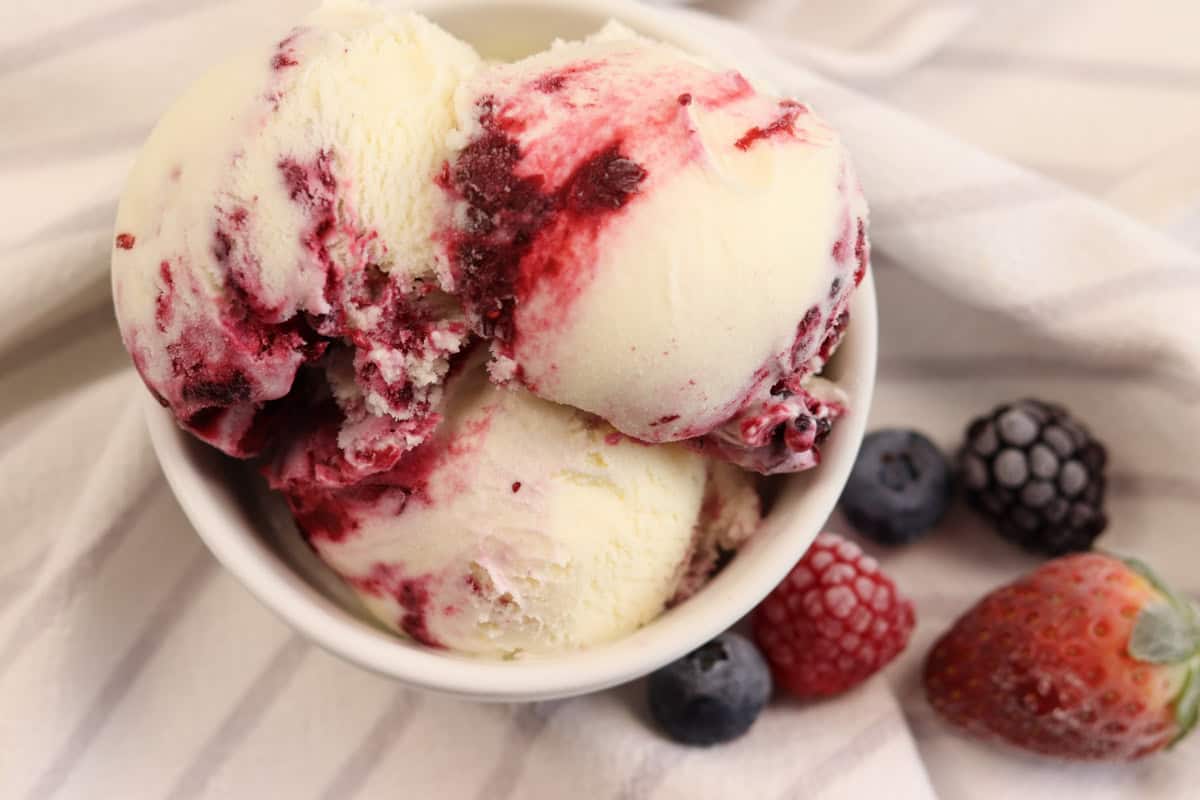
Made from scratch with simple ingredients and packed with real fruit, this homemade berry ice cream delivers a light and creamy texture and vibrant berry flavour in every bite. Whether you're looking for a fun family dessert, a way to use up an abundance of seasonal berries, or simply craving a refreshing homemade treat, this berry ice cream is sure to become a favourite.
Jump to:
- Mixed berry ice cream recipe with or without an ice cream maker
- How to serve homemade berry ice cream
- More favourite ice cream recipes
- Ingredients for homemade berry ice cream
- Equipment
- Method
- How to make homemade berry ice cream without an ice cream machine/maker
- Tips
- Storage
- Frequently Asked Questions
- Recipe
- Related recipes
- Comments
One of the best things about this homemade berry ice cream is how it transforms a handful of simple ingredients into a delicious frozen treat.
Fresh or frozen berries are transformed into a tangy fruit sauce that's bursting with flavour before being chilled and swirled through the ice cream to create beautiful ribbons of colour and flavour.
Milk, cream, sugar, and vanilla extract are combined to create a smooth ice cream base with a classic flavour that perfectly complements the berries. Once mixed, the base is churned until it becomes light and creamy.
It's an eggless ice cream recipe (otherwise known as Philedelphia-style ice cream) so it's quick and easy to make without having to cook and cool a custard ice cream base.
This may just be my favourite homemade ice cream yet!
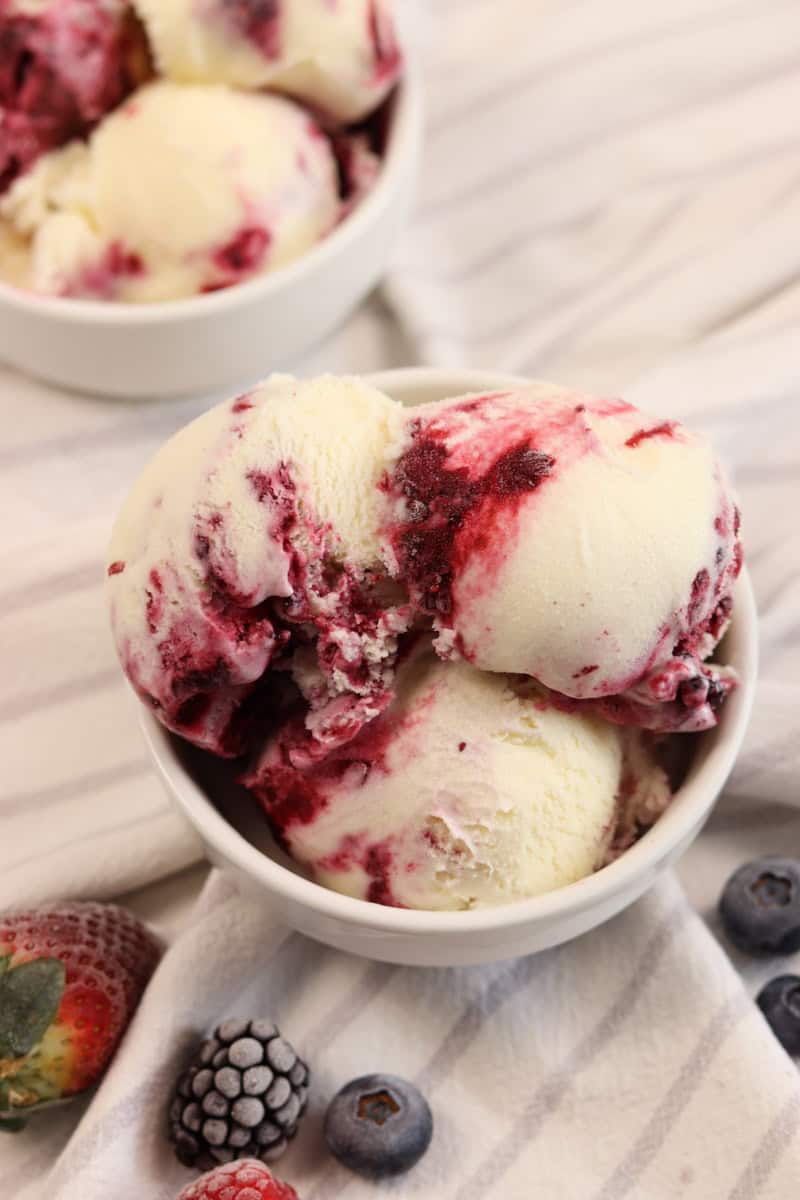
Mixed berry ice cream recipe with or without an ice cream maker
To churn the ice cream, I have in included instructions for a freezer-bowl style ice cream maker/machine. For other machine types, refer to the manufacturer's instructions.
If you don't have an ice cream maker don't worry. I have also included instructions for how to churn ice cream by hand.
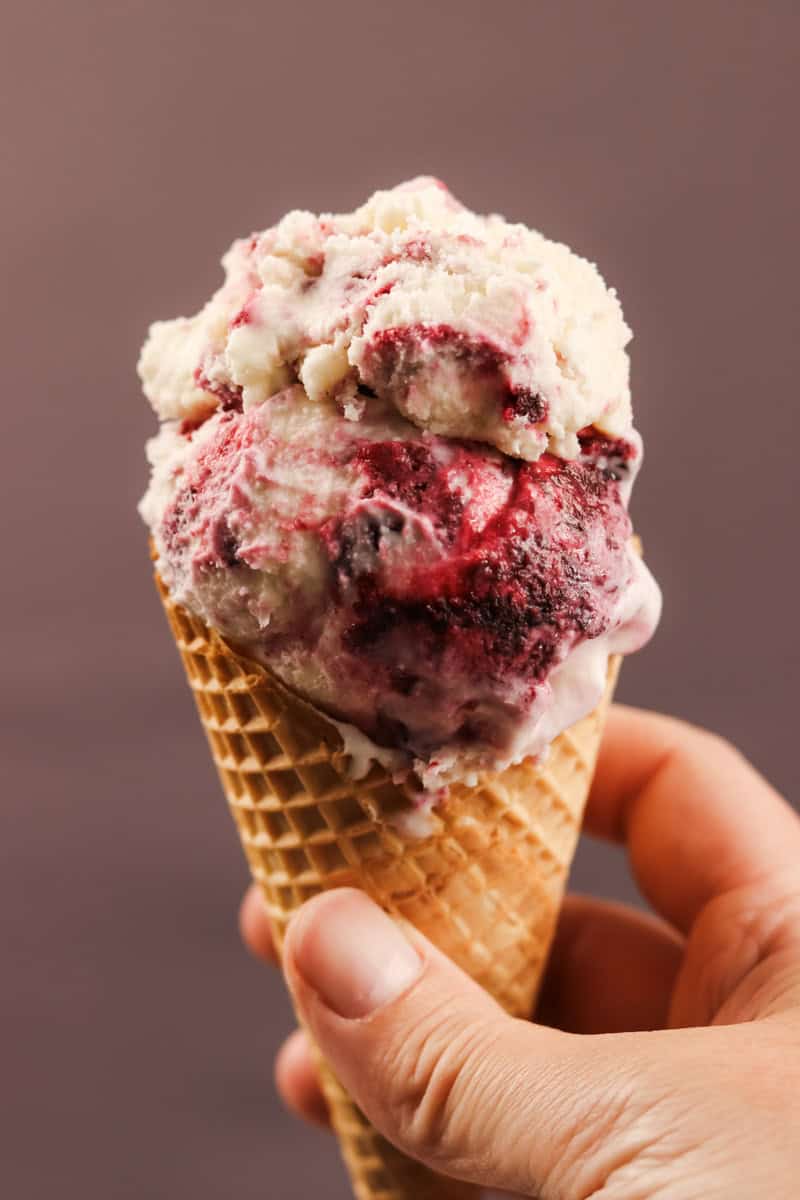
How to serve homemade berry ice cream
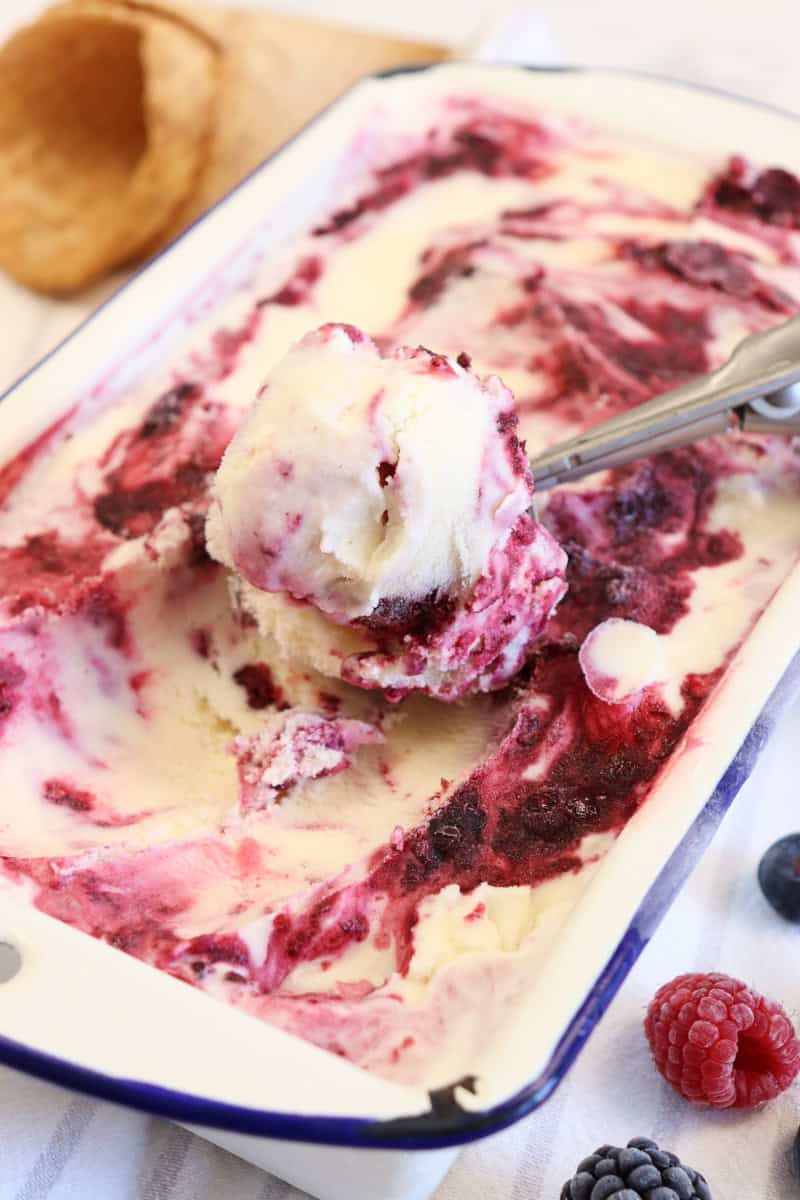
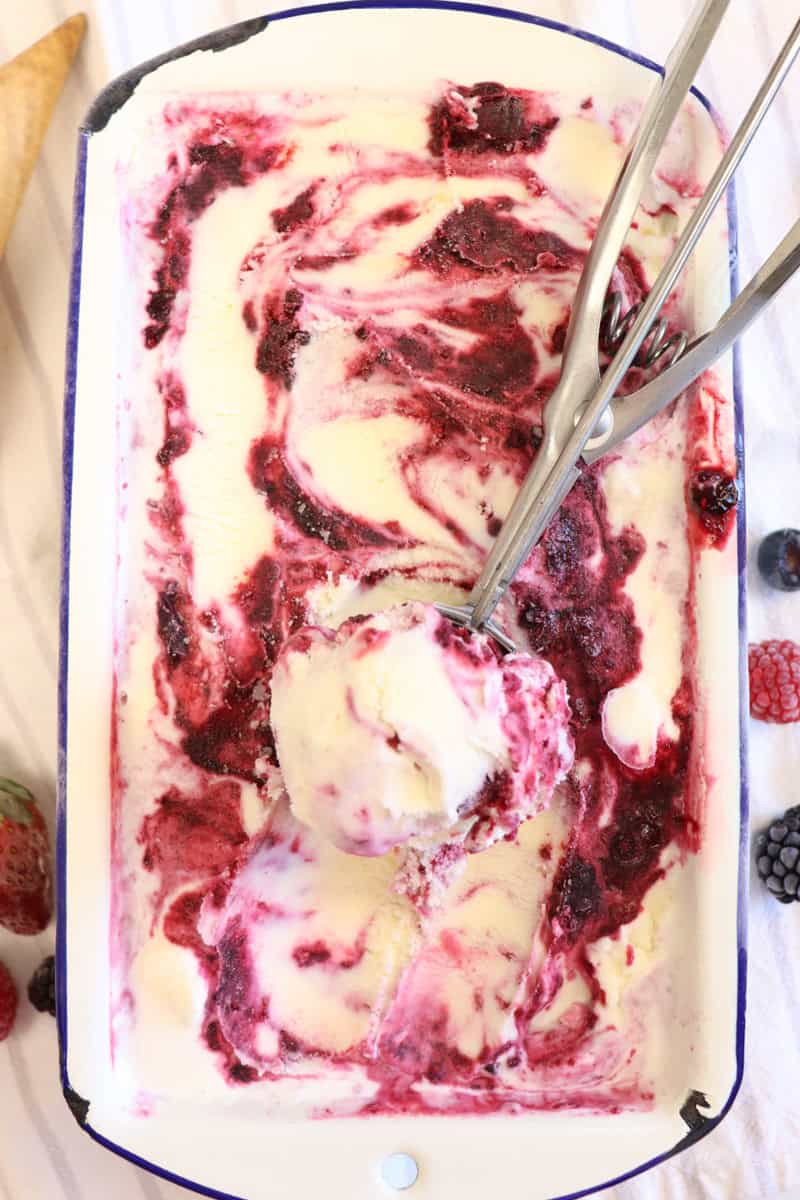
Homemade berry ice cream is delicious served on its own served in a bowl or ice cream cone, or makes the perfect accompaniment to apple crumble and other warm desserts.
More favourite ice cream recipes
Since owning an ice cream maker, ice cream has quickly become a favourite dessert in our household. It's easy to make in advance, and can be made as healthy or decadent as you like. For a healthier option try my homemade vanilla ice cream with eggs, sweetened only with maple syrup, or for a more indulgent treat my homemade vanilla ice cream with sweetened condensed milk and cream.
Ingredients for homemade berry ice cream
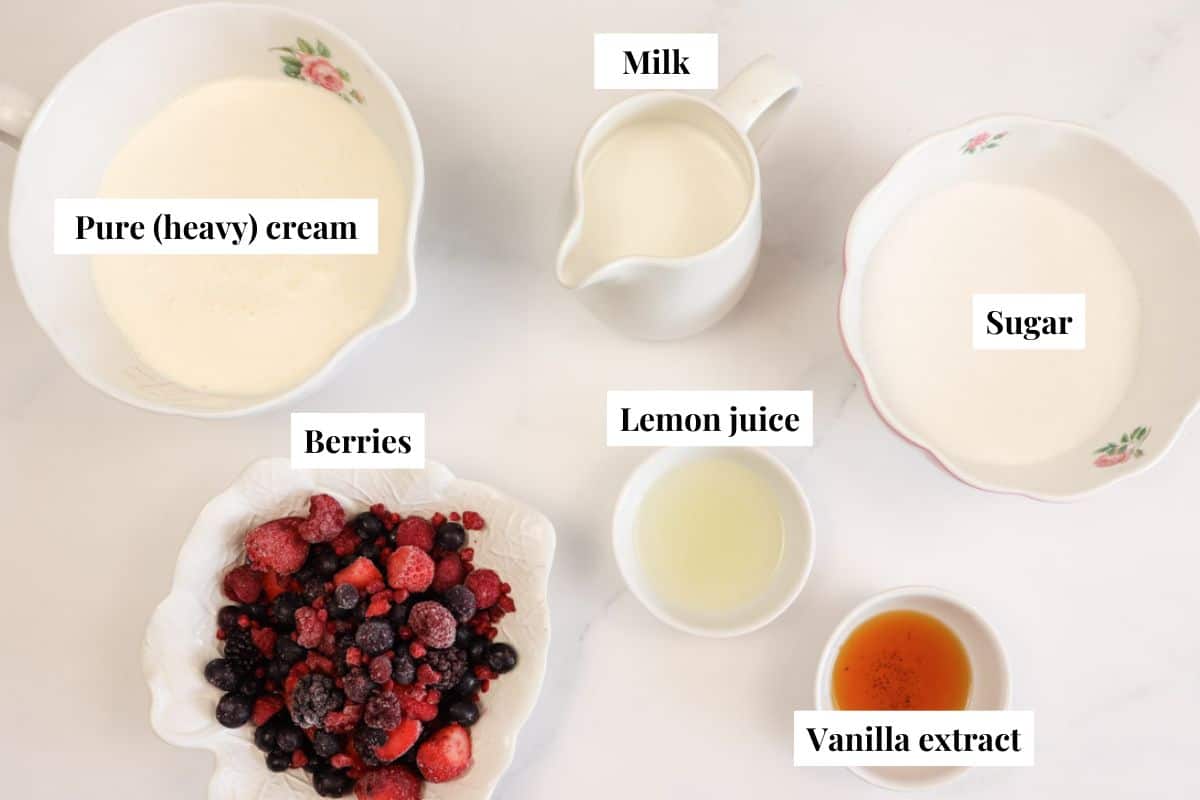
- Fresh or frozen berries - I like to use frozen organic mixed berries with a blend of strawberries, blueberries, blackberries and raspberries, but you can use whatever you have on hand - great for using up a glut of berries from the garden!
- Sugar - I like to use white granulated sugar for this recipe, but you can choose your preferred sugar, or use maple syrup or honey
- Lemon juice
- Pure (heavy) cream
- Whole milk - Using a milk with higher fat content will yield a creamier result
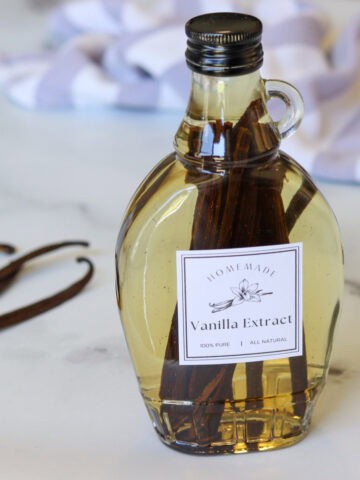
- Vanilla extract - Choose pure vanilla extract for best results, or make it yourself with my homemade vanilla extract recipe.
A full ingredient list with exact amounts can be found in the recipe card below.
Equipment
- Measuring cups and spoons
- Medium saucepan with a heavy base
- Wooden spoon
- Masher
- Shallow dish
- Plastic wrap, or another type of food cover
- Whisk
- Mixing bowl
- Ice cream maker (optional)
- Plastic bowl scraper (optional) - I like to use a plastic bowl scraper (normally used in bread making) to scrape the ice cream from the sides of the ice cream maker freezer bowl without damaging it
- Large freezer-safe container to store the ice cream
- Dessert spoons
- Ice cream scoop (optional) - makes serving ice cream easier, no more bent dessert spoons!
Method
If using a freezer-bowl ice cream maker, be sure to freeze the inner bowl for 24 hours prior to making the recipe.
Making the berry sauce
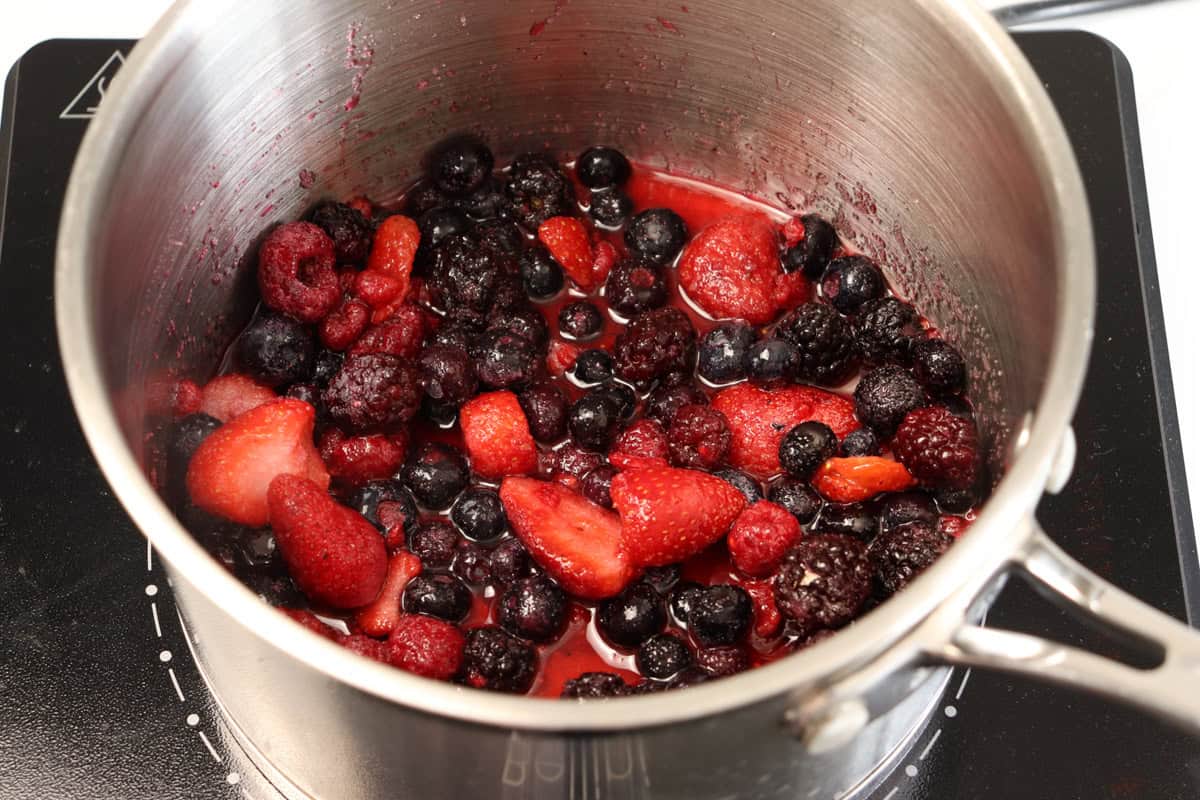
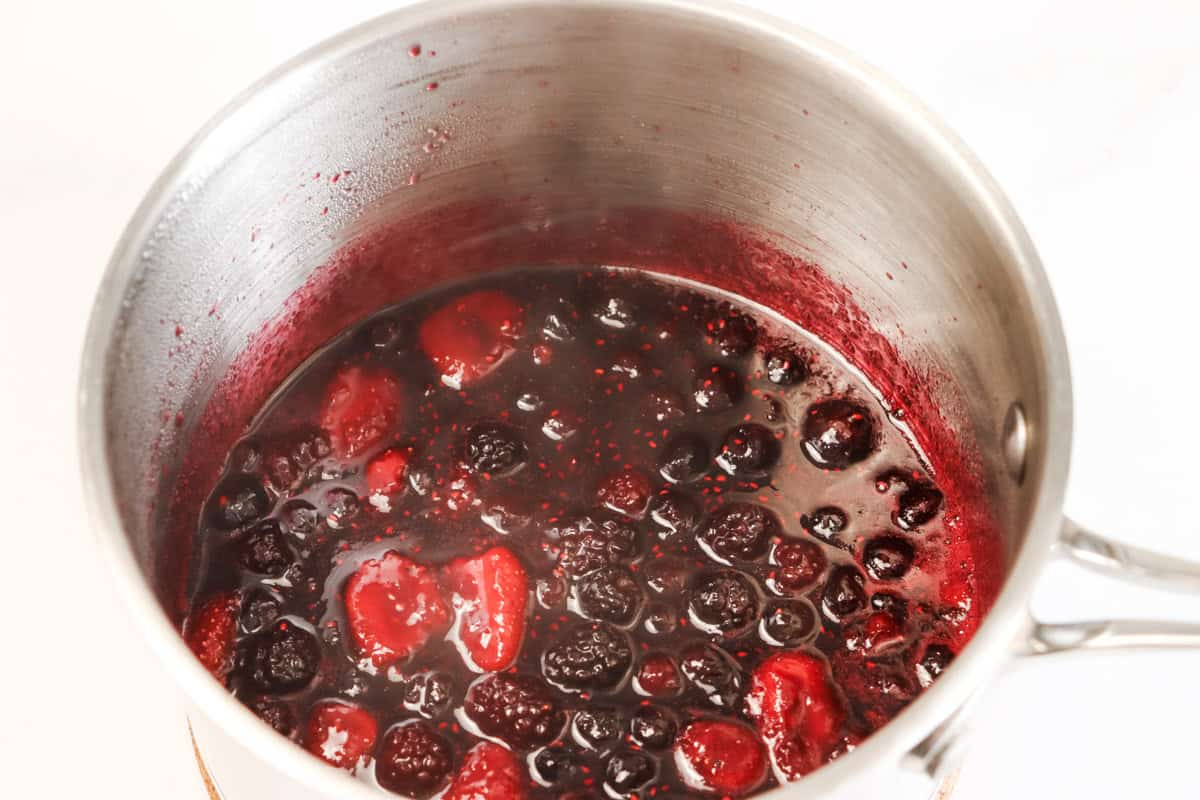
Step 1: In a saucepan combine the berries, sugar and lemon juice. Bring the mixture to a slow boil over medium heat, stirring constantly. Reduce the heat to medium-low and cook for 5 minutes or until the sugar is dissolved and the sauce is has thickened.
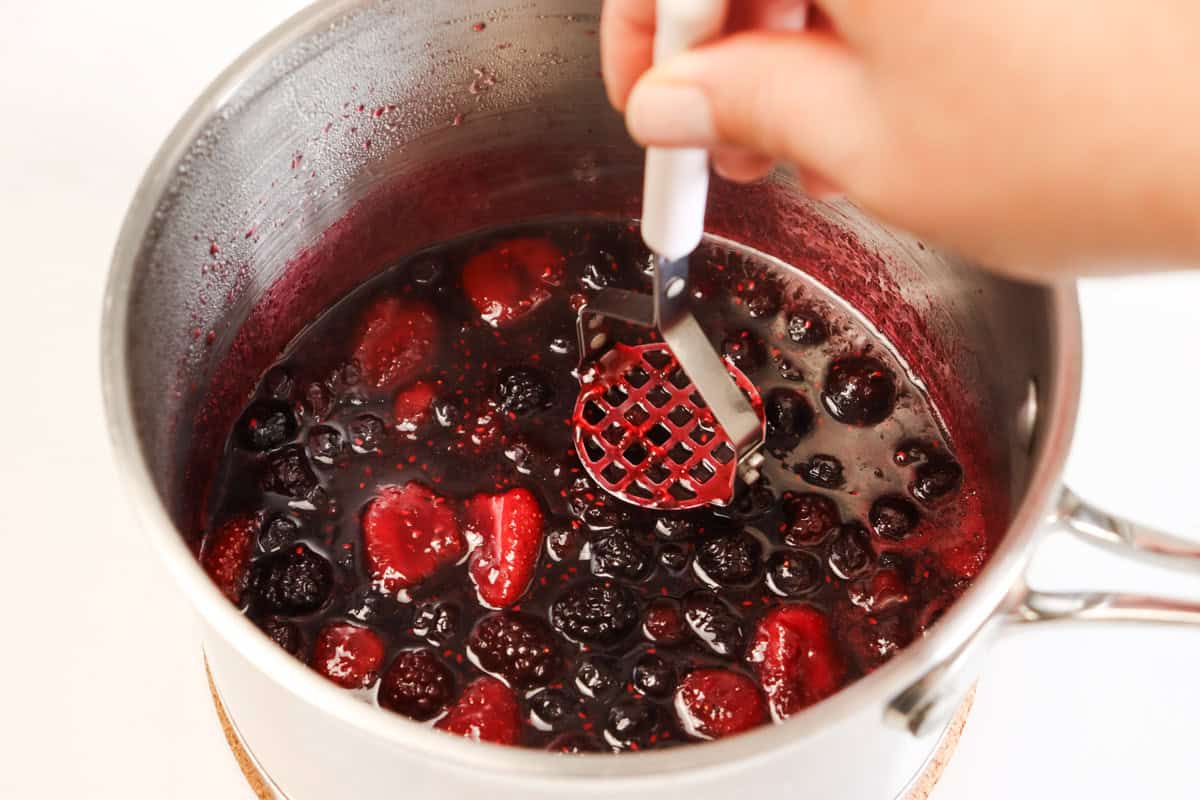
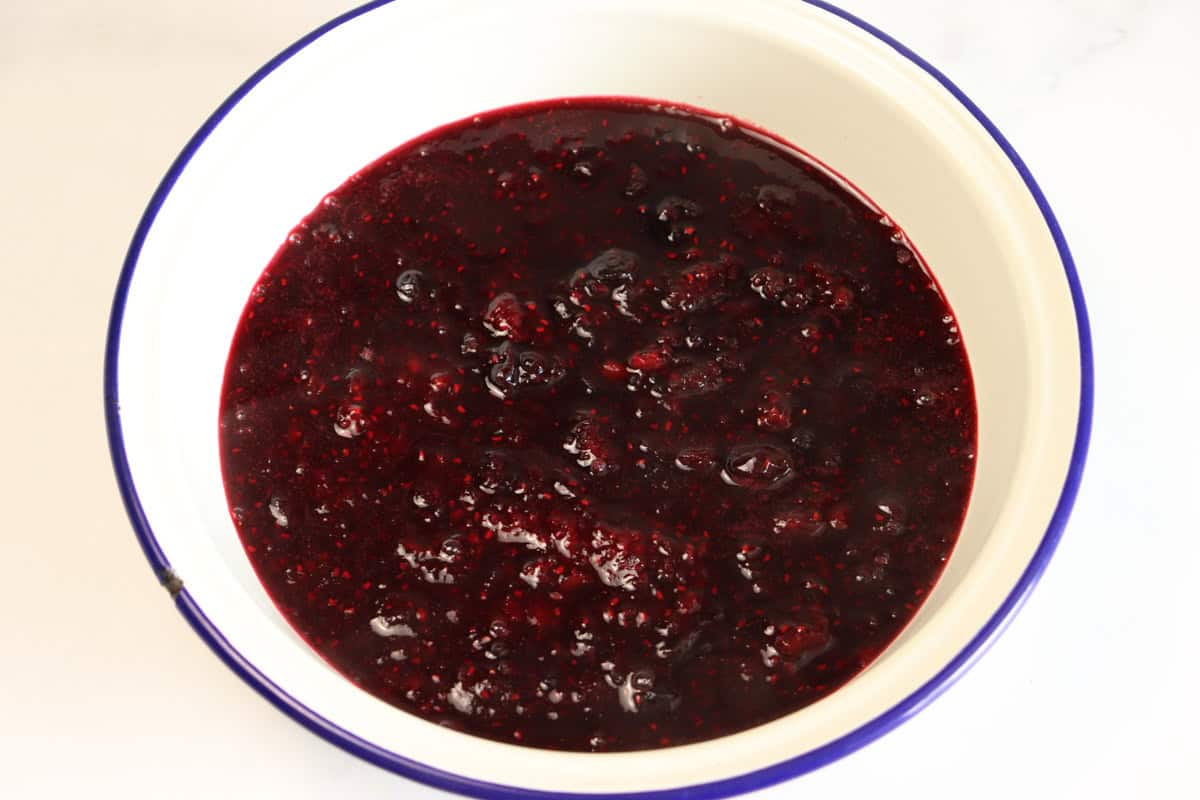
Step 2: Remove the saucepan from the heat and mash the berries.
Step 3: Transfer the sauce to a shallow dish, cover and allow to cool at room temperate for around 20 minutes and then refrigerate for at least 1 hour or until fully chilled.
Preparing the ice cream
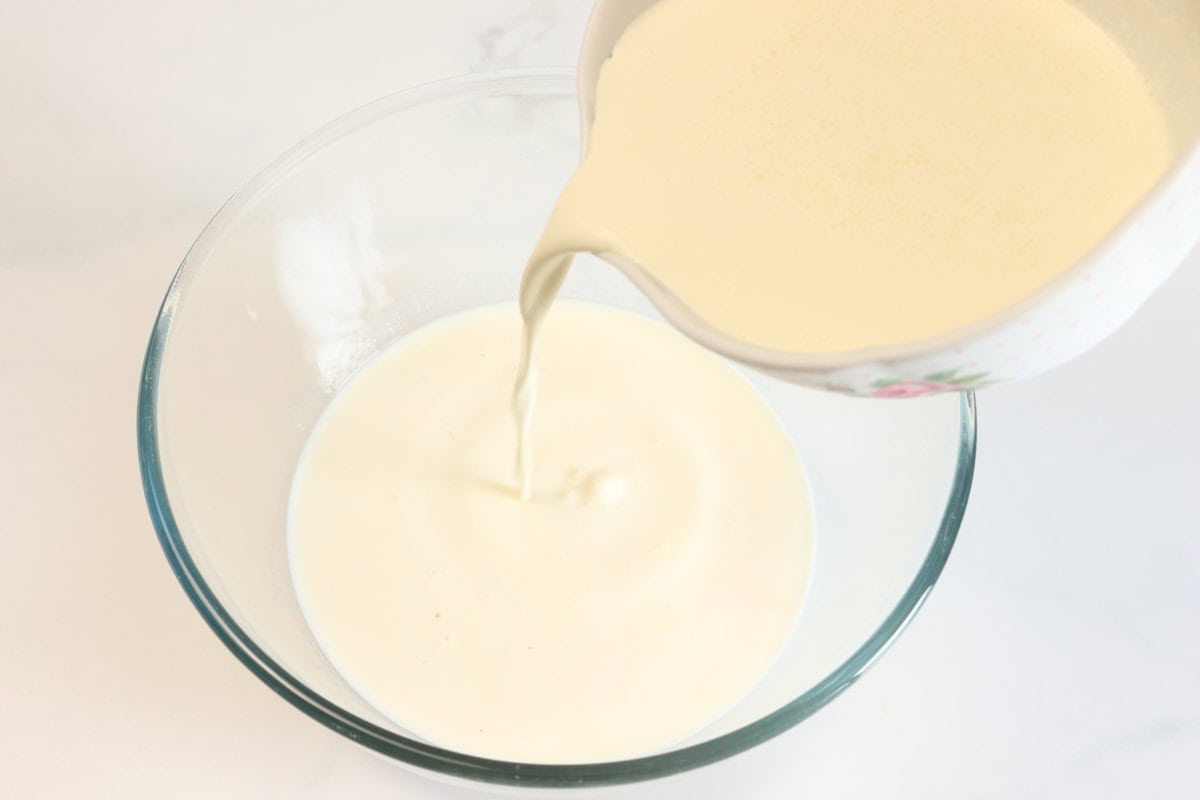
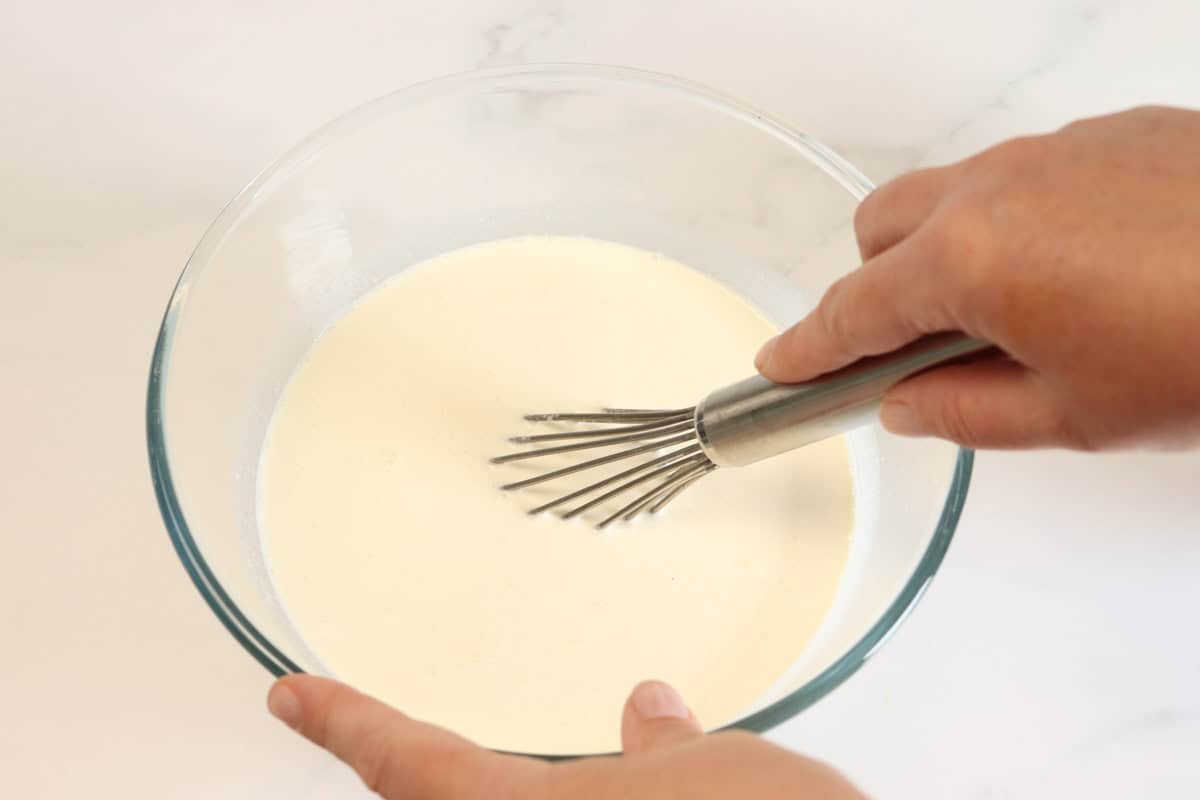
Step 4: Meanwhile, combine the milk, sugar, vanilla and cream in a mixing bowl and whisk to dissolve the sugar. Cover the bowl and place it in the fridge to chill while the berry sauce cools.
Churning the ice cream
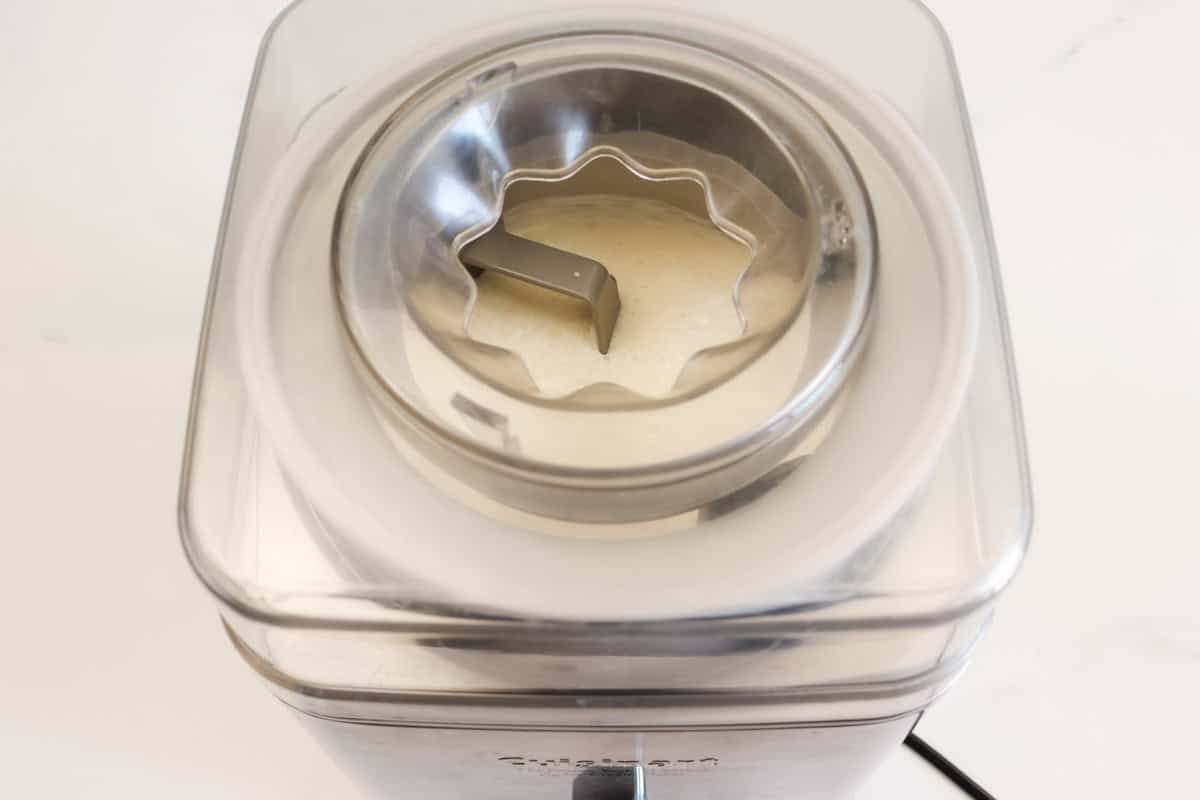
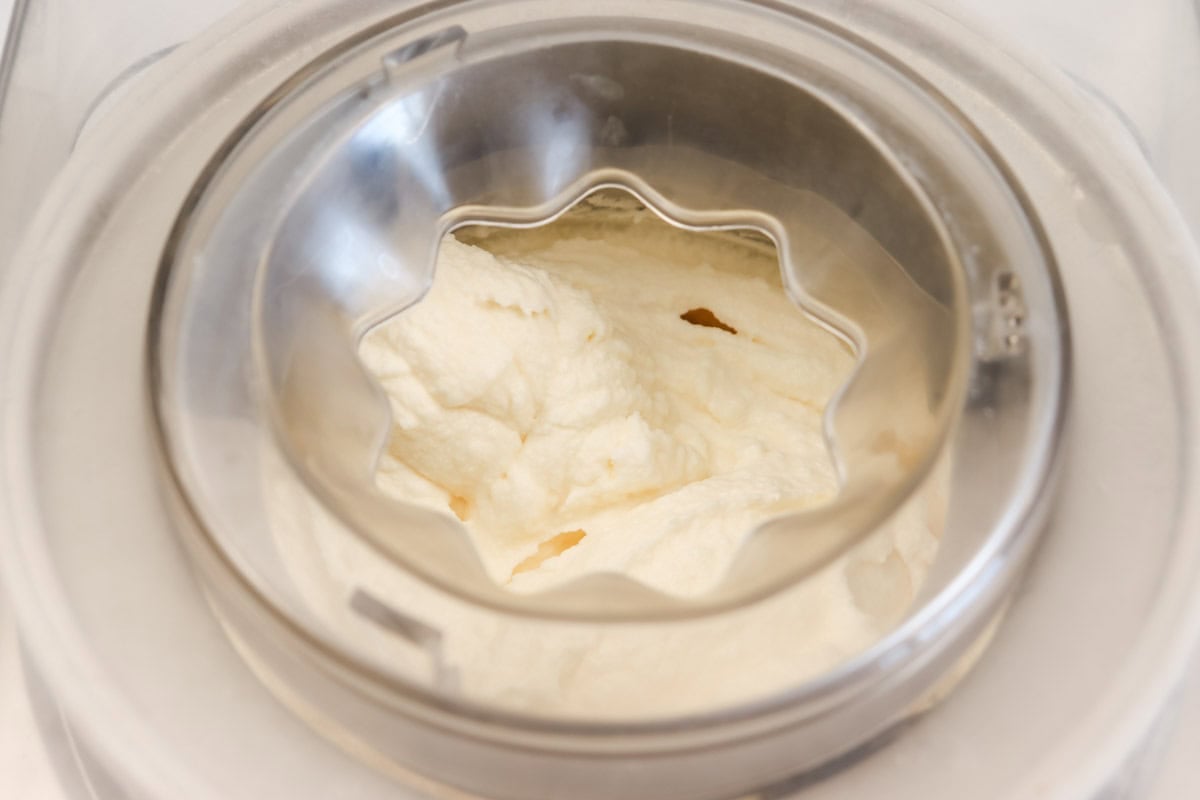
Step 6: When the berry sauce is completely cooled, churn the ice cream. Pour the chilled ice cream mixture into the freezer bowl of the ice cream maker, and place it in the machine. Insert the whisk, attach the lid and begin churning. Churn for 25 minutes.
Adding the berry swirl
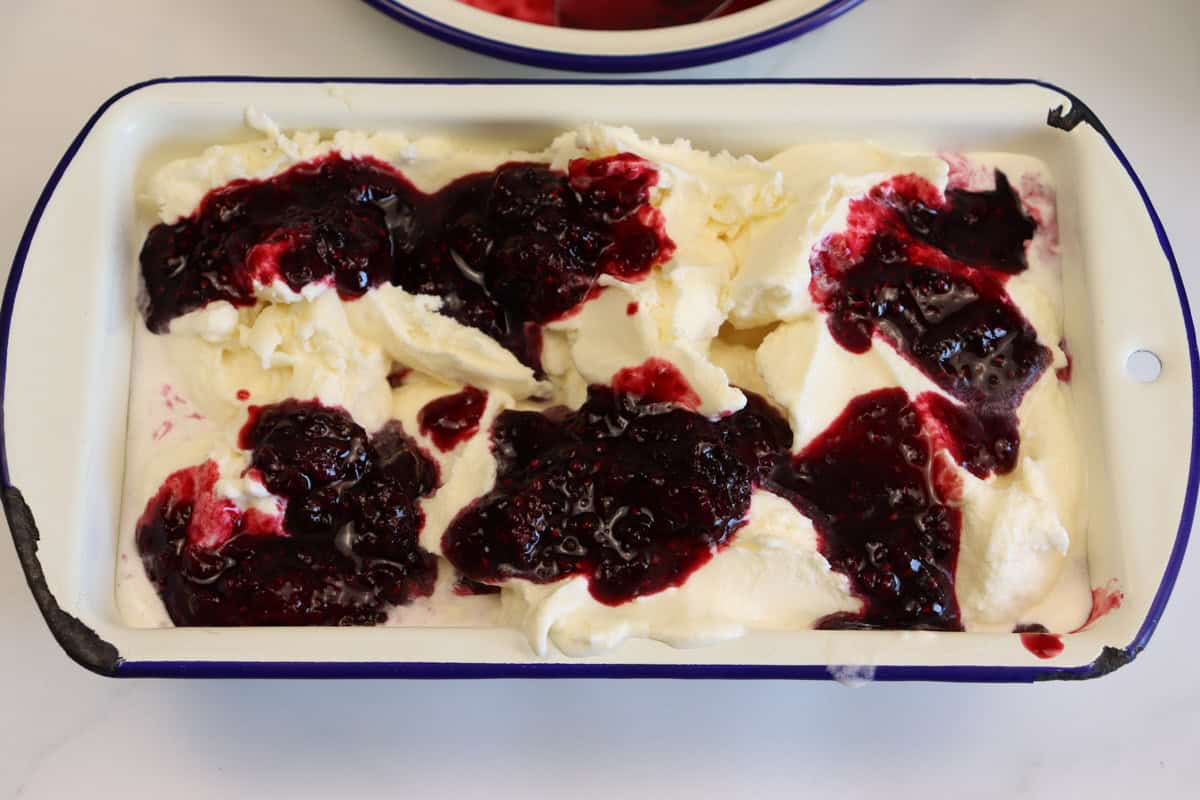
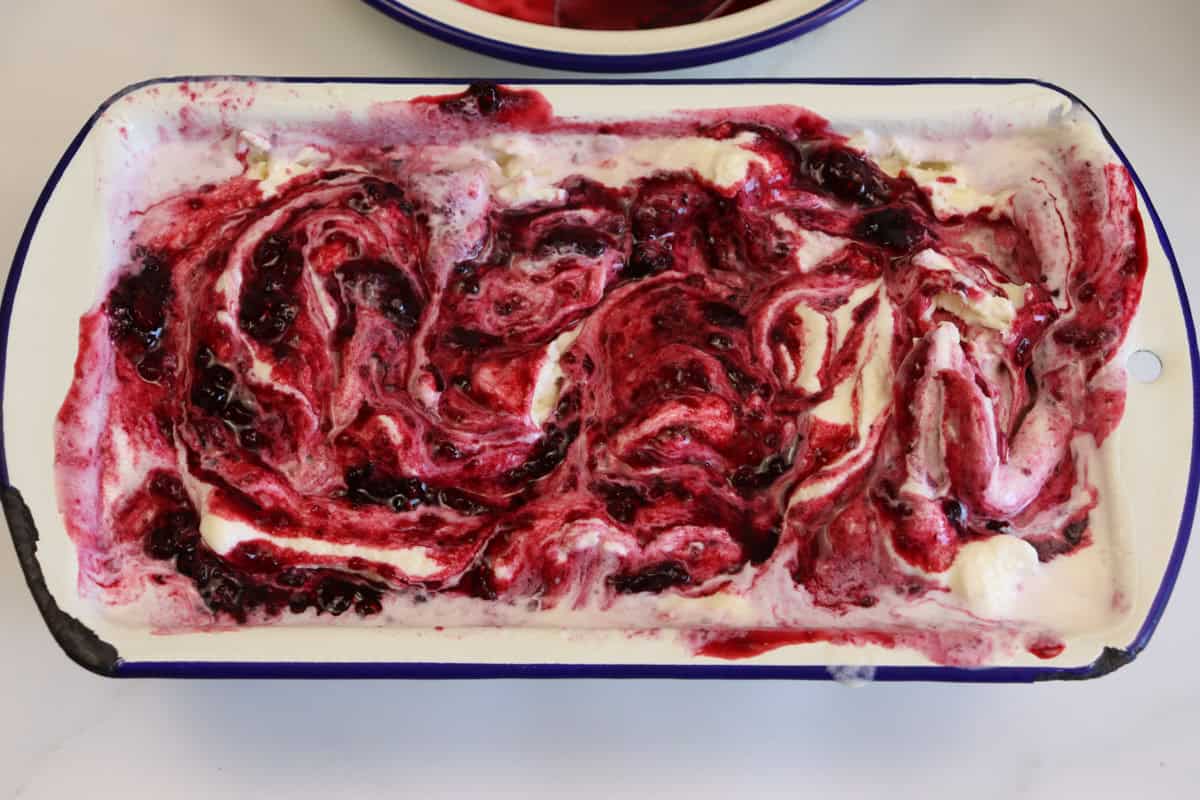
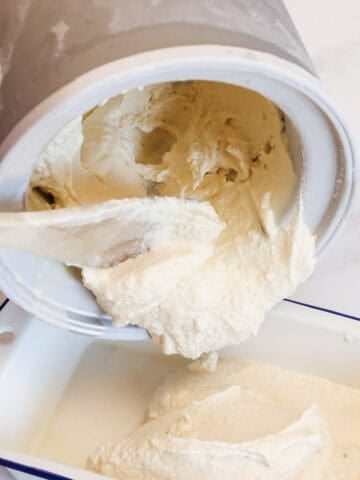
Step 7: Transfer half of the churned ice cream into a freezer-safe container. Top with half of the chilled berry sauce in dollops and use the handle end of a spoon to swirl the sauce through the ice cream. Repeat this process with the remaining half of the ice cream and berry sauce.
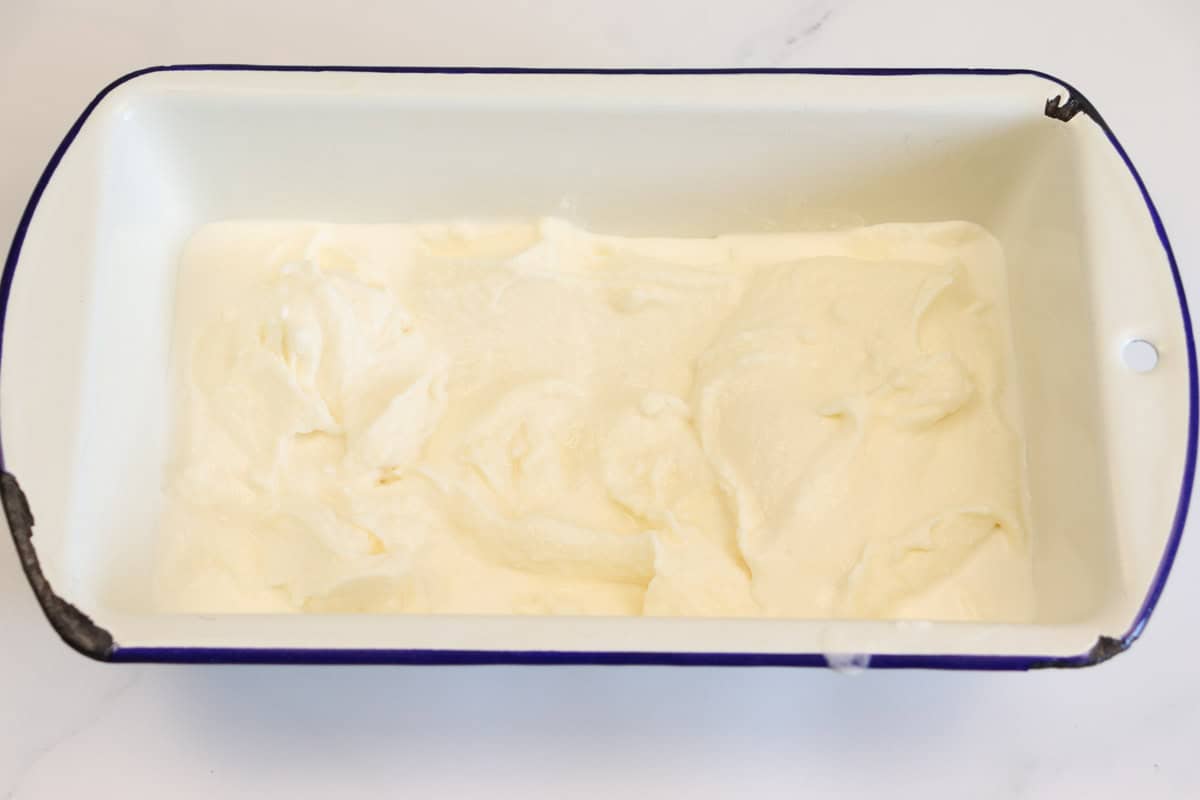
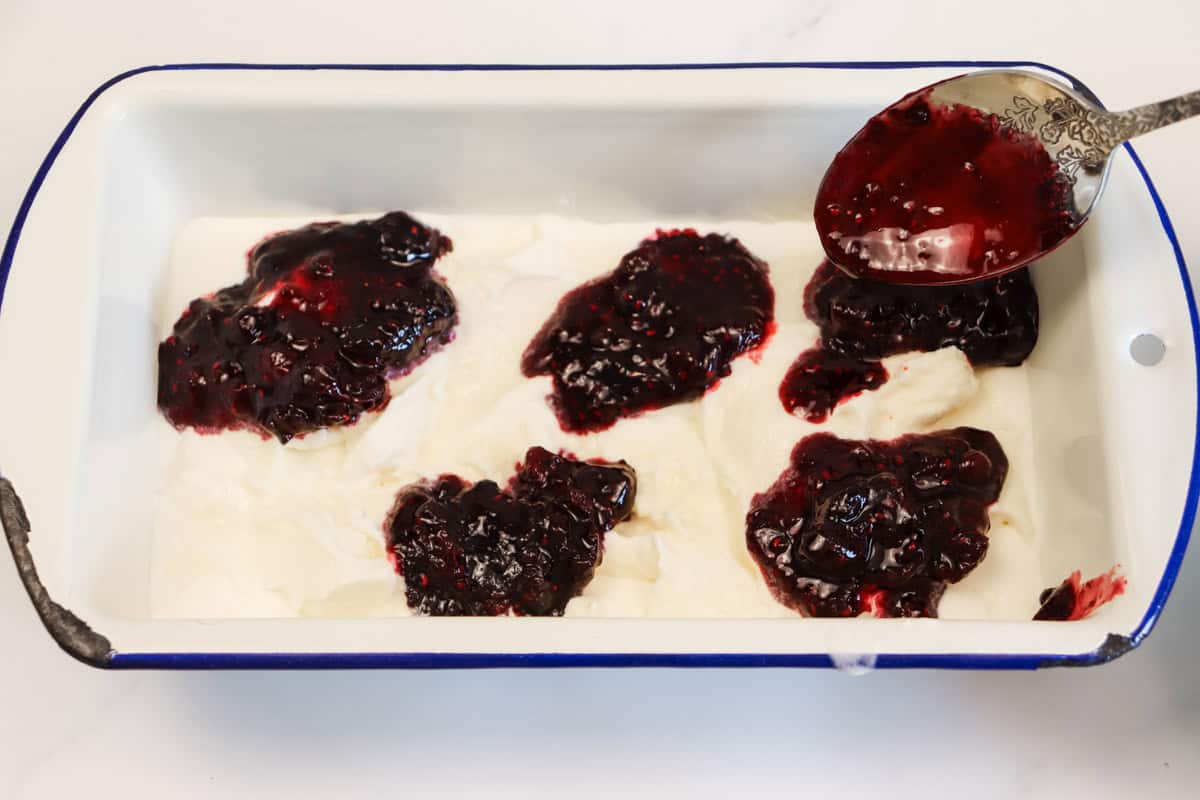
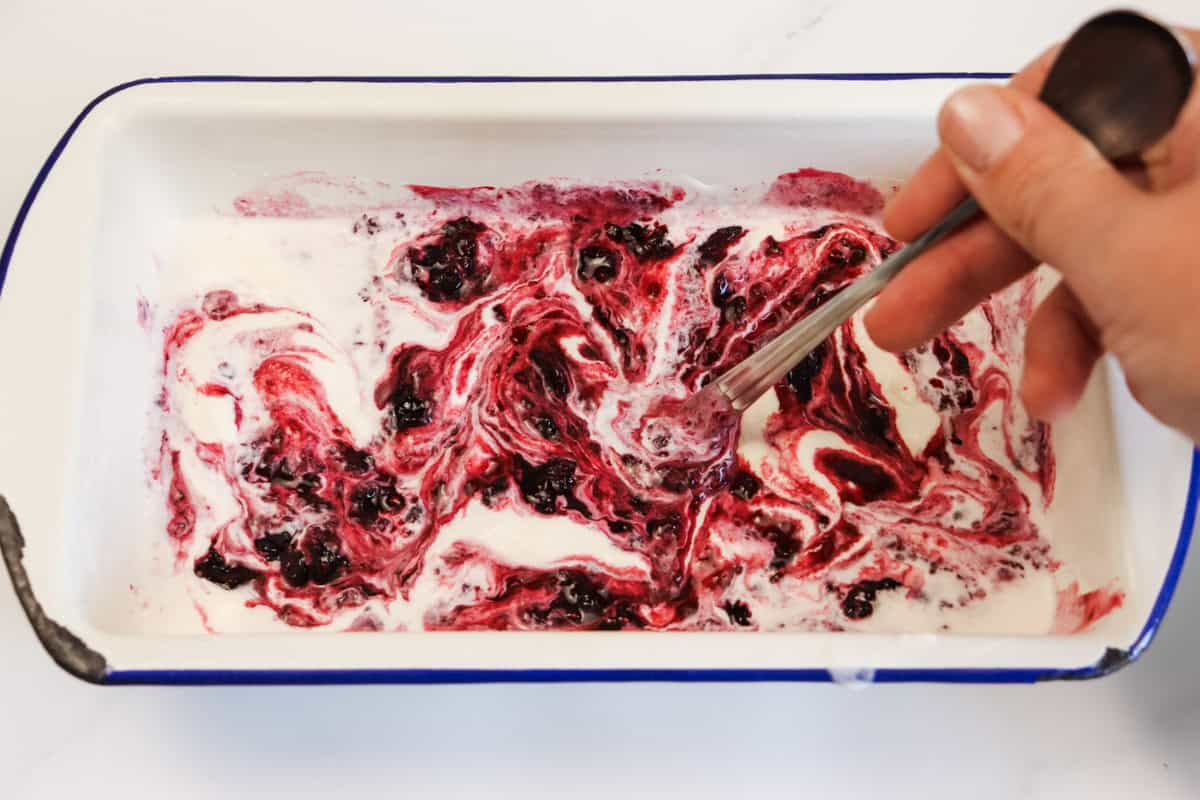
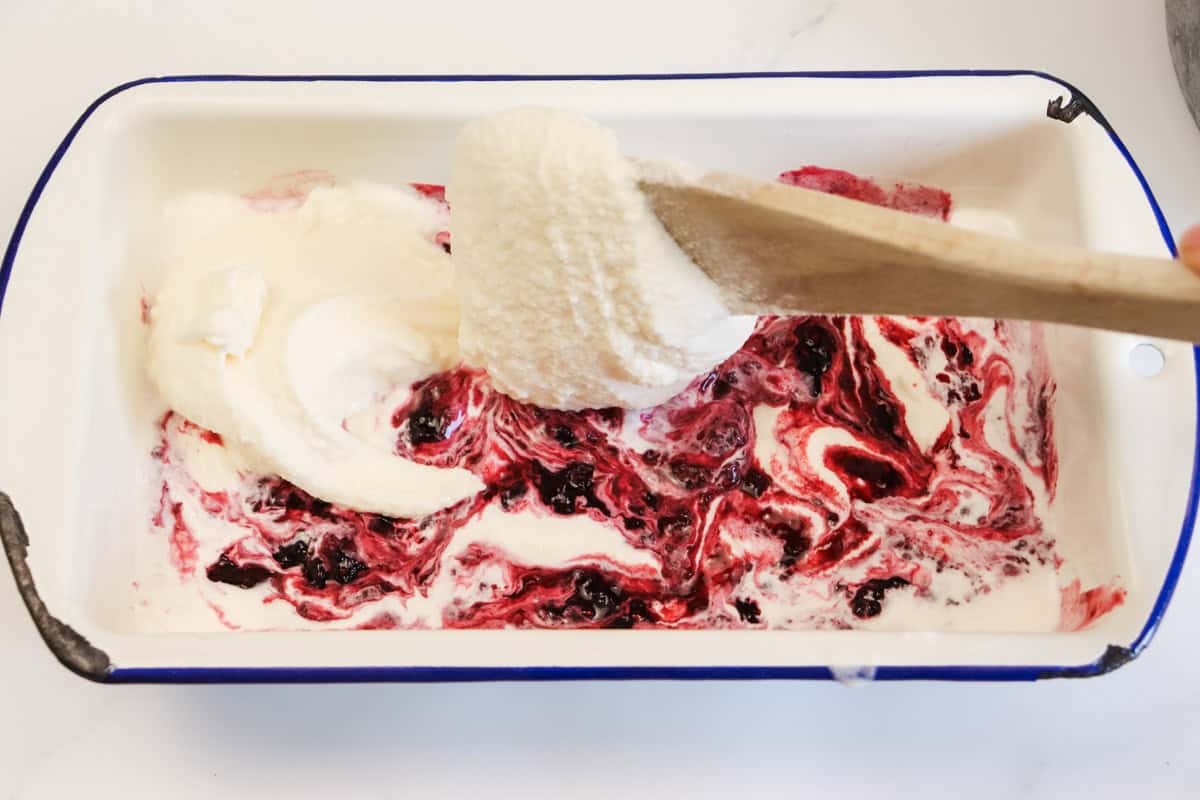
Step 9: Cover and freeze for at least 4 hours before serving.
How to make homemade berry ice cream without an ice cream machine/maker
To churn the ice cream by hand, simply pour the ice cream mixture into a freezer-safe container and place it in the freezer. After 45 minutes mix the ice cream with a wooden spoon, scraping down the sides of the container. Return to the freezer for another 45 minutes. Continue this process until almost frozen, for about 8 hours.
When the ice cream is almost frozen, top the ice cream with the berry sauce in dollops and use the handle end of a spoon to swirl the sauce through the ice cream. Cover and freeze for at least 4 hours before serving.
Tips
- Ensure the berry is sauce is fully chilled before adding it to the ice cream.
- If you would prefer the berry flavouring to be incorporated throughout the ice cream rather than in ripples, simply add the chilled berry sauce to the ice cream in the machine for the last 5 minutes of churning.
- After freezing, remove the ice cream from the freezer and allow it to sit at room temperature to soften for 5 to 10 minutes before serving.
- Use an ice cream scoop warmed in hot water (then dried with a tea towel) to serve the ice cream.
Storage
Homemade ice cream can be stored in an airtight container in the freezer for several months and will remain safe to eat, however for the best flavour and texture, it's best enjoyed within 1 to 2 weeks.
Frequently Asked Questions
Whole milk is best due to its higher fat content.
Fresh or frozen berries can be used to make ice cream. Any sweet soft berry can be used such as strawberries, blueberries, blackberries and raspberries.
Adding fruit directly into ice cream is not usually recommended as the fruit tends to freeze into very hard chunks. Fruit also looses sweetness when frozen. For best results cook or macerated the fruit first and then sugar or another sweetener to suit your taste. The berries can then be mixed through the ice cream during the late stages of churning, or turned into a sauce and rippled through the churned ice cream.
Usually egg yolk or cream is used to thicken homemade ice cream. In this eggless ice cream recipe, the ice cream relies on the fat content in the cream and a high ratio of cream to milk to produce a thick and creamy result.
Avoid using low-fat cream or milk which produces a harder, less-creamy result. Chill ingredients prior to churning. When using an ice cream maker, ensure the inner bowl is fully frozen prior to churning. Don't expect the ice cream to be ready to serve straight after churning. It needs to transferred to the freezer for at least 3-4 hours to become firm and 'scoopable'.
The secret to making ice cream extra creamy is to prevent large ice crystals from forming while the ice cream freezes. This can be achieved by incorporating high-fat ingredients such as cream and whole milk, using a ice cream-machine/maker to churn (incorporate air) and chill the mixture rapidly, and adding a moderate amount of sugar which lowers the freezing point of the mixture.
You can probably buy ice cream from the grocery store for less than the cost of making it, however it's a false economy as the ingredients are different. For example, this recipe calls for pure cream while many store-bought ice creams are made from milk and vegetable oils.
More ice cream recipes to try:
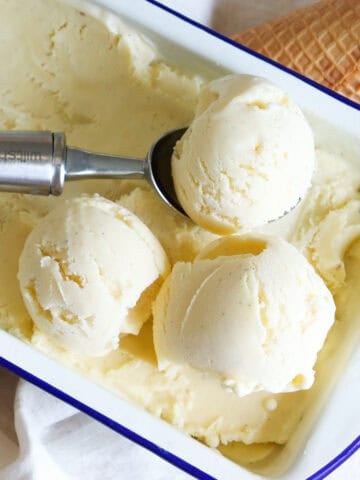
- Vanilla ice cream with eggs
- Vanilla ice cream with sweetened condensed milk and cream
- Custard base vanilla ice cream
If you try this recipe and love it, please give it five stars in the recipe card below and leave a review. Your support means so much and helps me share my recipes for free. Tag me on Instagram @pineapple.farmhouse, I'd love to see what you make!
Recipe

Homemade berry ice cream
Ingredients
Berry sauce
- 230 grams berries
- ⅓ cup sugar
- 2 tablespoon lemon juice
Ice cream
- 400 mls full cream milk
- 600 mls pure cream
- 1 ½ tablespoon vanilla extract
- 1 cup sugar
Instructions
- In a saucepan combine the berries, sugar and lemon juice. Bring the mixture to a slow boil over medium heat, stirring constantly. Reduce the heat to medium-low and cook for 5 minutes or until the sugar is dissolved and the sauce is has thickened.
- Remove the saucepan from the heat and mash the berries.
- Transfer the sauce to a shallow dish, cover and allow to cool at room temperate for around 20 minutes and then refrigerate for at least 1 hour or until fully chilled.
- Meanwhile, combine the milk, sugar, vanilla and cream in a mixing bowl and whisk to dissolve the sugar. Cover the bowl and place it in the fridge to chill while the berry sauce cools.
- When the berry sauce is completely cooled, churn the ice cream. Pour the chilled ice cream mixture into the freezer bowl of the ice cream maker, and place it in the machine. Insert the whisk, attach the lid and begin churning. Churn for 25 minutes. Refer to the notes sections for instructions for how to churn the ice cream by hand.
- Transfer half of the churned ice cream into a freezer-safe container. Top with half of the chilled berry sauce in dollops and use the handle end of a spoon to swirl the sauce through the ice cream. Repeat this process with the remaining half of the ice cream and berry sauce.
- Cover and freeze for at least 4 hours before serving.
Notes
- Ensure the berry is sauce is fully chilled before adding it to the ice cream.
- If you would prefer the berry flavouring to be incorporated throughout the ice cream rather than in ripples, simply add the chilled berry sauce to the ice cream in the machine for the last 5 minutes of churning.
- After freezing, remove the ice cream from the freezer and allow it to sit at room temperature to soften for 5 to 10 minutes before serving.
- Use an ice cream scoop warmed in hot water (then dried with a tea towel) to serve the ice cream.
Nutrition
Related recipes


Hi, I'm Emily!
I'm a mum of 2 who is passionate about making real food from scratch, homesteading and creating a cozy handmade home. Here on my blog you'll find recipes, DIY projects and inspiration for simple living.


Emily says
Very moreish recipe. My favourite part is the ripples of tangy berry sauce. Yum!