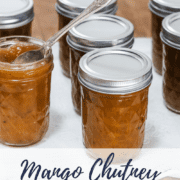
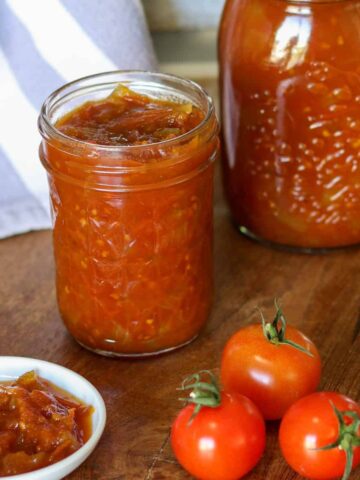
Today I'm sharing my tried and true mango chutney canning recipe. This delicious old-fashioned chutney recipe brings together inexpensive, traditional ingredients with a hint of mild spice everyone will enjoy.
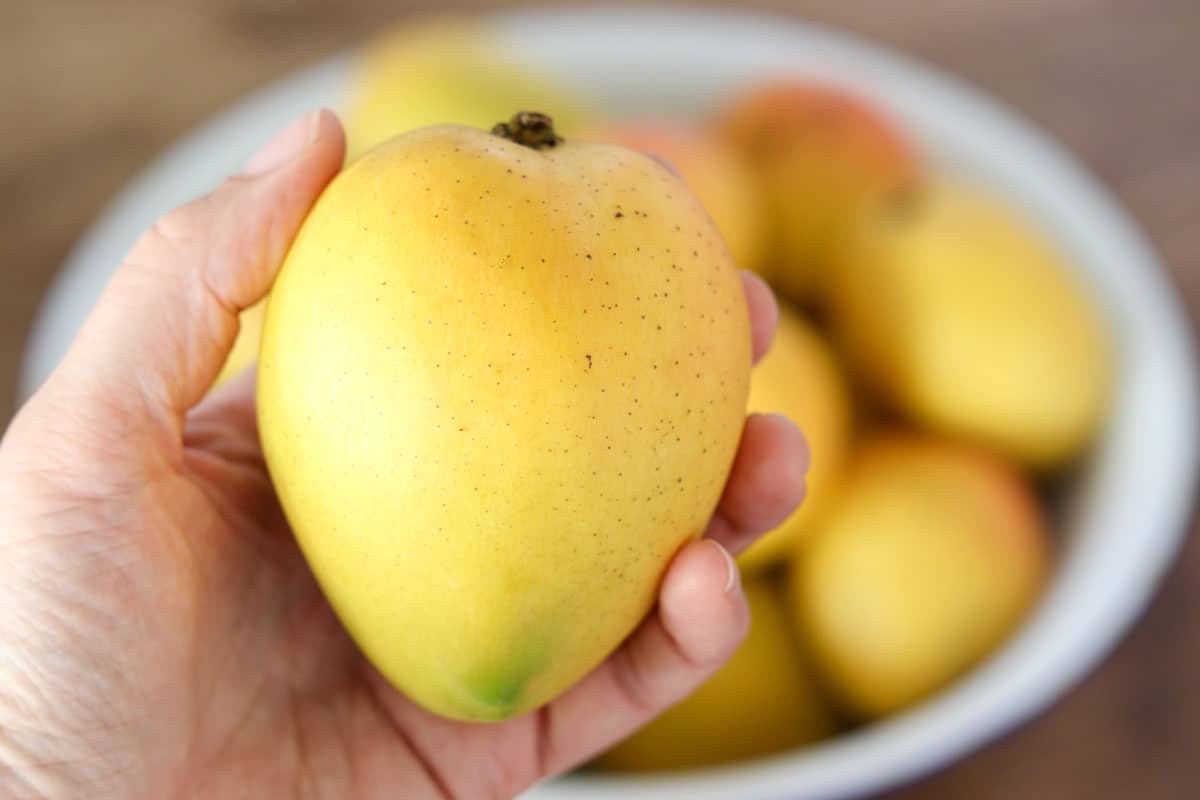
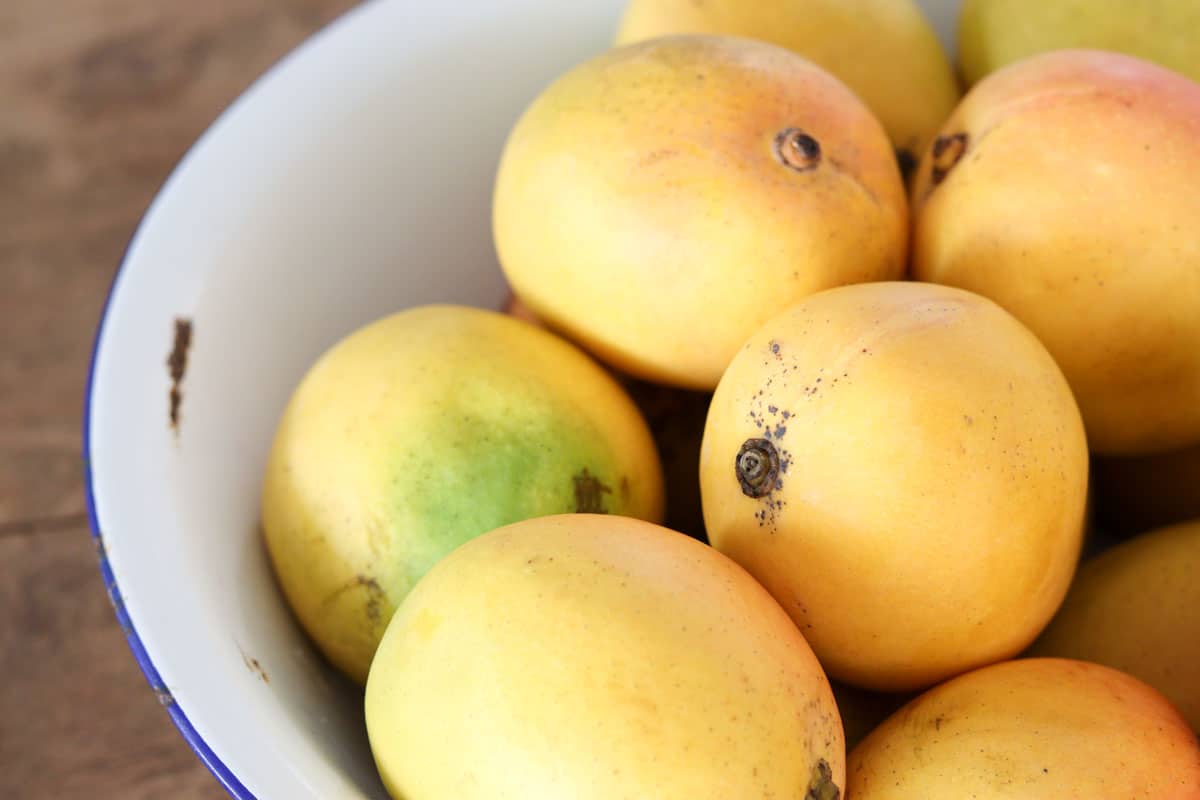
Where we live, in tropical Queensland, Summer means mangos! We can only get them in abundance at one time of the year, so of course I buy up as many as I can from roadside stalls and at the supermarket.
I love to capture the flavour of the season by preserving mangos with my simple mango chutney canning recipe.
This chutney pairs well with lamb, pork, chicken and salads and makes the most amazing addition to a ham and cheese toasty.
Try it with my air fryer lamb chops!
In this blog I'll show you how to make mango chutney and preserve it using the water bath canning method.
When making high-acid foods such as chutney, jam and relish, you can use the water bath canning or preserving method to ensure a vacuum-tight seal on your jars and avoid food spoilage. For more information on water bath canning visit the Ball Mason Jars website.
Ingredients
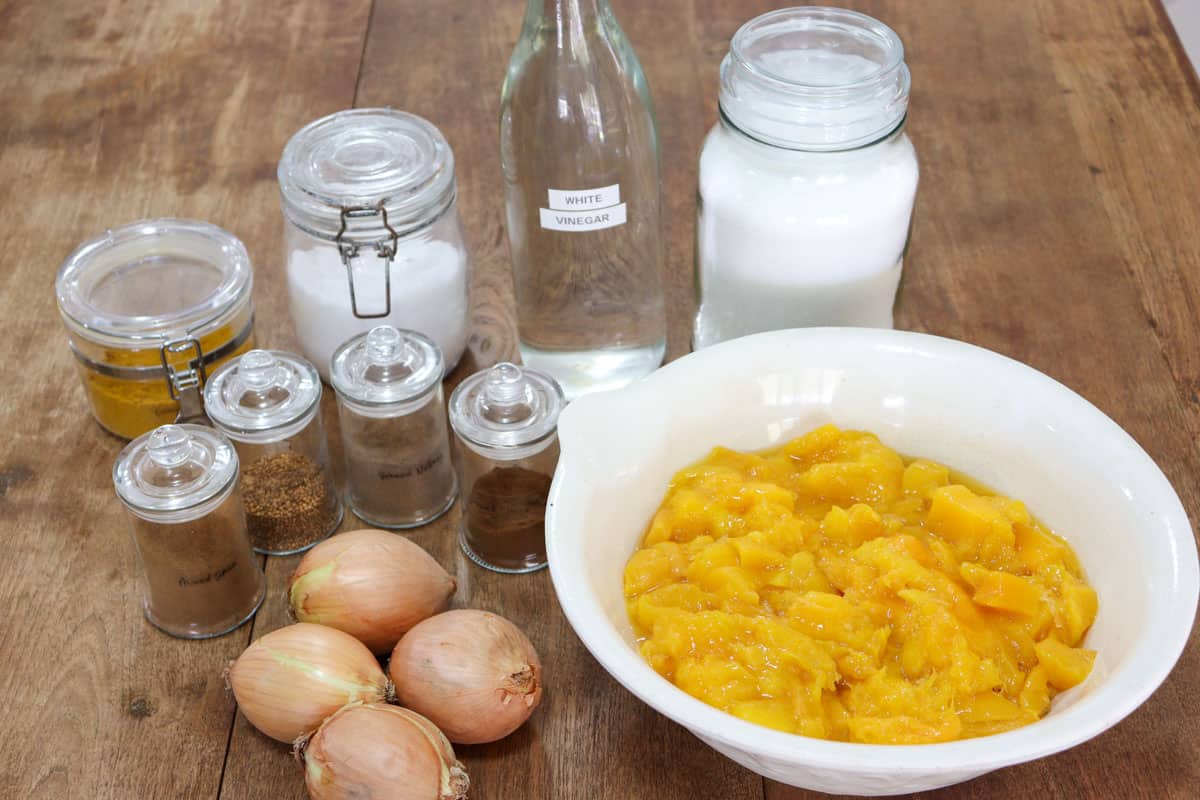
- mango (ripe)
- onion
- sugar - I like to use white or raw sugar because it's cheaper, but you can use any type
- vinegar - again I like to use white vinegar because it's cheaper, but you can use any type
- mixed spice
- ground cloves
- mustard seed
- curry powder
- nutmeg
- salt
See recipe card for quantities.
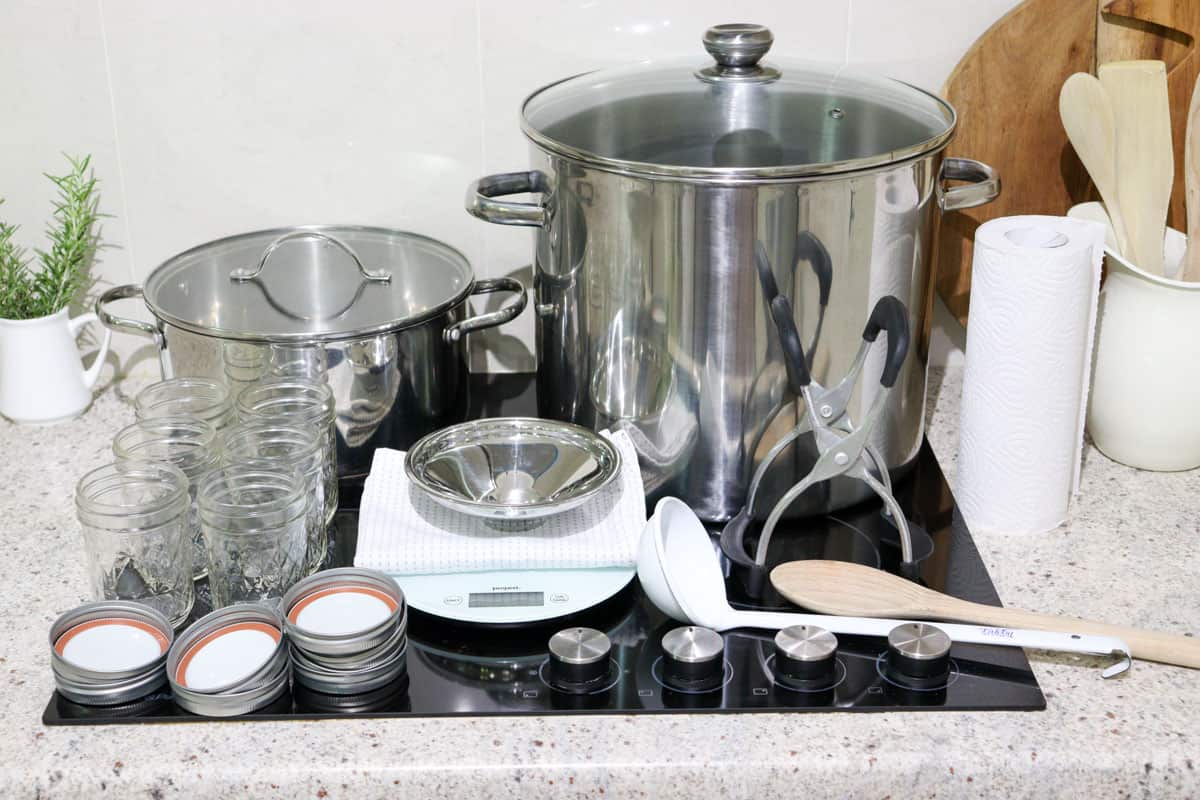
Equipment
- common kitchen equipment such as a chopping board, knife, wooden spoon and measuring utensils
- large stock pot with a lid and rack, or a water bath canner
- large saucepan
- canning jars - I like to use Ball Mason 8 oz preserving jars
- canning lids - I buy canning lids from Amazon.com.au
- wide mouth stainless steel funnel
- jar lifter
- ladle
How to can mango chutney
Step one: Sterilise the jars and lids
Check out my step-by-step guide to water bath canning for more information.
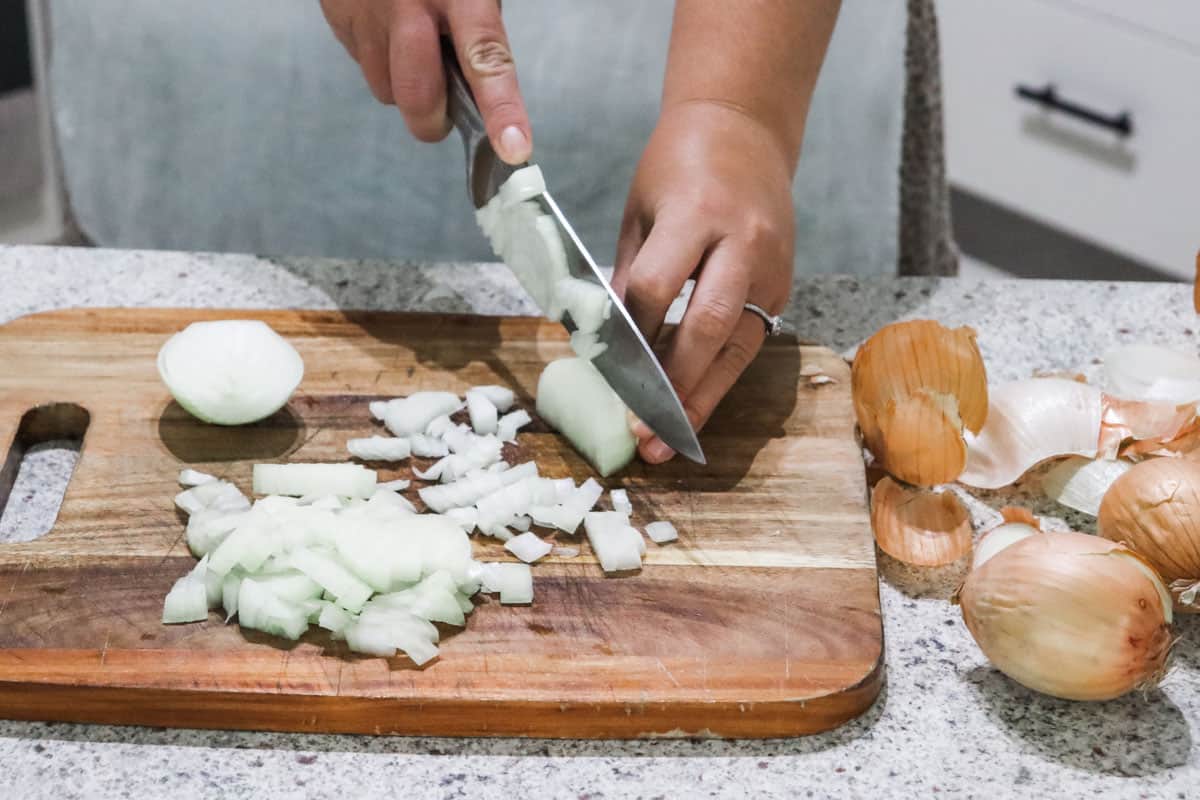
Step two: Prepare the ingredients
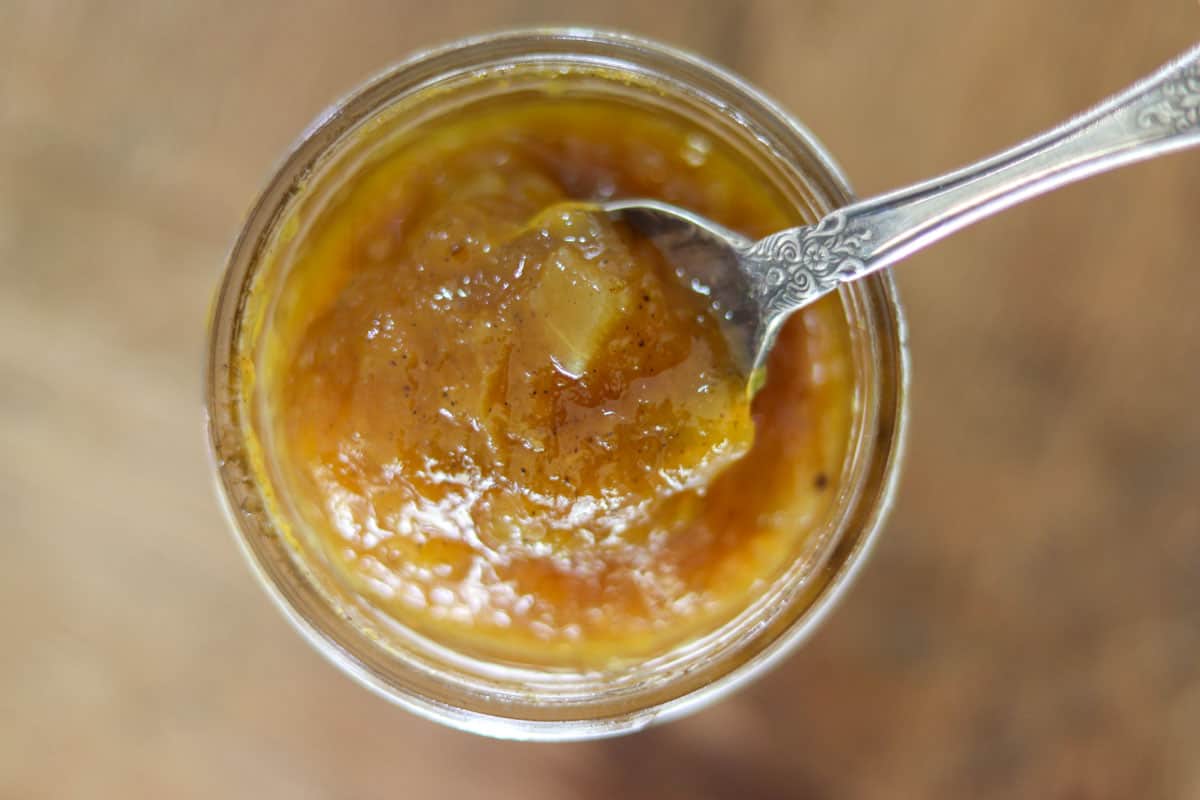
Chop the mango into 1.5 cm (half inch) pieces.
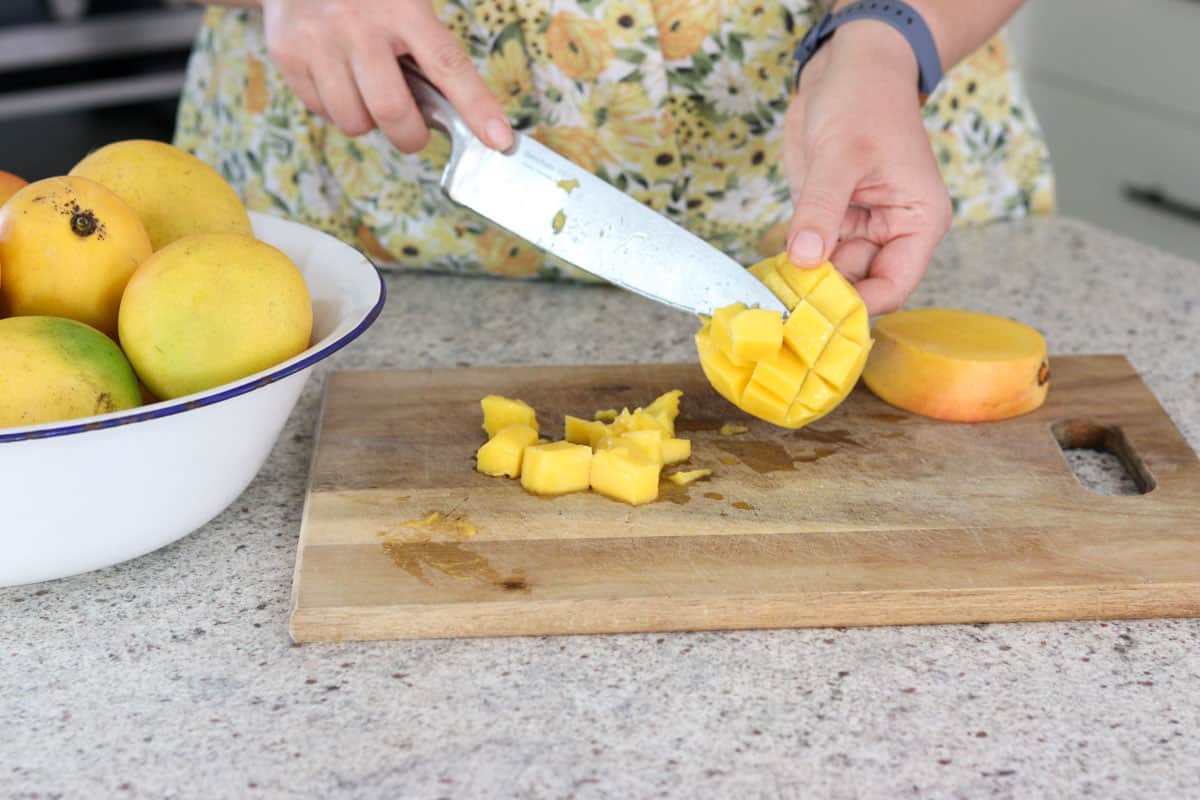
Hint: I like to do my chopping and cooking on separate days to break the job down into more manageable size chunks. Simply freeze the chopped ingredients until you're ready to cook with them.

Dice the onion.
Step three: Cook the chutney
Place the mango and onion into a large saucepan mix well.
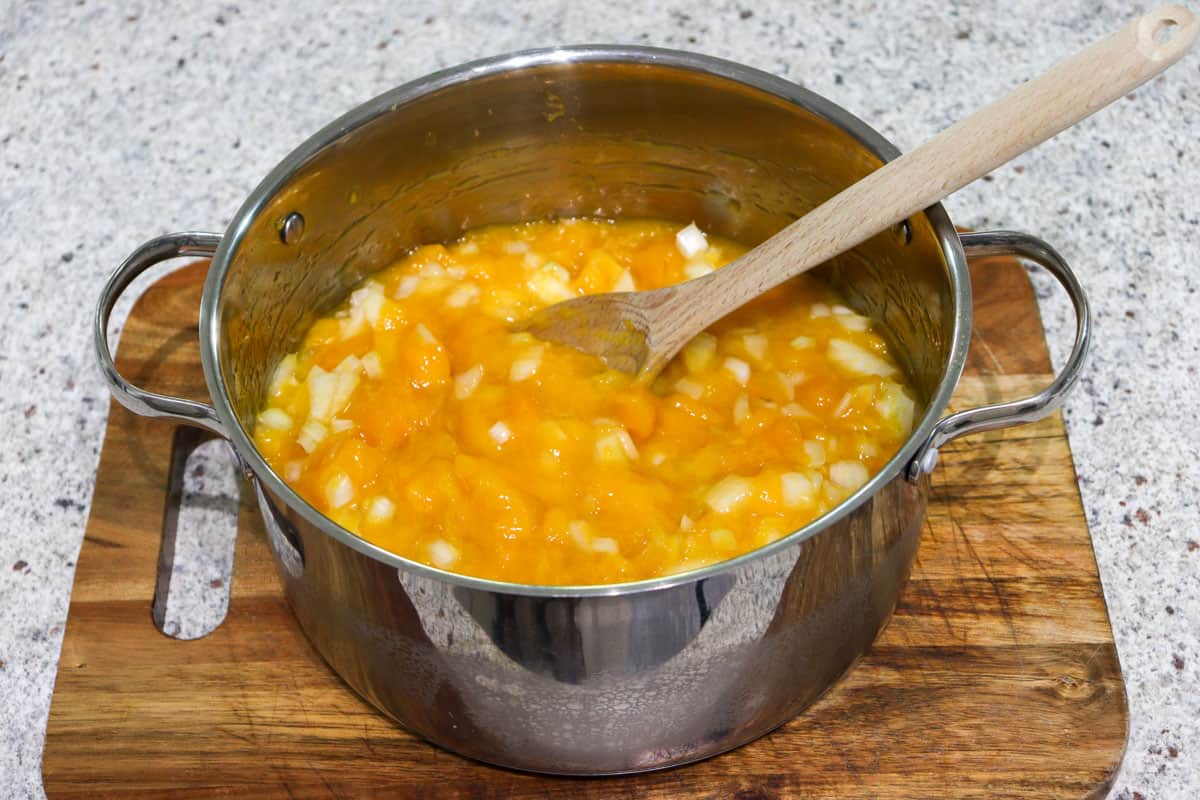
Next add the sugar and vinegar. Mix well.
Finally add the salt and spices and mix well.
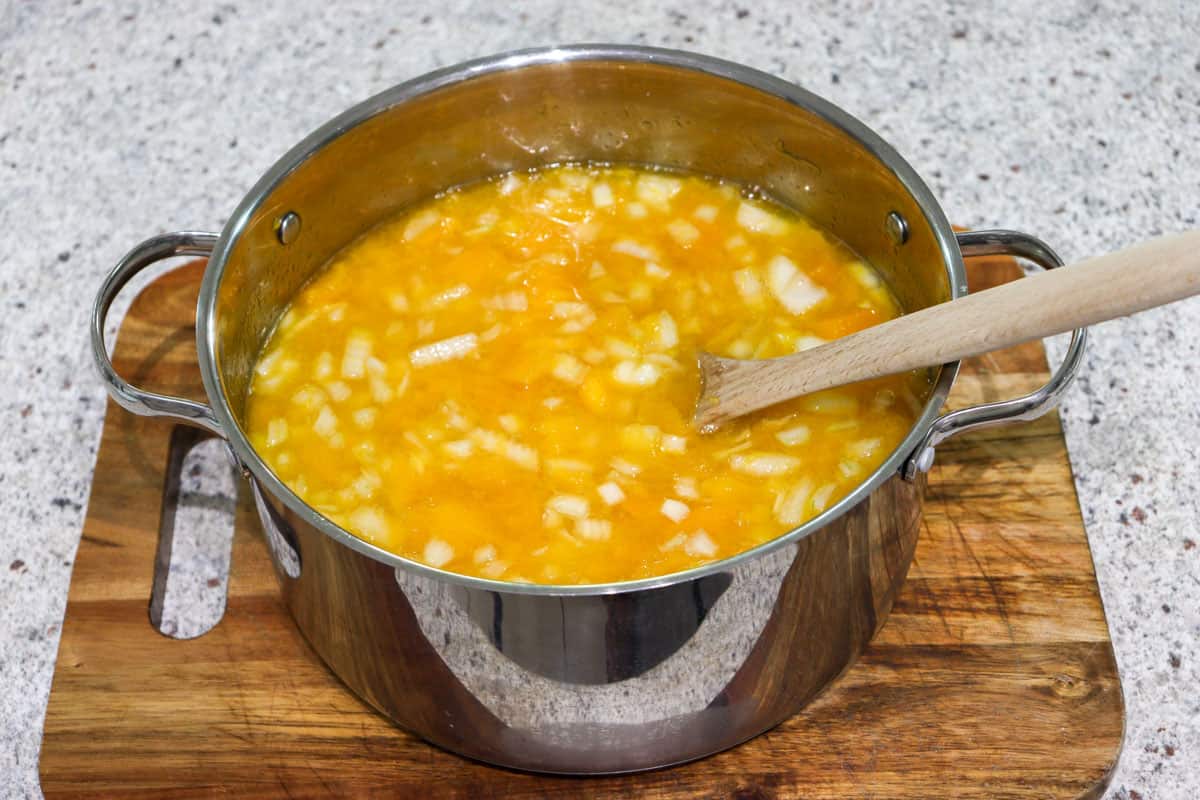
Place the saucepan on the stove, secure the lid and bring the mixture to the boil over a high heat, stirring occasionally.
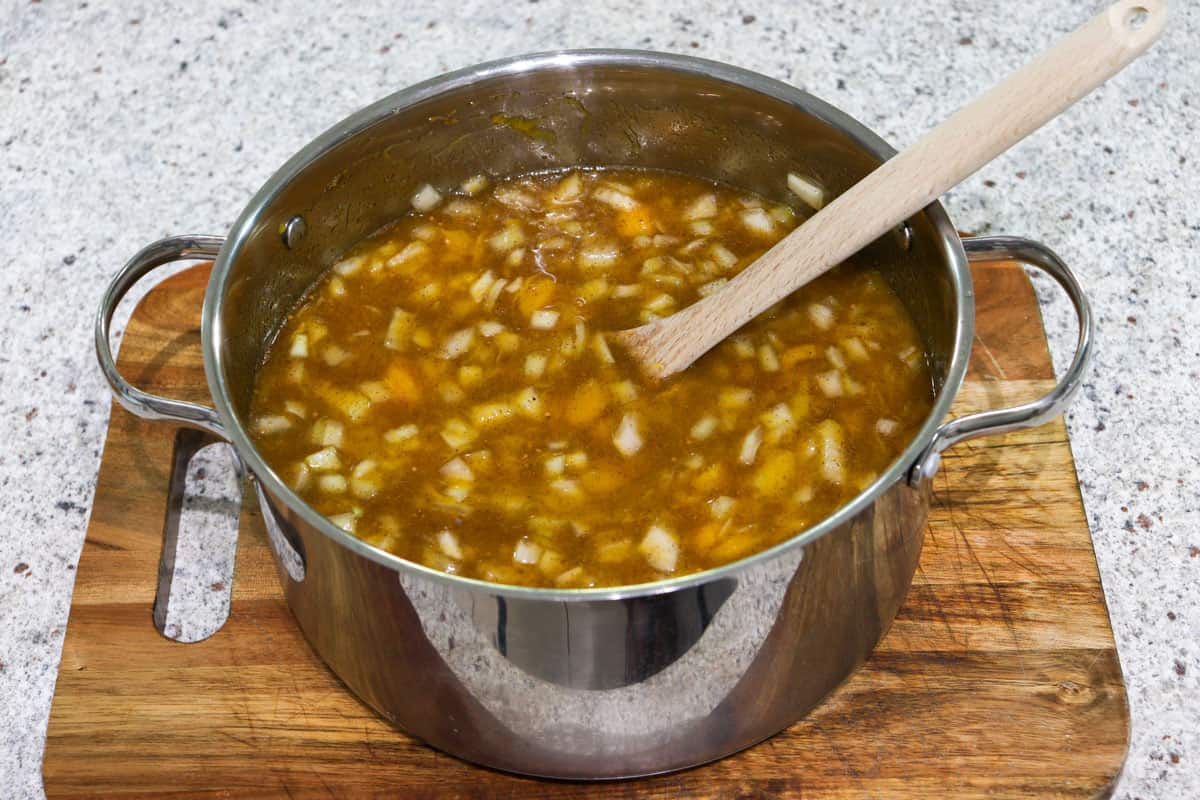
Once boiling, remove the lid and reduce the heat to medium-high, and boil for about one hour or until the mixture has thickened. Make sure you continue stirring so the sugar doesn't burn on the bottom of the pan.
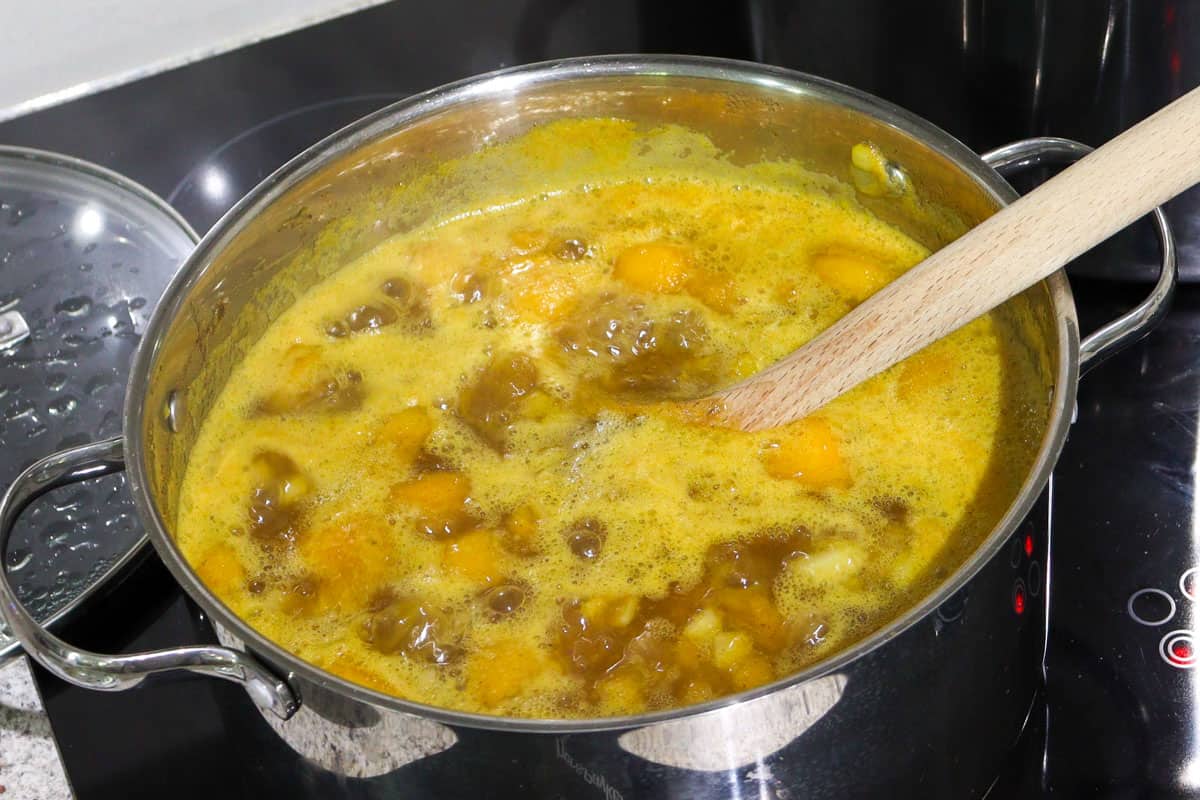
You may need to reduce the heat as the mixture reduces, so that you don't have too much splatter over the side of the pan.
Step four: Prepare the water bath
Check out my step-by-step guide to water bath canning for more information.
Once boiling, turn the heat off, but leave this water hot and covered and bring the water back to a simmer when your chutney is almost finished cooking.
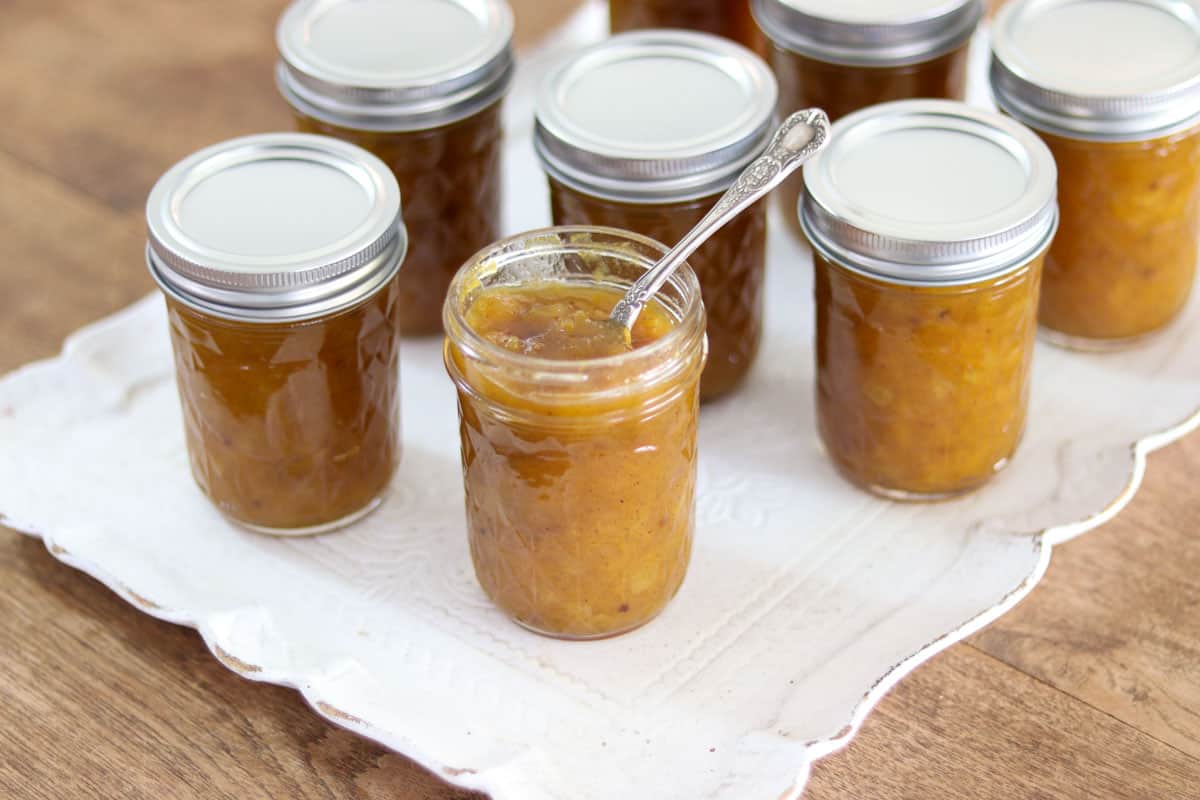
Step five: Fill the jars
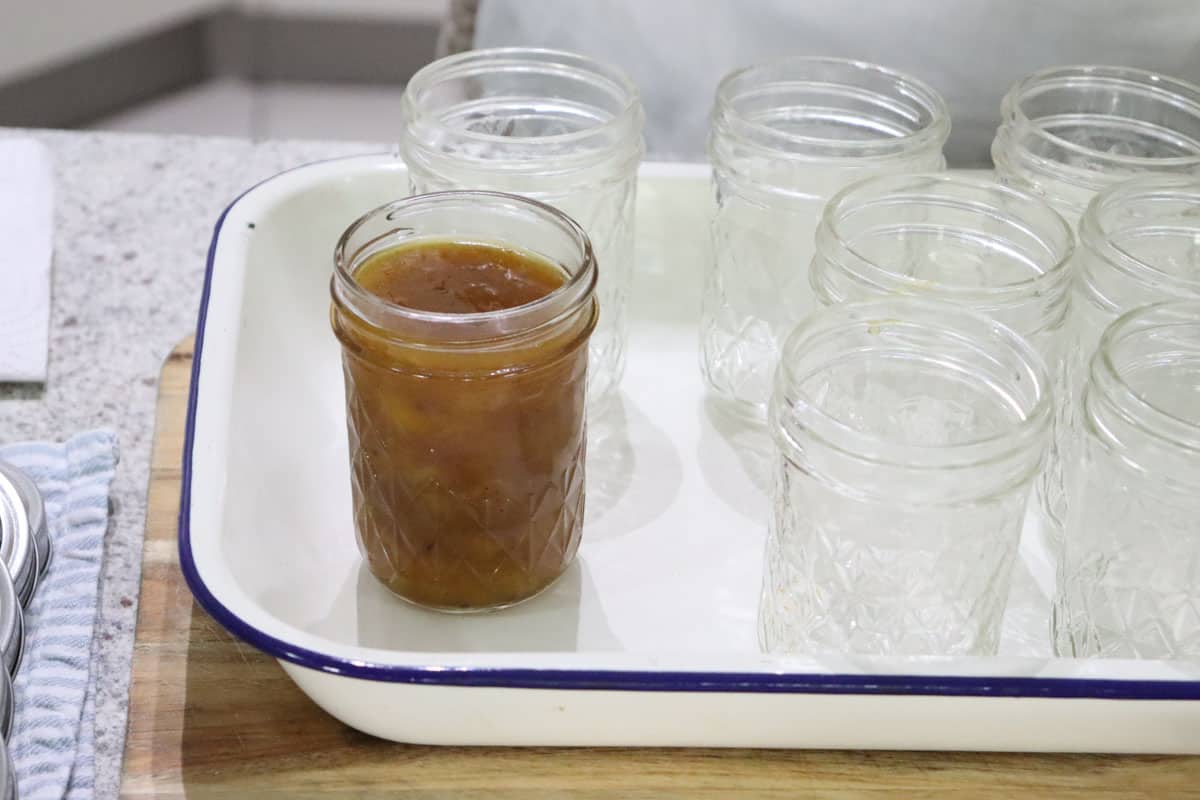
When the chutney has finished cooking, use a wide mouth funnel and ladle to carefully fill the jars leaving 1.2 cm (½ inch) head space.
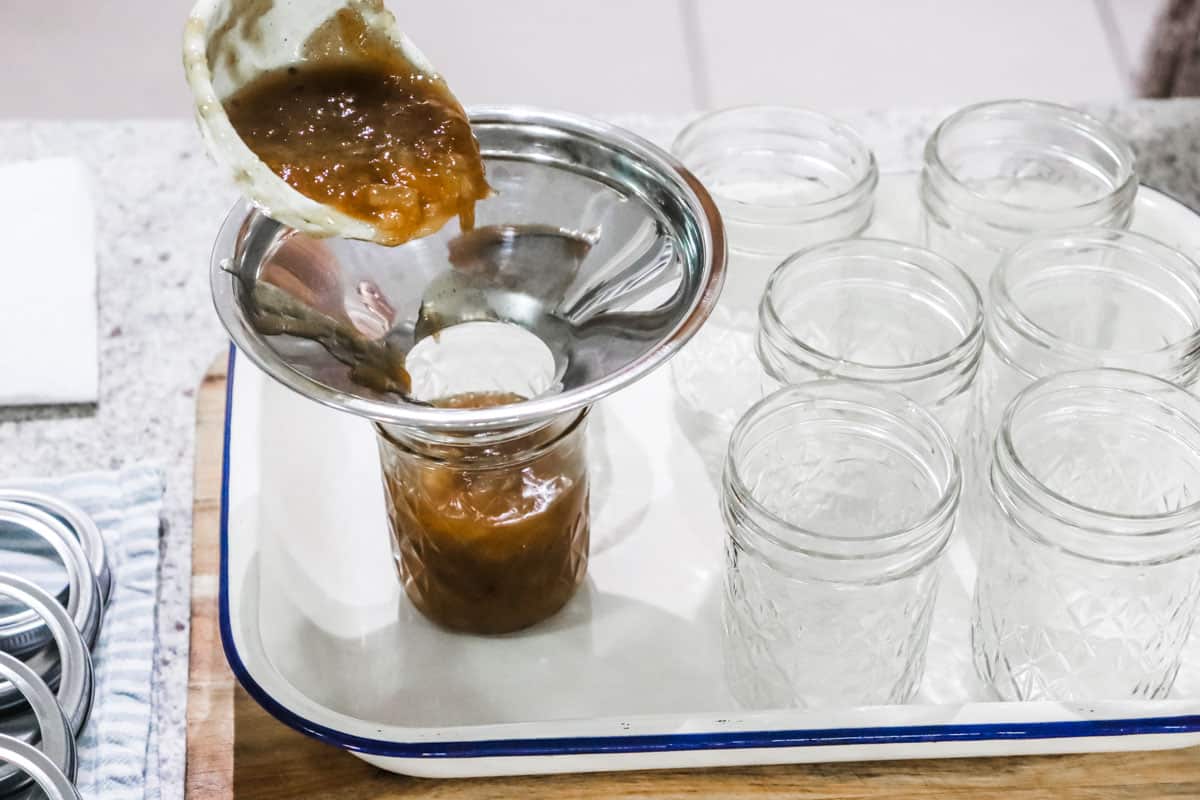
Head space is the space between the level of the filling and the top of the jar.
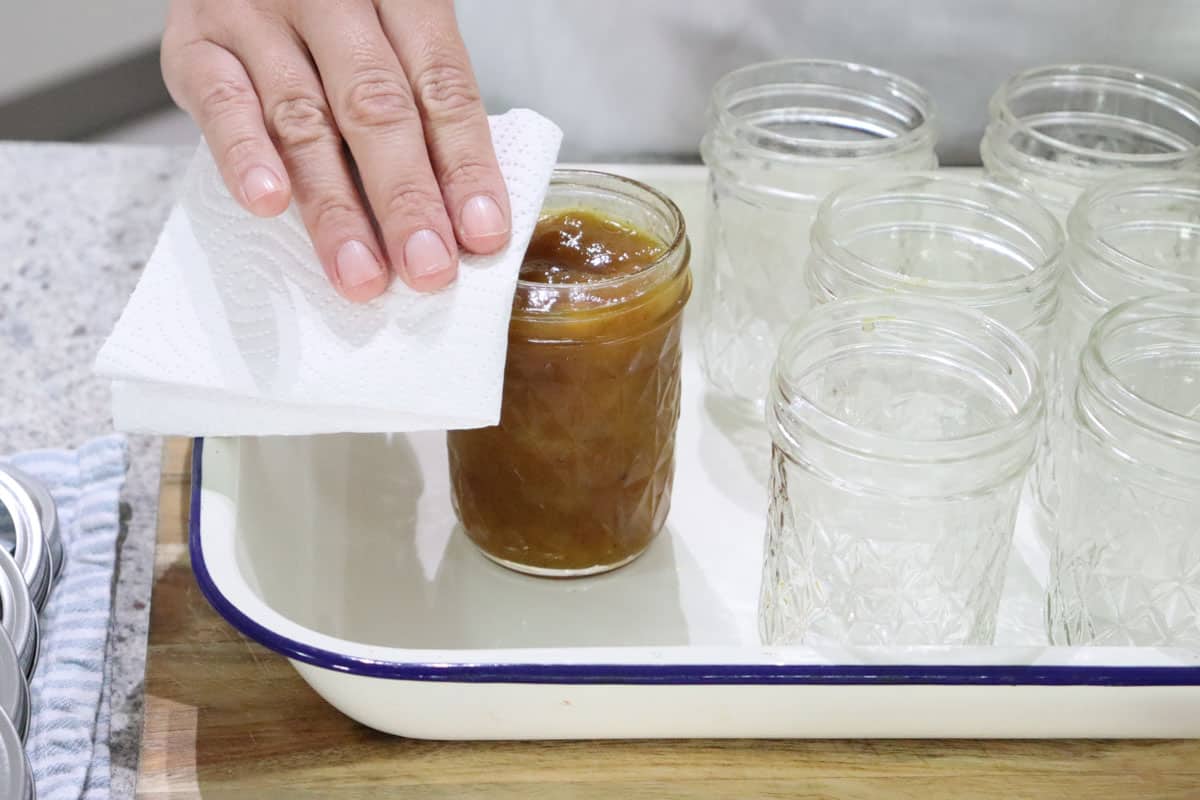
Holding the jar carefully (it will be hot), gently tap the jar on the counter to release any air bubbles caught in the mixture, then wipe the rim and thread of the jar with paper towel to clean off any spilled chutney.
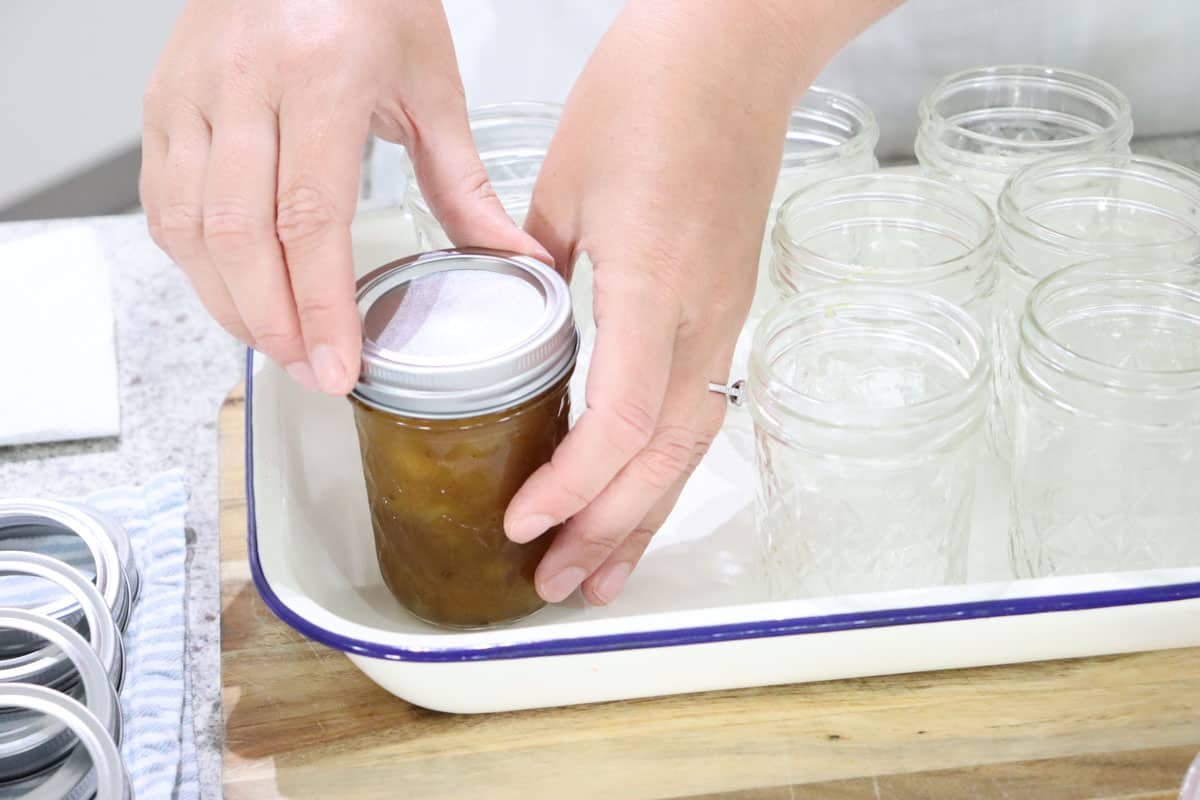
Once filled, seal immediately with the lids. If using a two-pice lid, first secure the lid and then the band.
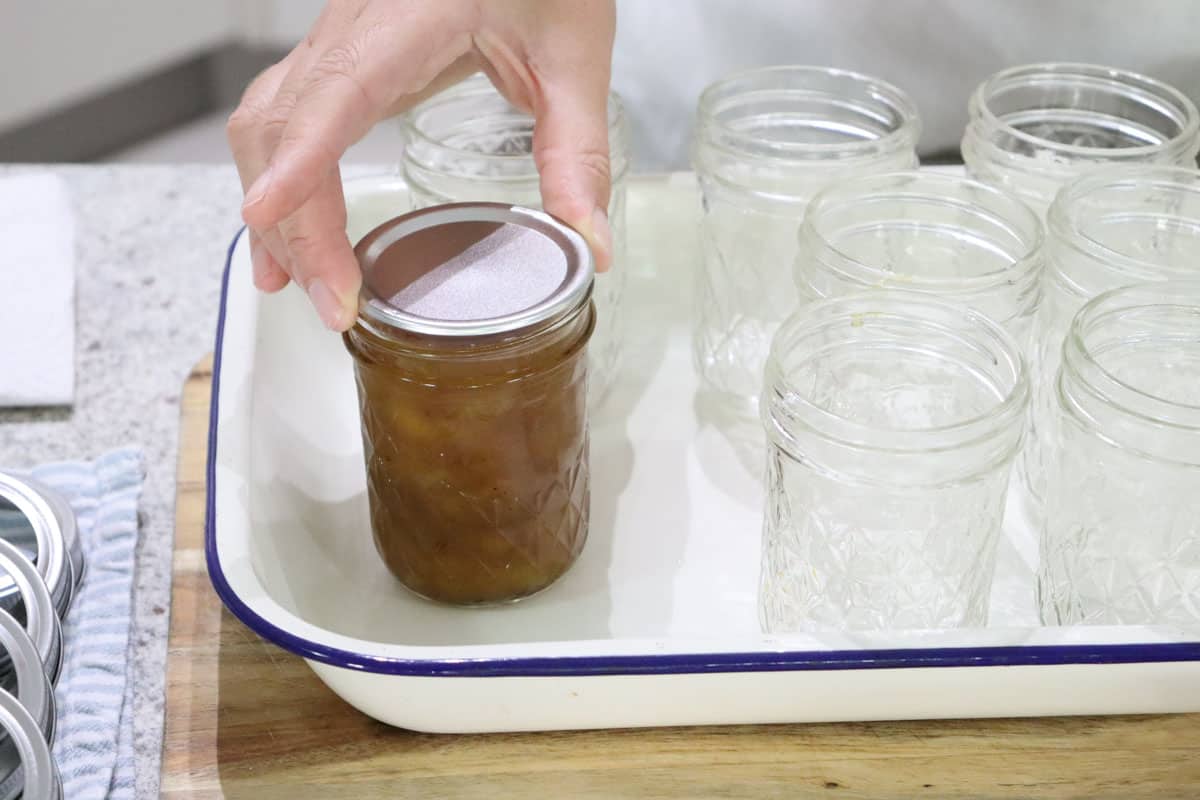
The lids should be 'fingertip' tight. Don't over tighten them or this may interfere with the sealing process.
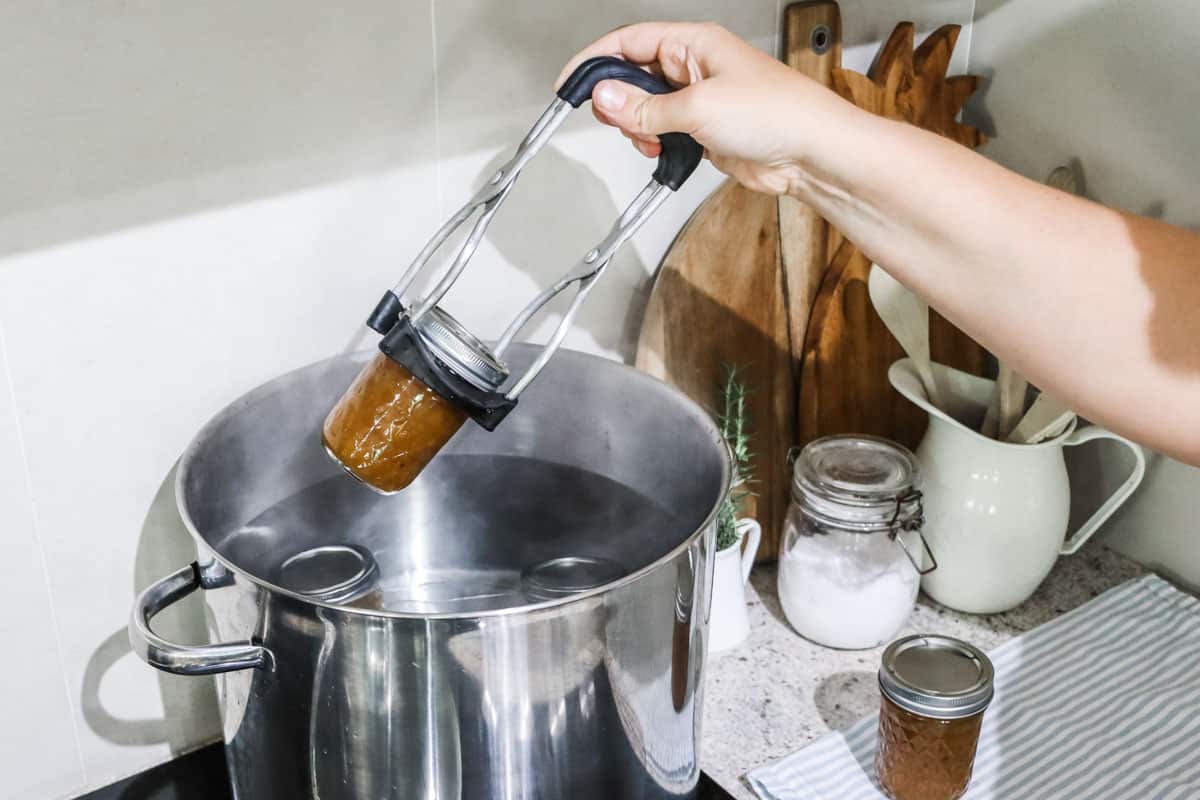
Step six: Process the jars in the waterbath
Process for 10 minutes. Check out my step-by-step guide to water bath canning for more information.
Step seven
After boiling for 10 minutes, carefully remove the jars using a jar lifter and place them on a tea towel to cool. Leave the jars undisturbed for 24 hours to ensure they seal correctly.

Step eight
After 24 hours inspect the lids to ensure the jars have sealed. There should be no flex when the centre for the lid is pressed. You can now retighten two piece lids if the bands are loose.
Store any unsealed jars in the refrigerator and use immediately.
Storage
Store the properly sealed jars in a cool dark place for up to 12 months.
Top tips
Buy mangos when they're in season at the best price and chop and freeze them until you're ready to make chutney.
If you're short on time, purchase pre-chopped onion from the freezer isle of your grocery store.
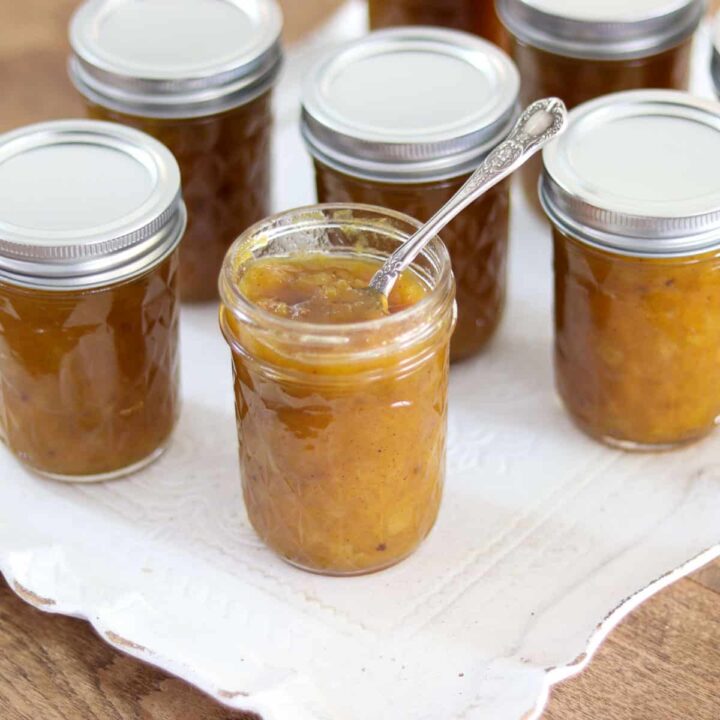
Mango Chutney Canning Recipe
This delicious old-fashioned chutney recipe brings together inexpensive, traditional ingredients with a hint of mild spice everyone will enjoy.
Ingredients
- 1.5 kg (3 lb) mango flesh, chopped
- 500 g (1 lb) onions, chopped
- 750 g (1.5 lbs) white sugar
- 500 ml (1 pint) white vinegar
- 1 teaspoon mixed spice
- 1 teaspoon ground cloves
- 1 teaspoon mustard seeds
- 1 teaspoon curry powder
- 1 teaspoon nutmeg
- 1 tablespoon salt
Instructions
- Wash and sterilise canning jars and lids.
- Place the ingredients into a large saucepan and mix well.
- Place the saucepan on the stove, secure the lid and bring the mixture to the boil over a medium-high heat, stirring occasionally.
- Once boiling, remove the lid, reduce the heat to medium and boil for about one hour or until the mixture has thickened. Continue stirring so the sugar doesn't burn on the bottom of the pan. You may need to reduce the heat as the mixture reduces, so that you don't have too much splatter over the side of the pan.
- When the chutney has finished cooking, use a funnel and ladle to carefully fill the jars leaving 1.2 cm (½ inch) head space.
- Holding the jar carefully (it will be hot), gently tap the jar on the counter to release any air bubbles caught in the mixture, then wipe the rim and thread of the jar with paper towel to clean off any spilled chutney.
- Once filled, seal jars immediately with the lids. If using a two-pice lid, first secure the lid and then the band. The lids should be 'fingertip' tight. Don't over tighten them or this may interfere with the sealing process. Once all the jars are filled and sealed, process them in a hot water bath for 10 minutes.
- After boiling for 10 minutes, carefully remove the jars using a jar lifter and place them on a tea towel to cool. Leave the jars undisturbed for 24 hours to ensure they seal correctly.
- After 24 hours inspect the lids to ensure the jars have sealed. There should be no flex when the centre for the lid is pressed. You can now retighten two piece lid bands if they are loose. Store any unsealed jars in the refrigerator and use immediately.
Nutrition Information:
Yield: 64 Serving Size: 1Amount Per Serving: Calories: 212Total Fat: 0gSaturated Fat: 0gTrans Fat: 0gUnsaturated Fat: 0gCholesterol: 0mgSodium: 102mgCarbohydrates: 49gFiber: 0gSugar: 49gProtein: 0g
This information is approximate and should be used as a guide only.
Thanks for following along. If you love this recipe please give it five stars in the recipe card and leave me a review there. Your support means so much and helps me share my recipes with you for free.
FAQ
Yes. Most chutneys can be canned using the water bath method in this recipe.
Mango chutney is delicious served with lamb, chicken or pork, and with curries and stews, on salads and sandwiches.
Mango chutney should be enjoyed as part of a balanced diet as it does contain a fair amount of sugar as a preserving agent.
What I like about homemade mango chutney is that by adding just a little bit to a healthy salad or sandwich, you can really enhance the flavour.
It takes about one hour to cook mango chutney, plus preparation, water bath processing and cooling time.
You should store any jars of mango chutney that don't seal properly in the refrigerator and use immediately.
Once opened, chutney should be stored in the fridge and is good for about two to three months.
Yes, once opened and exposed to the air and other contaminants, mango chutney can become unsafe to eat after about two to three months in the refrigerator, and much more quickly at room temperature.

Comments
No Comments