Learn how to use the water bath canning method to safely and effectively preserve homemade pickles, chutneys, jams and relishes. In this blog we'll cover what equipment you will need and how to sterilise jars, prepare a water bath, fill jars, process correctly and more.
When making high-acid foods (with a ph of 4.6 or less) such as pickles, chutney, jam and relish, you can use the water bath canning or preserving method to ensure a vacuum-tight seal on your jars and avoid food spoilage.
For more information on water bath canning visit the Ball Mason Jars website.
In this blog I'll step you through the exact process I've been using for years to safely preserve my own homemade preserves, with minimal effort and expense. The methods I use are backed by leading food safety organisations included the National Centre for Home Food Preservation and the CSIRO.
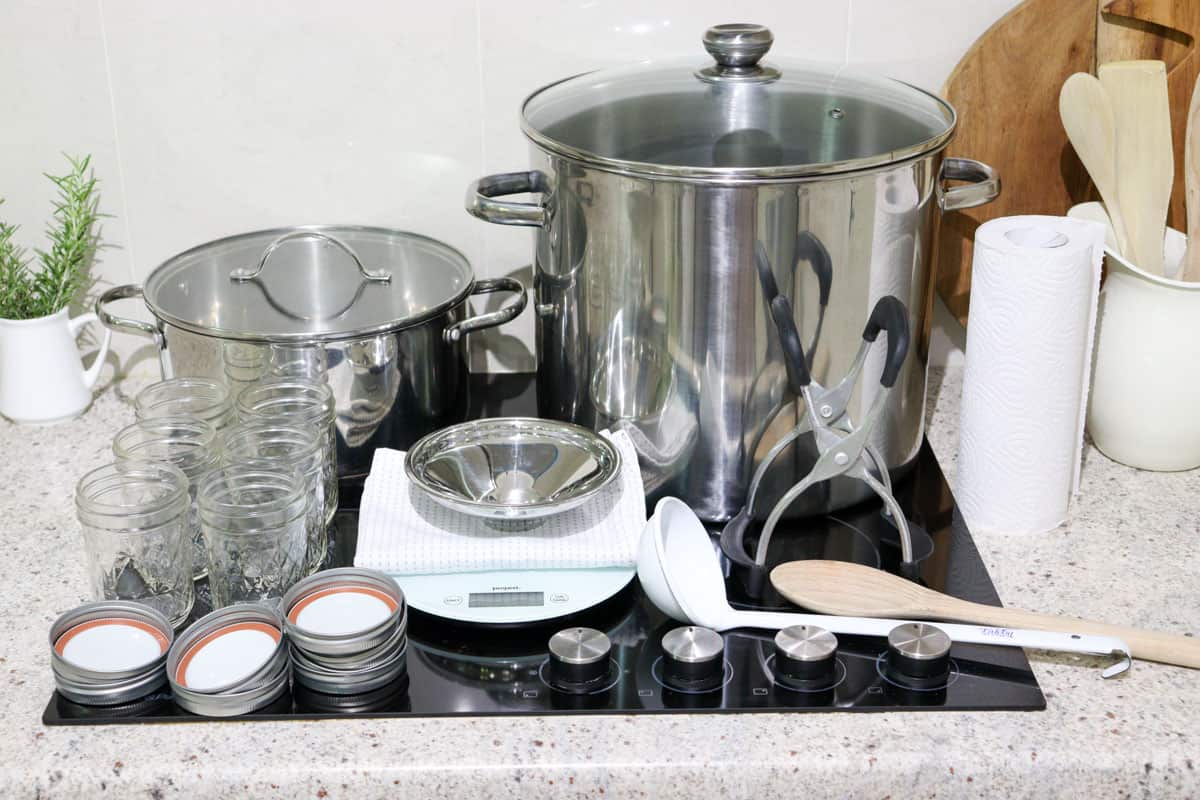
Equipment you will need
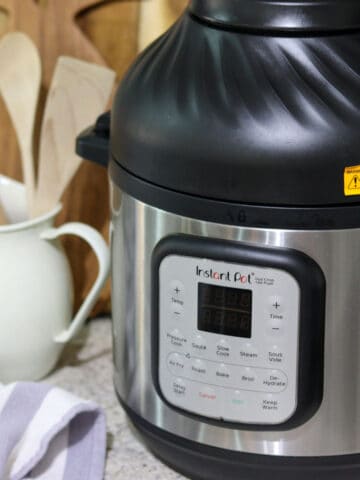
- large stock pot with a lid and rack, or a water bath canner
- canning jars - I like to use Ball Mason 8 oz preserving jars
- canning lids - I buy canning lids from Amazon.com.au
- wide mouth stainless steel funnel
- jar lifter
- ladle
How to can using the water bath method
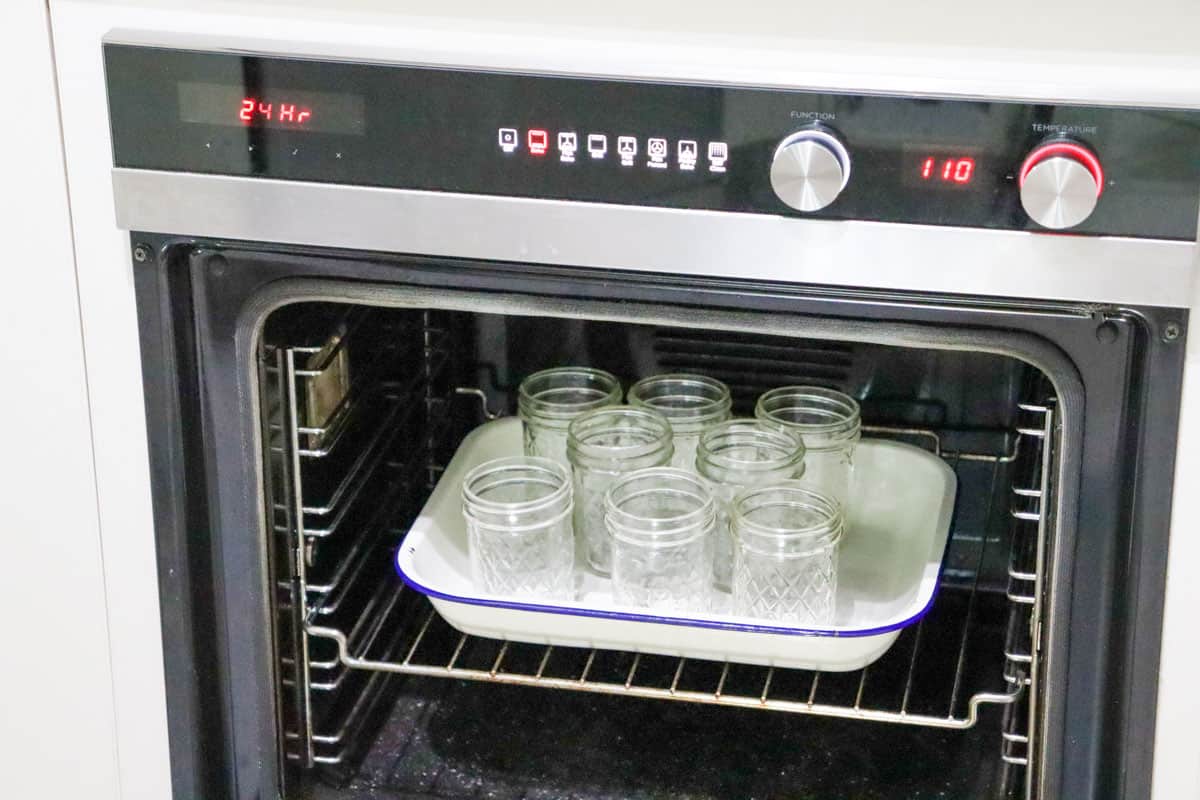
Step one: Sterilise the jars and lids
Wash the jars and lids well in very hot soapy water and rinse. You could also use a dishwasher on the hottest setting.
Place the lids on a clean tea towel, or kitchen paper towel, and allow to air dry. Avoid touching the inside of the lids.
Place the jars on a baking tray and place it in the oven. Set the oven to 110 degrees Celsius (248 Fahrenheit). Once the oven has reached temperature, bake the jars for 10 minutes.
After 10 minutes turn off the oven and keep the door closed, allowing the jars to stay warm in the oven while you make the preserve.
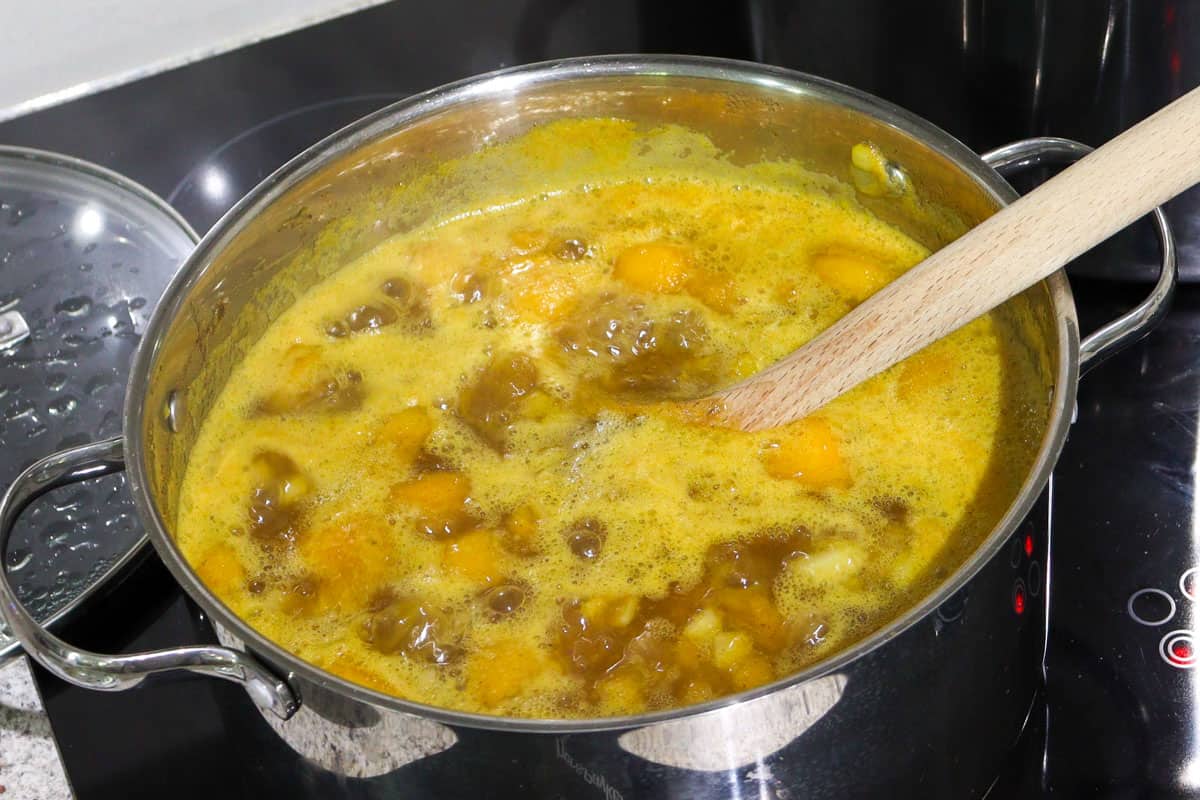
Step two: Prepare the preserve
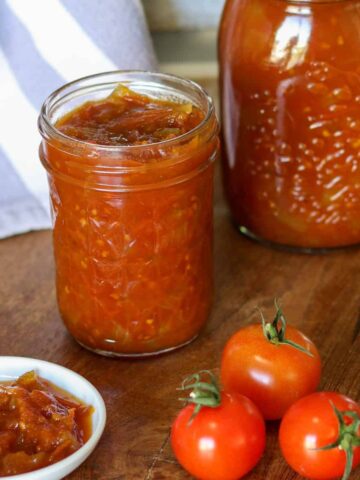
Check out my strawberry jam, mango chutney and tomato relish preserving recipes.
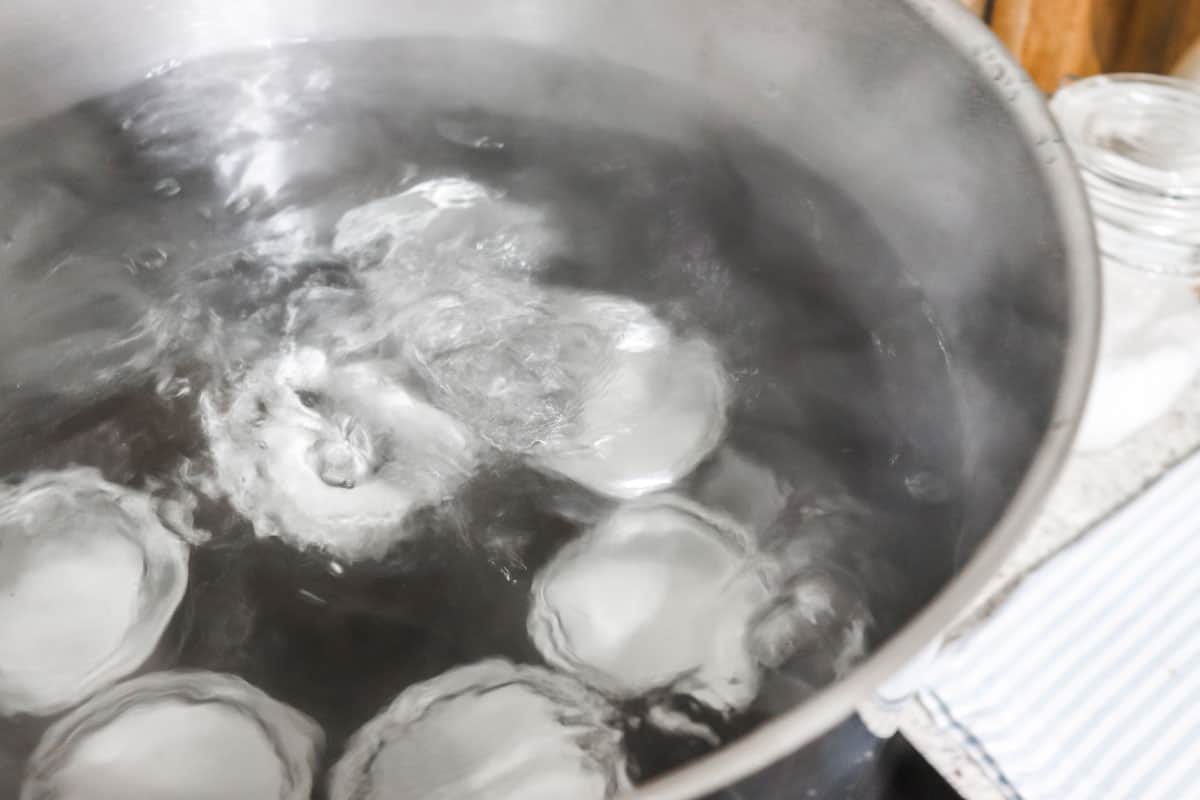
Step four: Prepare the water bath
Meanwhile, fill a large stock pot with water, place it on the stove and bring the water to the boil. There needs to be enough water in the pot to cover the height of your jars by at least 5 centimetres or a couple of inches.

Once boiling, turn the heat off, but leave this water hot and covered and bring the water back to a simmer when your chutney is almost finished cooking.
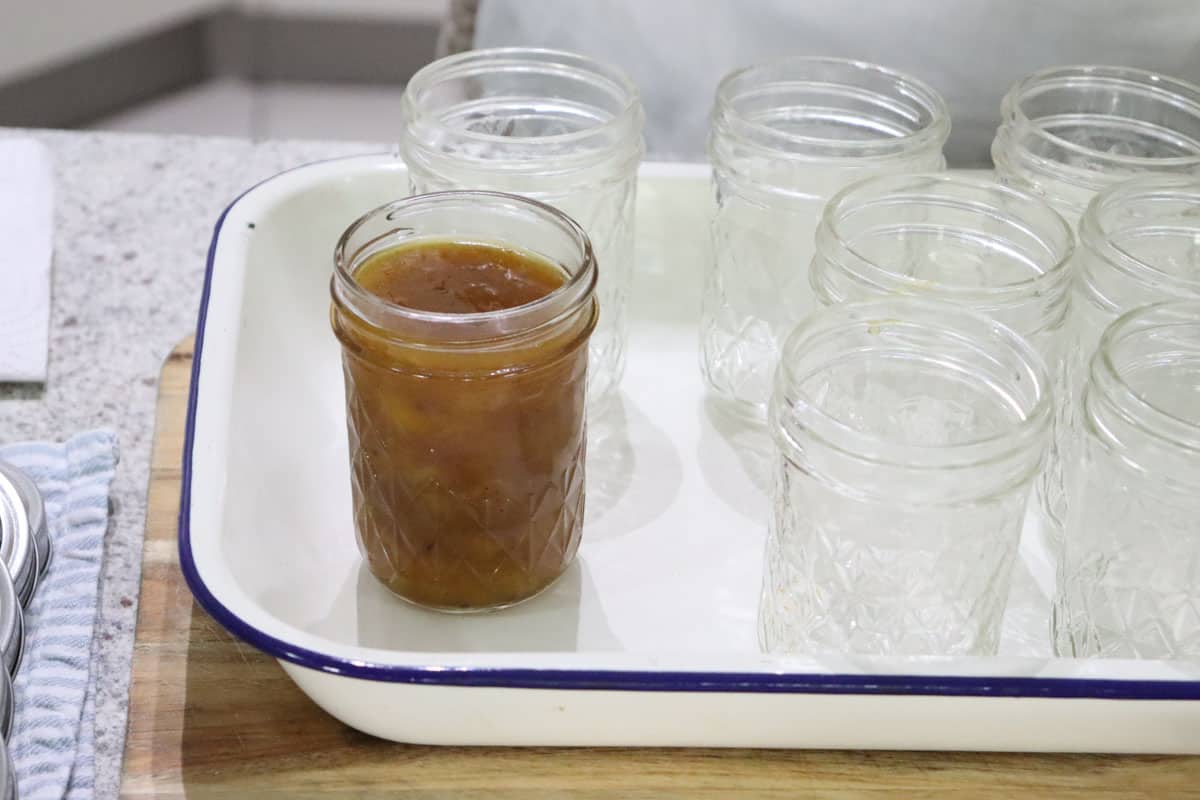
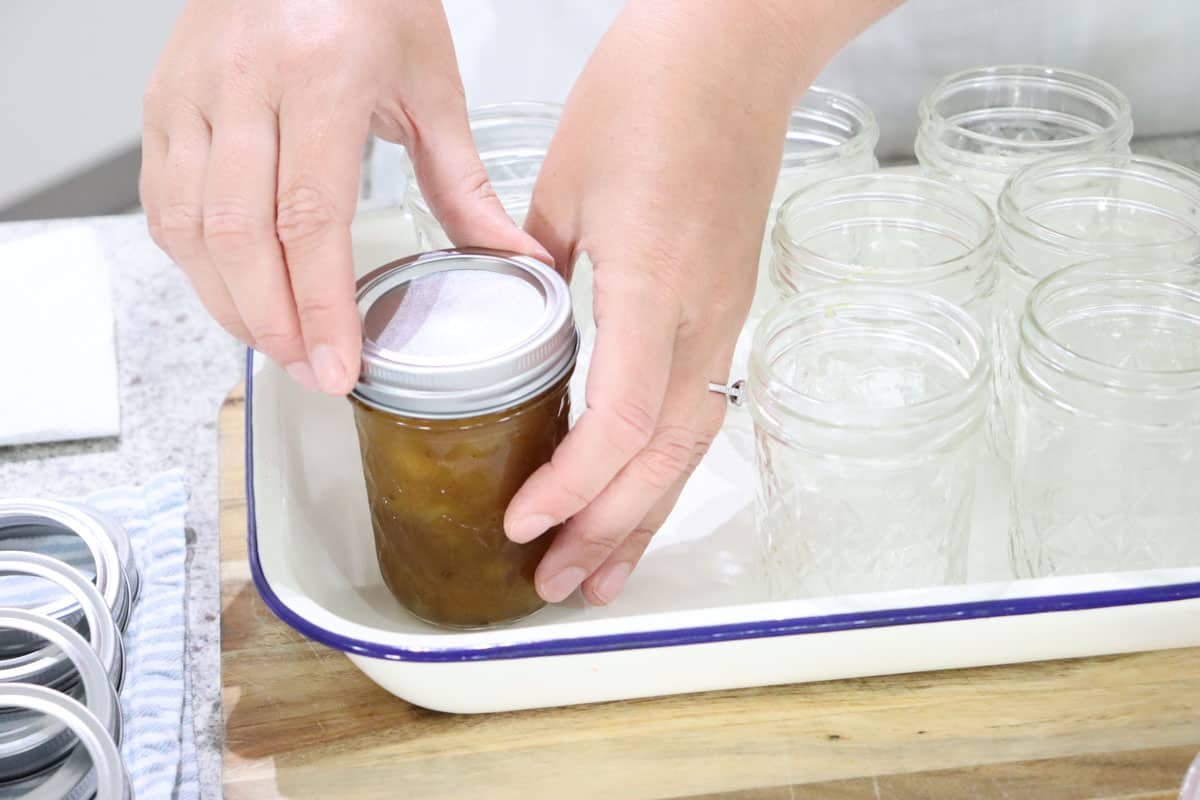
Step five: Fill the jars
When the filling has finished cooking, use a wide mouth funnel and ladle to carefully fill the jars leaving 1.2 cm (½ inch) head space.
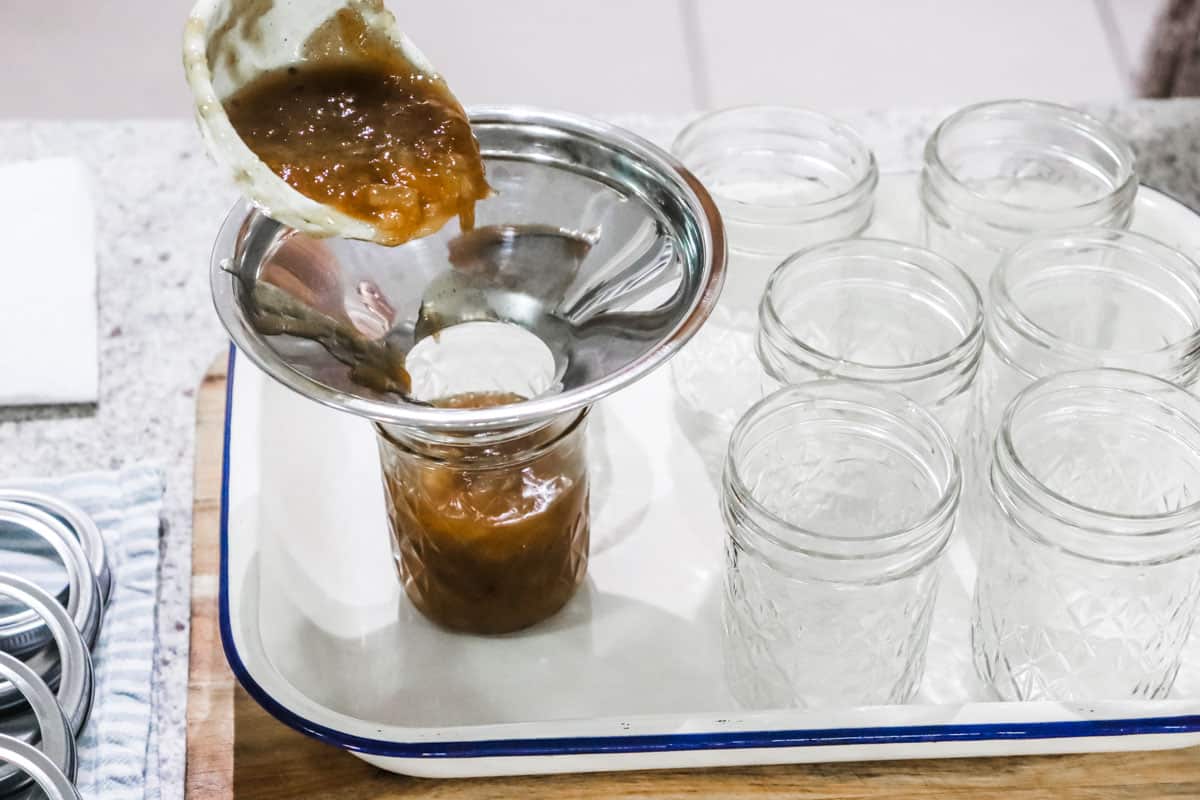
Head space is the space between the level of the filling and the top of the jar.
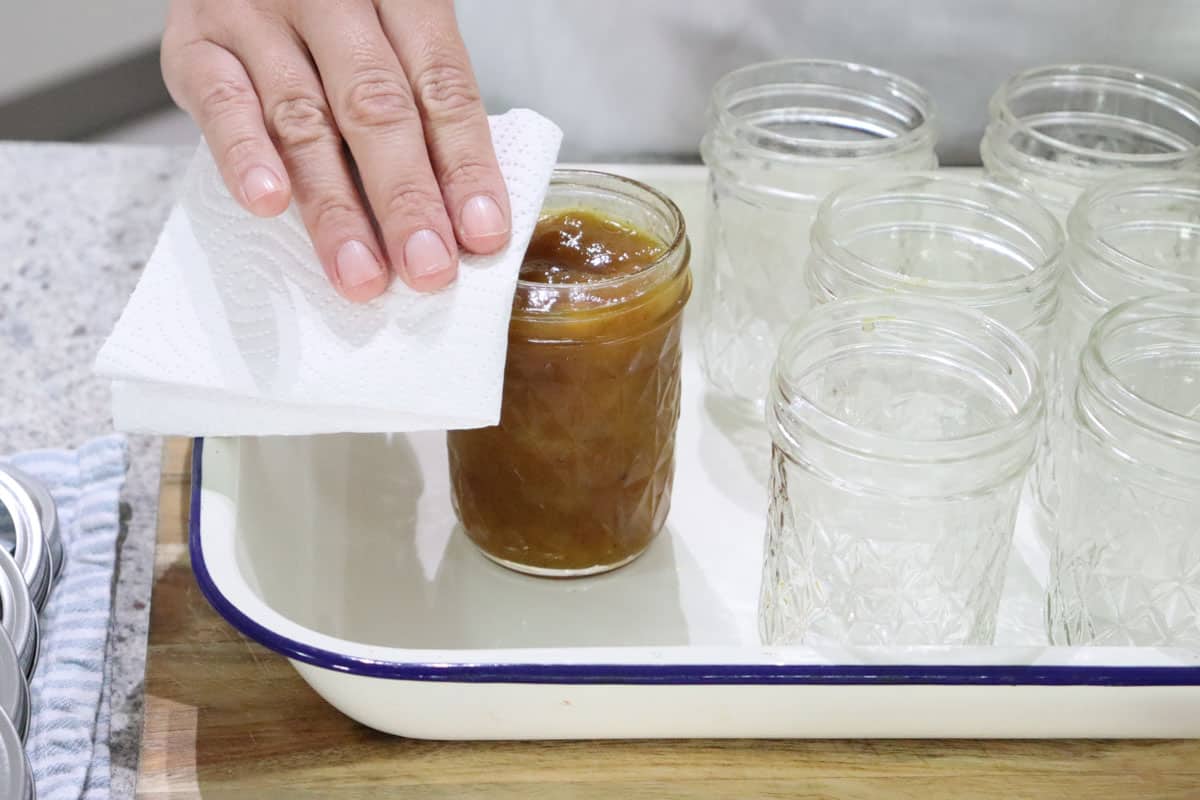
Holding the jar carefully (it will be hot), gently tap the jar on the counter to release any air bubbles caught in the mixture, then wipe the rim and thread of the jar with paper towel to clean off any spilled filling.
Once filled, seal immediately with the lids. If using a two-pice lid, first secure the lid and then the band.
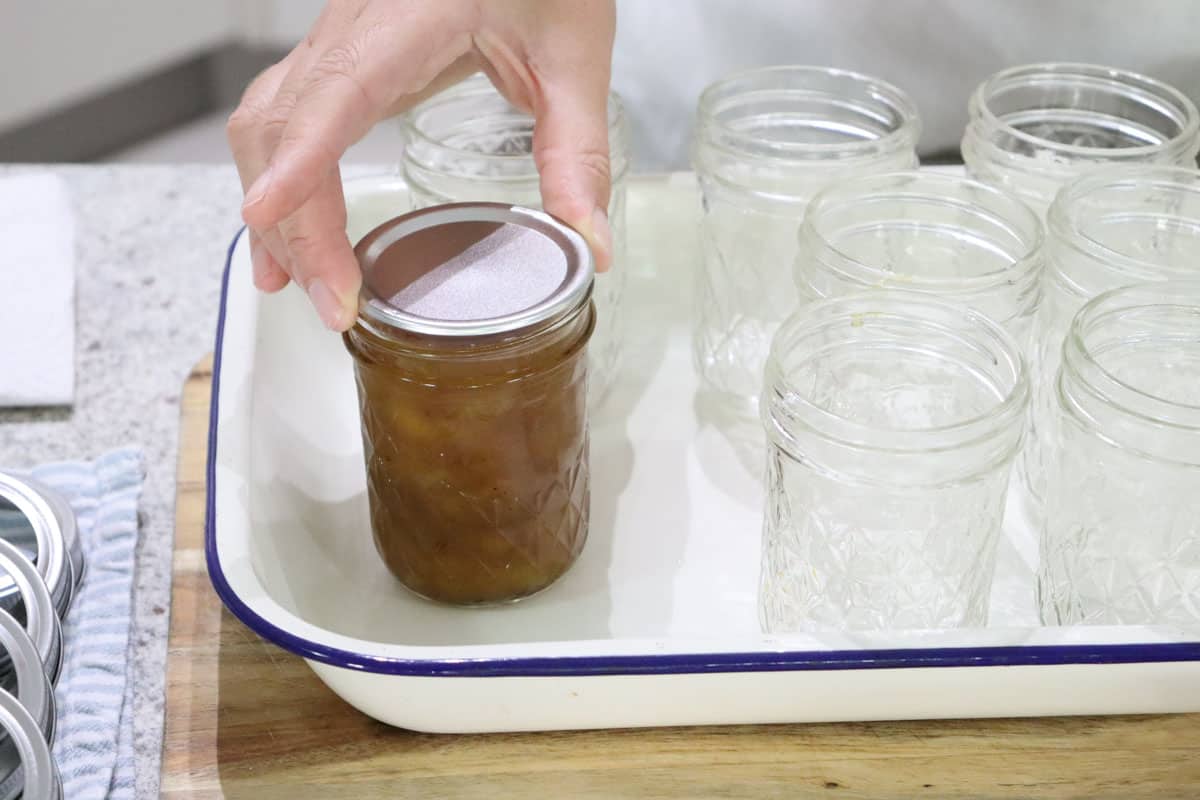
The lids should be 'fingertip' tight. Don't over tighten them or this may interfere with the sealing process.
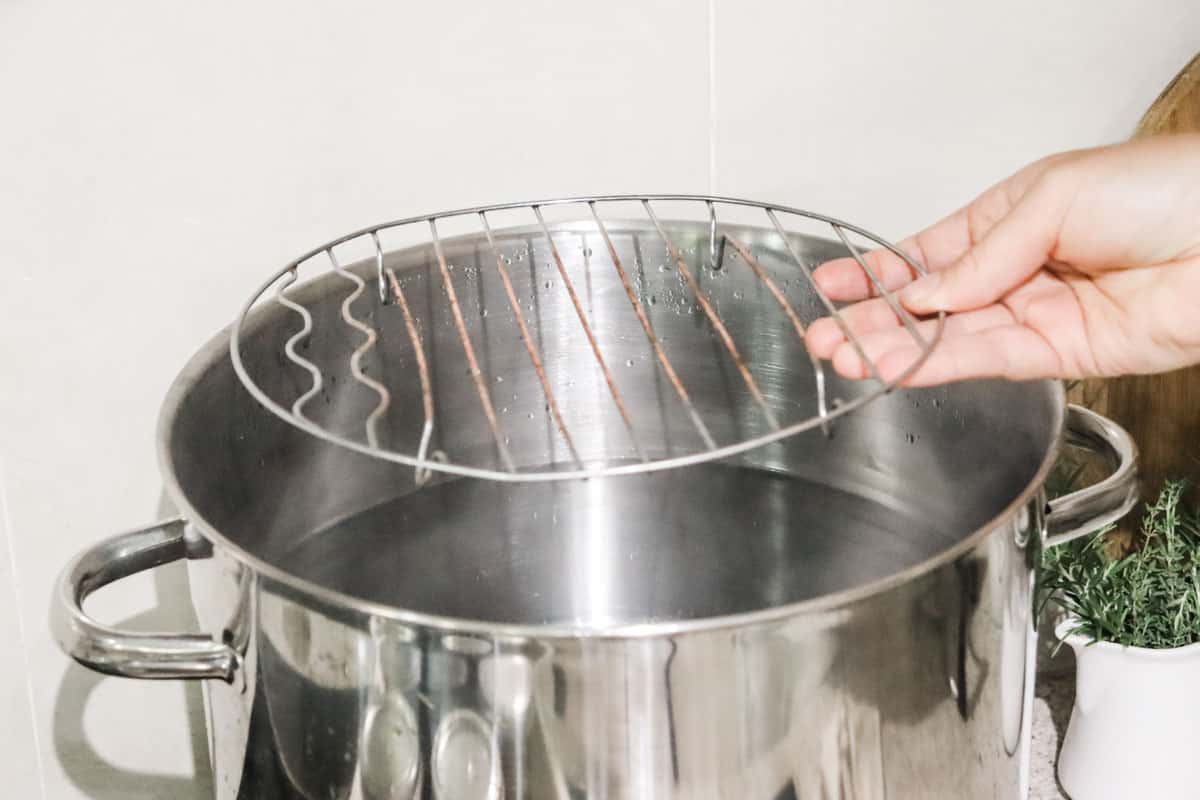
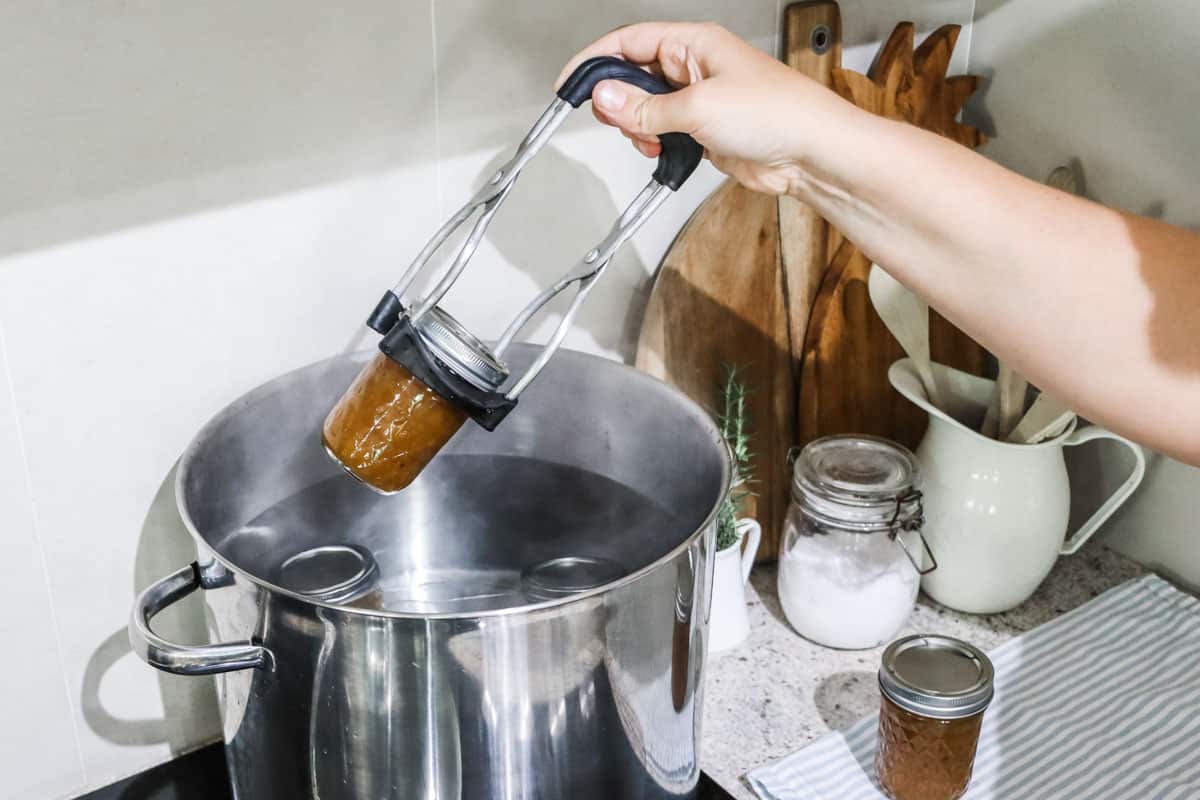
Step six: Process the jars in the waterbath
Once all the jars are filled and sealed, place a rack into into the bottom of the stock pot of boiling water, then using the jar lifter, carefully lower the jars onto the rack.
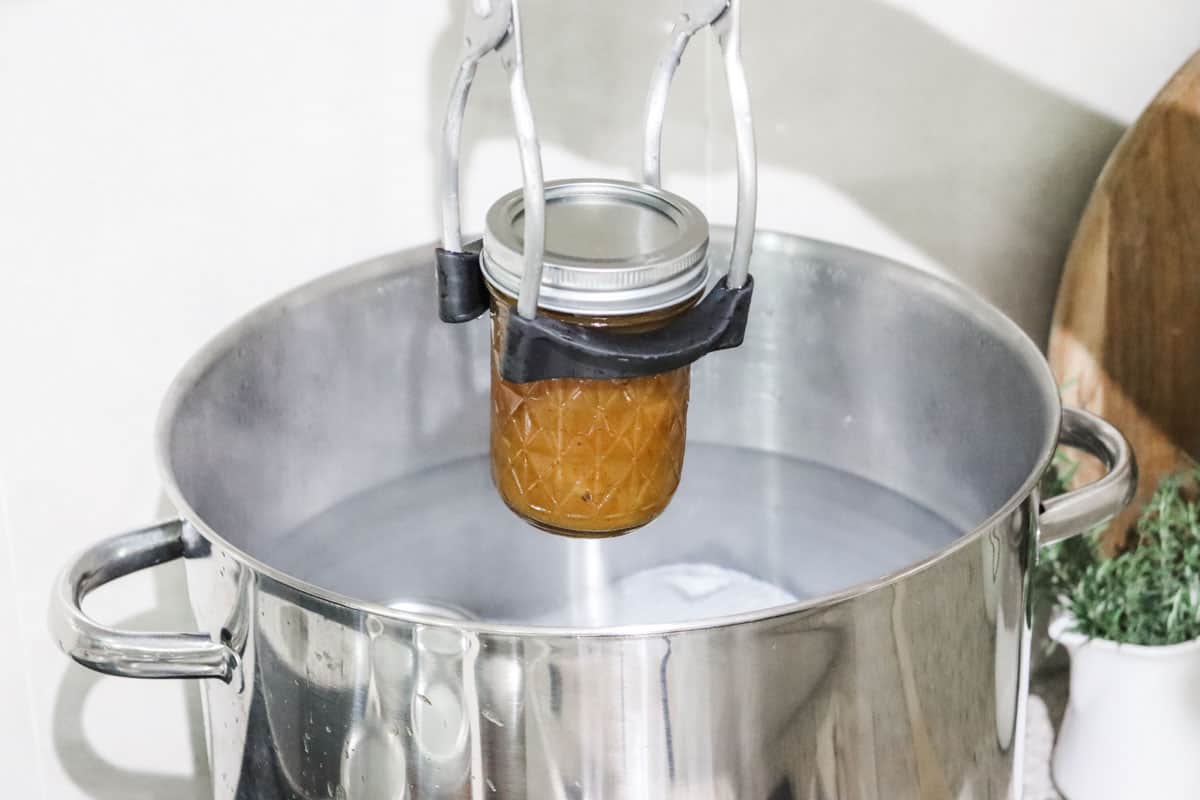
Secure the lid and bring the water back to the boil.
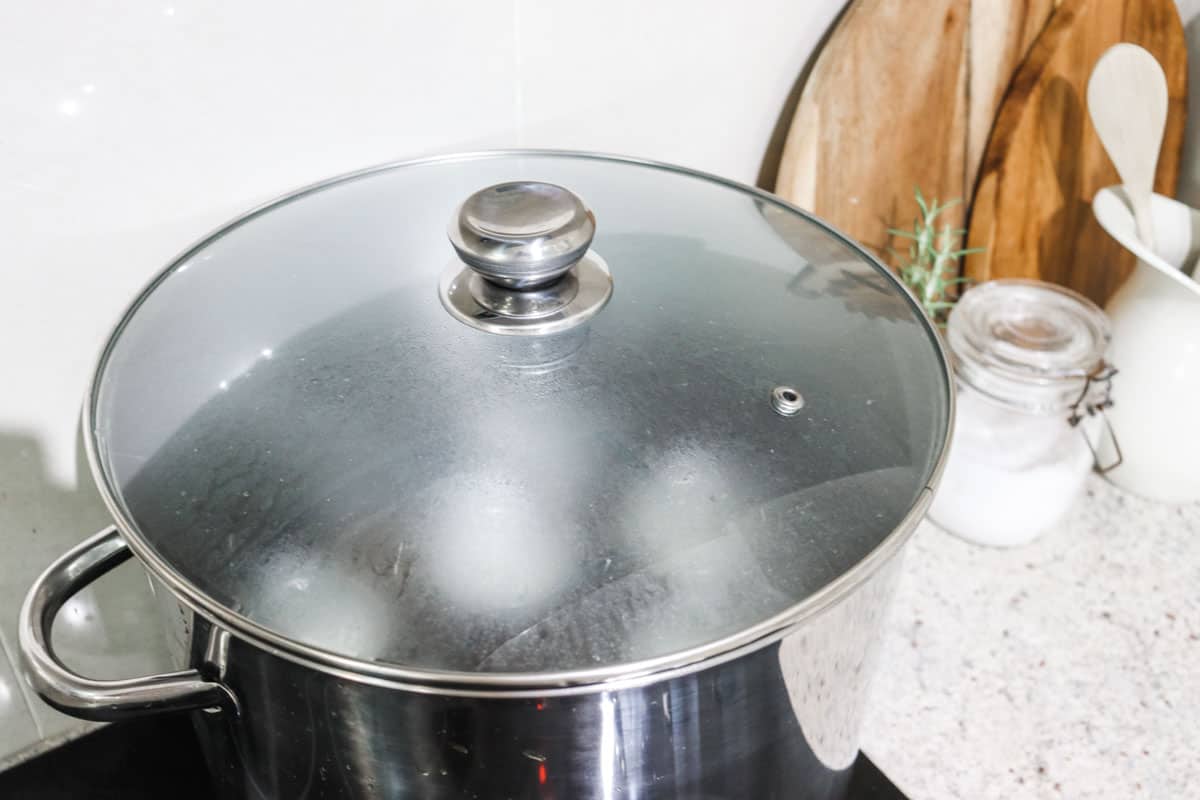
Once boiling, reduce the heat to medium-high and boil the jars for 10 minutes (or however long the recipe specifies). Keep an eye on the water to ensure it remains boiling.
If for some reason the water stops boiling, turn the heat up and once boiling again, restart the processing time (10 minutes).
Step seven
After boiling for 10 minutes, carefully remove the jars using a jar lifter and place them on a tea towel to cool. Leave the jars undisturbed for 24 hours to ensure they seal correctly.

Step eight
After 24 hours inspect the lids to ensure the jars have sealed. There should be no flex when the centre for the lid is pressed. You can now retighten two piece lids if the bands are loose.
Store any unsealed jars in the refrigerator and use immediately.
Storage
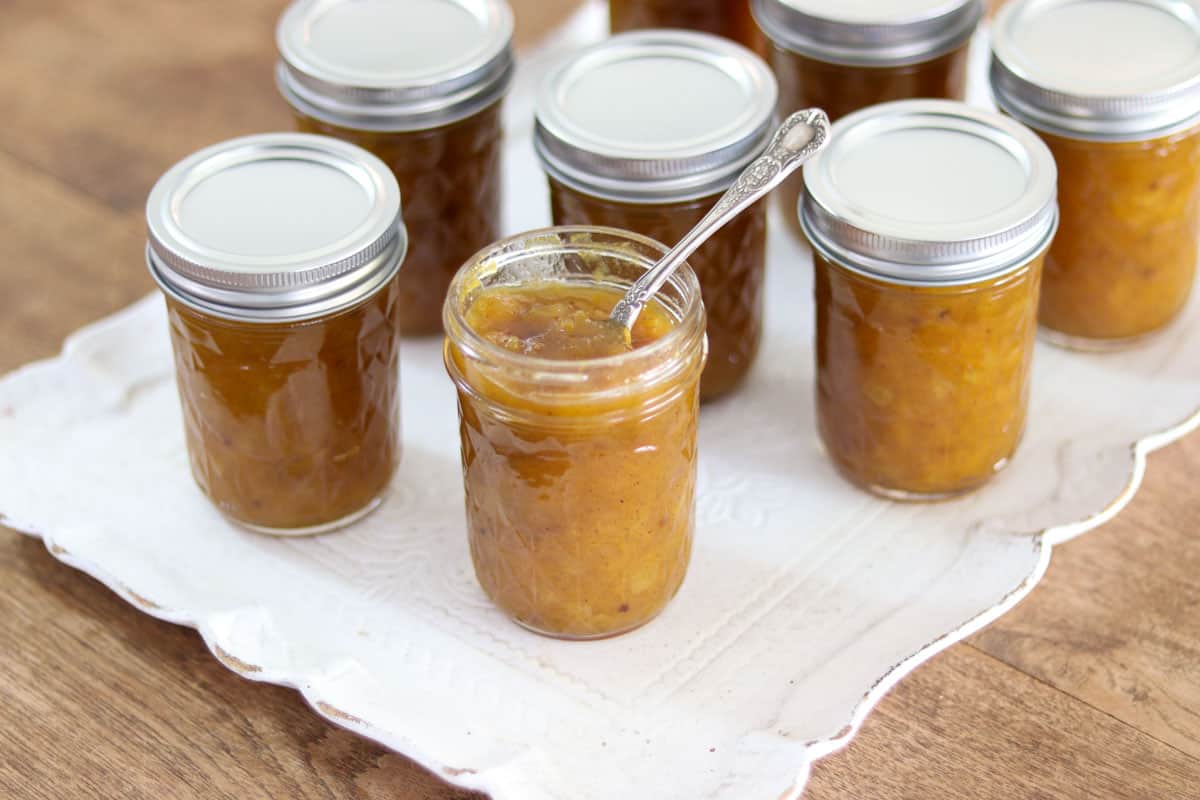
Store the properly sealed jars in a cool dark place for up to 12 months.
Thanks for following along and happy canning!
Comments
No Comments