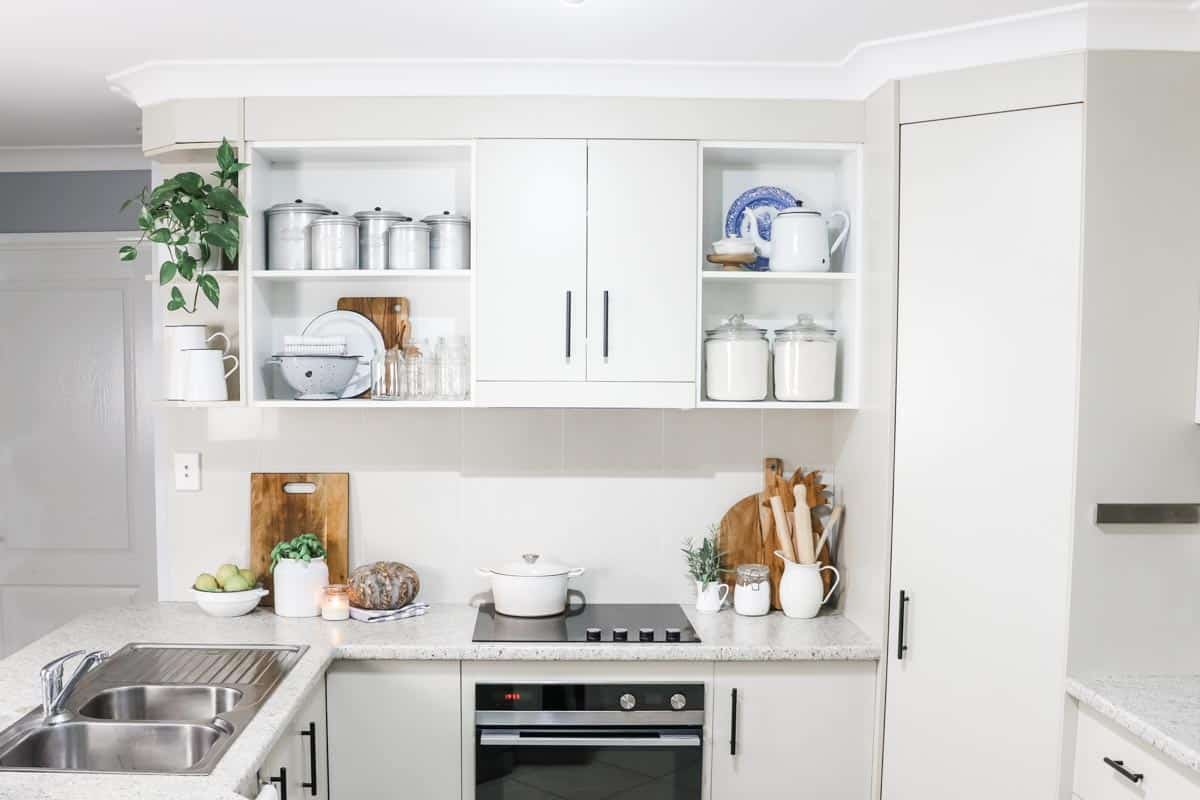
Today I'm sharing how to make DIY open shelving by converting kitchen cabinets to shelves. With just a couple of hand tools, packet of stick-on screw caps and a little bit of effort this makeover can be completed in under an hour and for less than $10. Let's dive in.
Jump to:
For the longest time I've wanted to live in a character-filled old wood home on expansive acreage in some kind of historic district, but rising house prices in our area meant that all we could afford was a builder spec home.
Once we had moved in I knew I wanted to bring some farmhouse charm into our kitchen, but I had no money left to spend on an expensive kitchen remodel. So instead I decided to try something a little different and set about converting some of our upper kitchen cabinets into open shelving.
The end result was amazing.
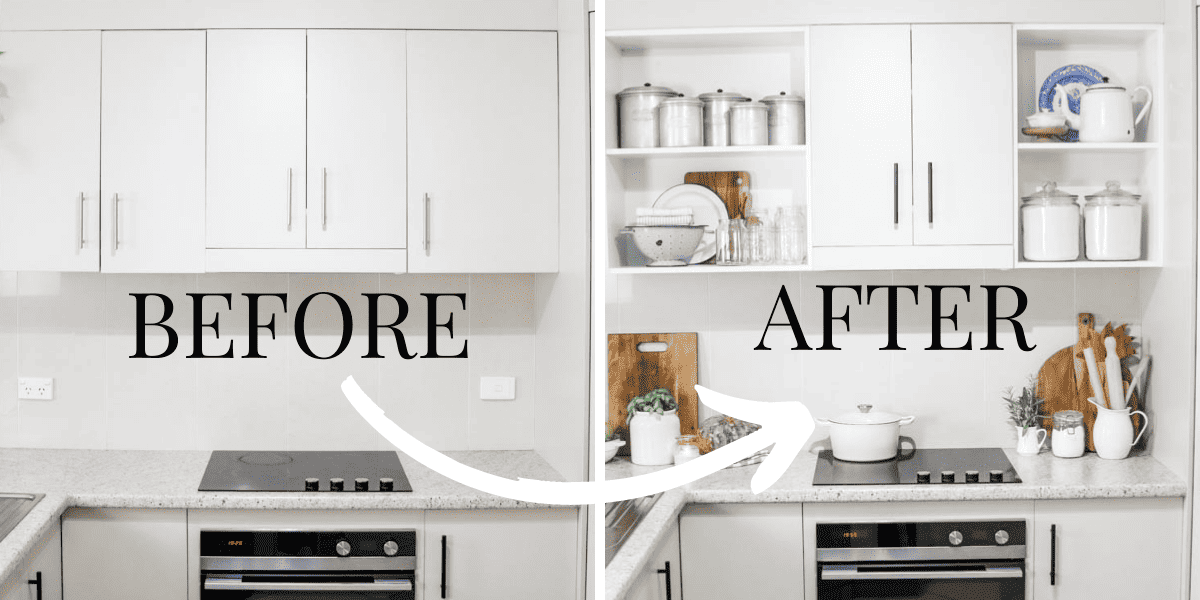
By simply removing the doors from two of my kitchen cabinets I had found a quick, easy and affordable way to spruce up my kitchen and inject some farmhouse style into an otherwise bland space.
Before and after: DIY open shelving kitchen shelves
The result speaks for itself. Check out the before and after.
An easy DIY with huge impact
Do you have a Pinterest board overflowing with open shelving ideas but no money to spend? Or perhaps you're in a rental and can't make any permanent changes.
The great thing about this project is you're really just taking something away to create open shelving, rather than installing something new. Plus you can hang the doors right back on if you don't like the result.
Compared to installing a new shelf, there's no scouring the hardware store for expensive shelf brackets or the right type of wood, trying to figure out how to use a stud finder or waiting a long time for the result.
It's the perfect opportunity to see if you actually like having open shelving in your kitchen before you invest in it. Open shelves do tend to attract dust but with this cabinet conversion option, there doesn't seem to be as much.
This method also works great in a small kitchen, where you wouldn't otherwise have space to add another set of shelves to display kitchen decor. Plus there are no clunky shelving brackets taking up space on the wall.
But perhaps the best thing is how affordable this project is. If you already have a screwdriver, set of pliers and step ladder, it will cost you under $10!
Open shelving style
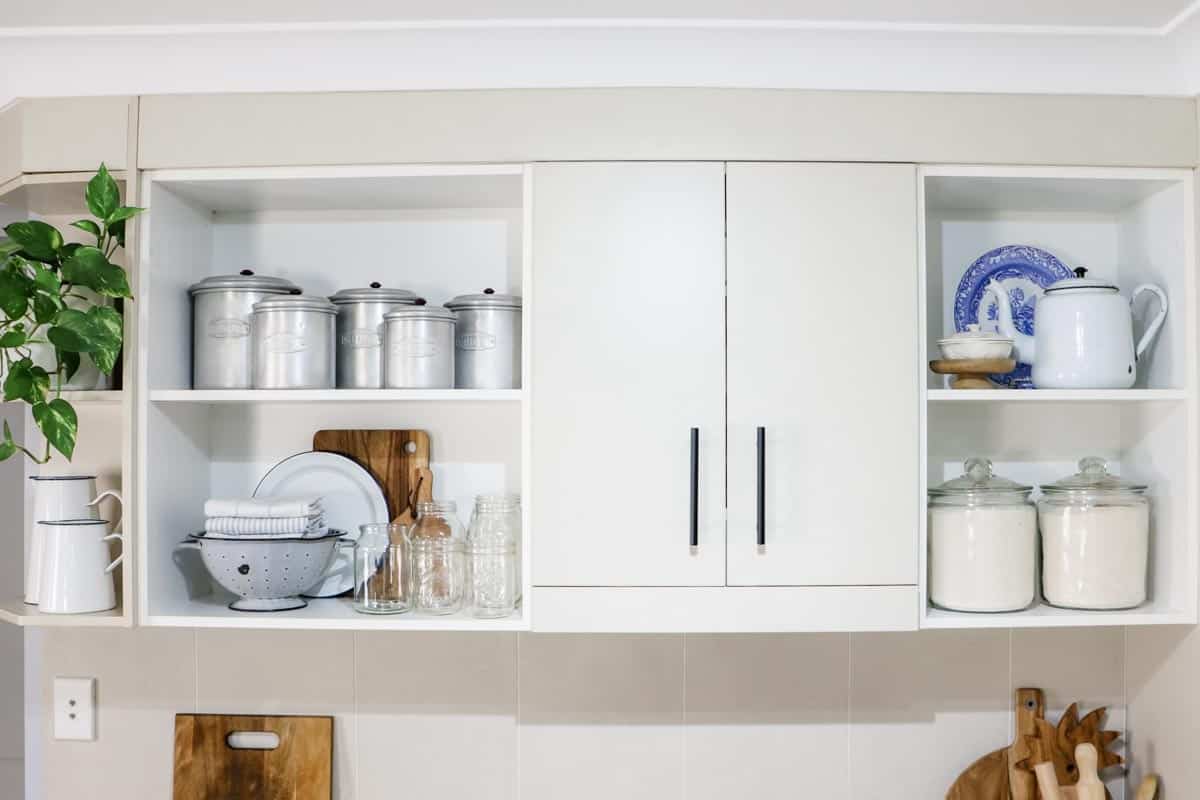
Open shelves are making a huge come back. For whatever reason, modern kitchen designs started doing away with open shelving, opting for a more sleek and minimalist look. But lately, I've seen open kitchen shelving popping up everywhere, especially in farmhouse inspired kitchens.
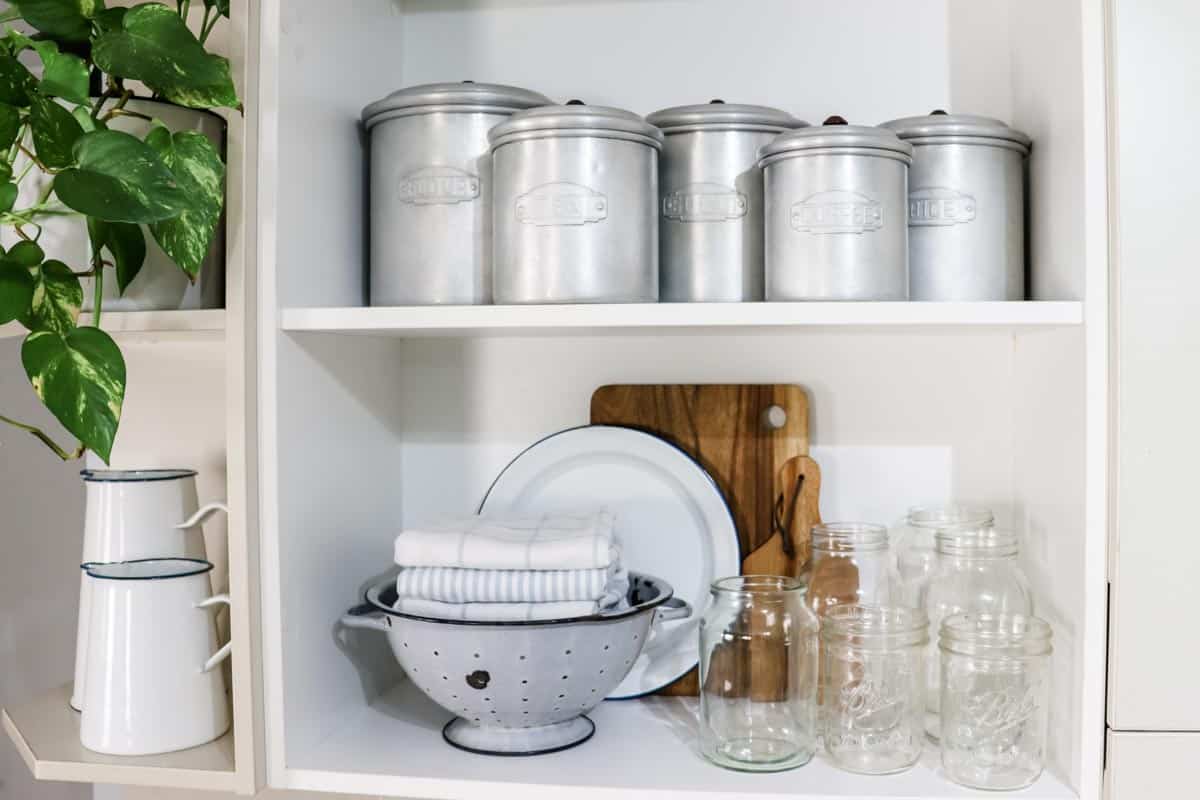
By displaying jars, dishes, utensils and ingredients in clear containers on an open shelf you can combine function with style.
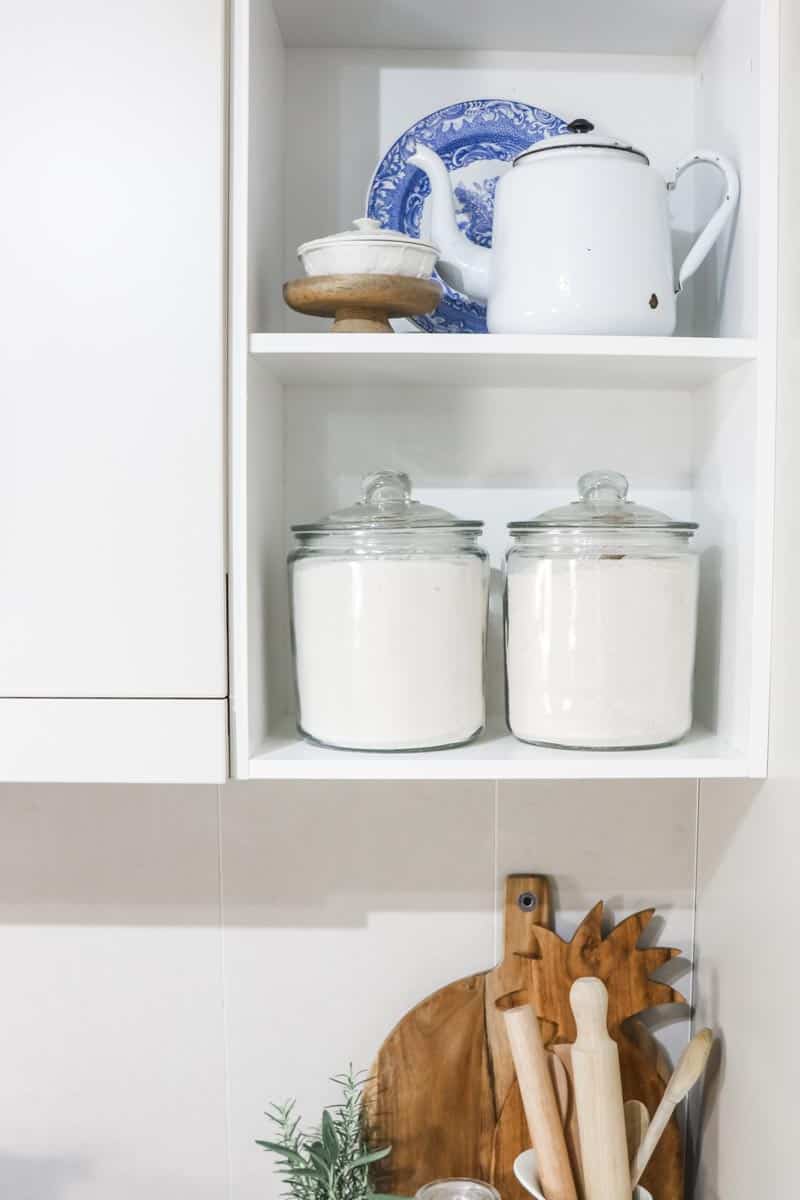
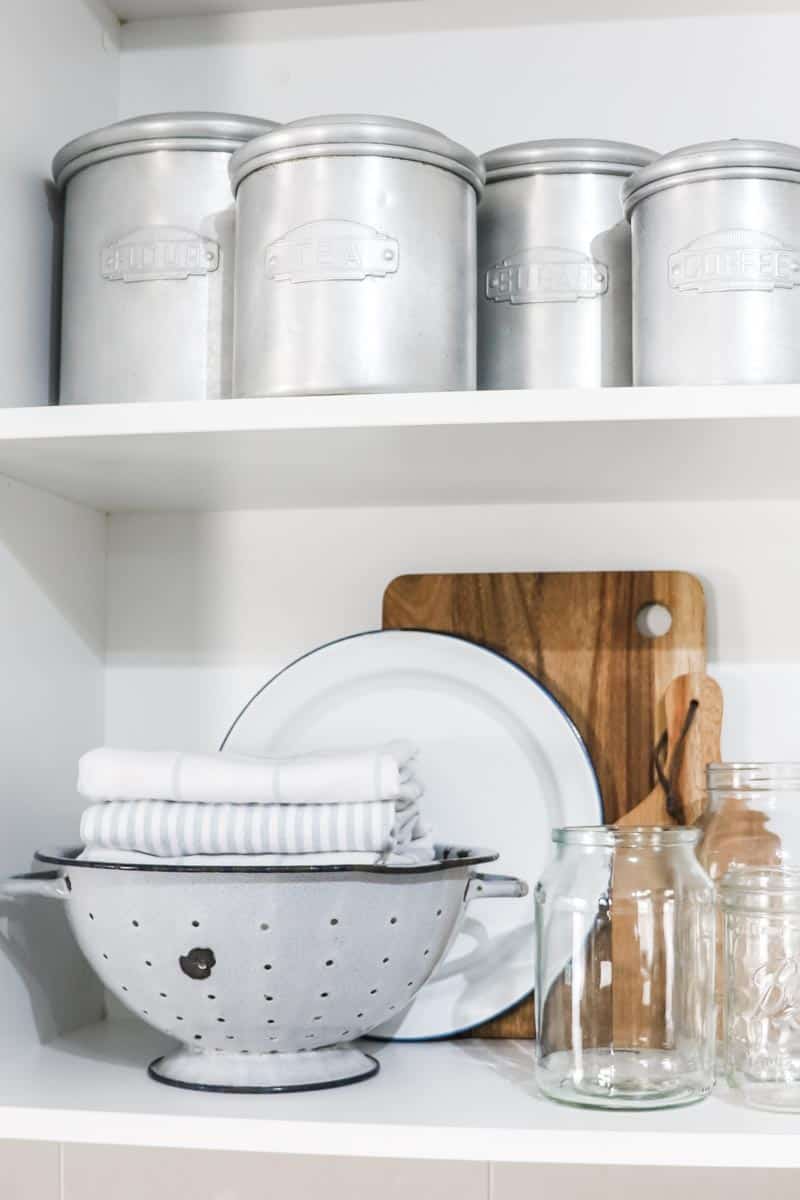
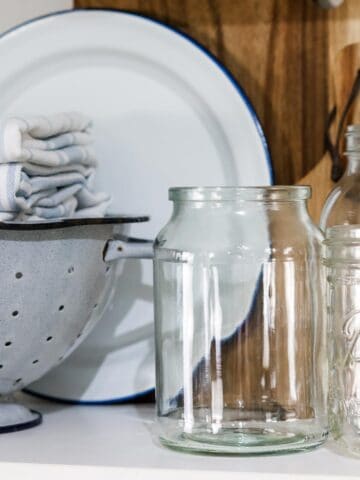
For example, I have placed my mason jars and a vintage enamel colander filled with tea towels on the bottom of the first shelf for easy access, so I can grab them one-handed while I'm working in the kitchen.
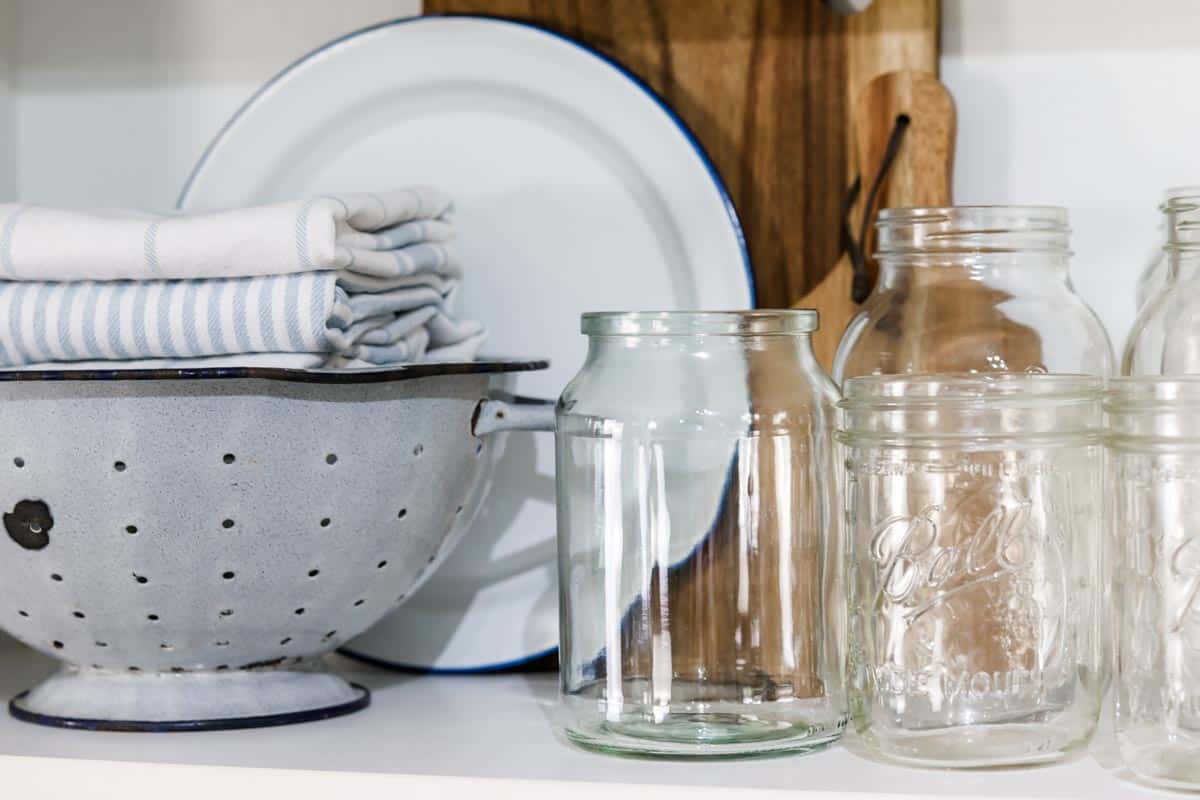
I love how gorgeous shelves allows everyday items to become the main decoration in a space, which I believe is the true essence of farmhouse style.
Check out my blog what to put on open kitchen shelves for more tips, my favourite kitchen styling pieces and specific details.
Other shelving options I have tried
Over the years, I have attempted various different ways of installing simple shelves.
Wood shelves are a popular option but in my experience they're expensive to source, need to be painted or varnished to protect the wood and tend to be difficult to install yourself. Wood can be very heavy, so you need to consider the type of drywall anchors and brackets you use.
While DIY laminated floating shelves are more affordable, they can't hold much weight and often sag over time, plus they often lack shelf depth.
One of the hardest parts when it comes to installing shelving is locating the wall studs (timber posts behind the wall) so that the shelves can be properly secured and not fall down. In my experience wall studs can be tricky to find are not usually in the perfect spot for your brackets.
Luckily, when you're converting cabinets into open shelves, the hard work has already been done for you, and they're really strong!
As a side note, if you're constructing a new home or replace old shelves with new shelves, I would recommend talking with your building contractor about having them installed professionally during the build.
So let's get into this tutorial: how to make DIY open shelving by converting kitchen cabinets to shelves.
DIY open shelving: Converting kitchen cabinets to shelves
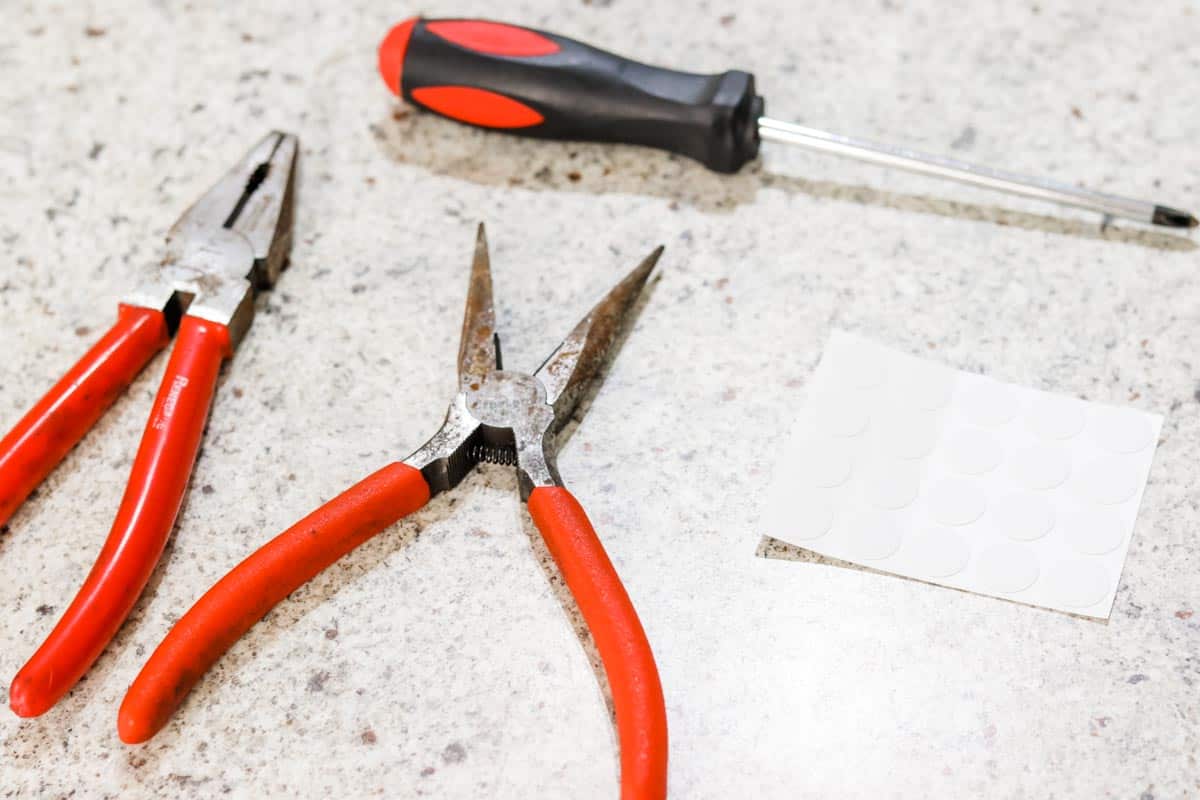
Equipment you may need
- Screw driver
- Pliers
- Stick-on screw caps
Top tip
Choose screw caps in the same colour as your kitchen cabinet interior. By choosing the same colour as the inside of your cabinets, they will hardly be noticeable when you're looking at the front of the shelf.
Method
Step one: Remove doors and hardware
The first step is to use the screwdriver to remove the cabinet screws holding the cabinet door hinges to the inside of the cabinet.
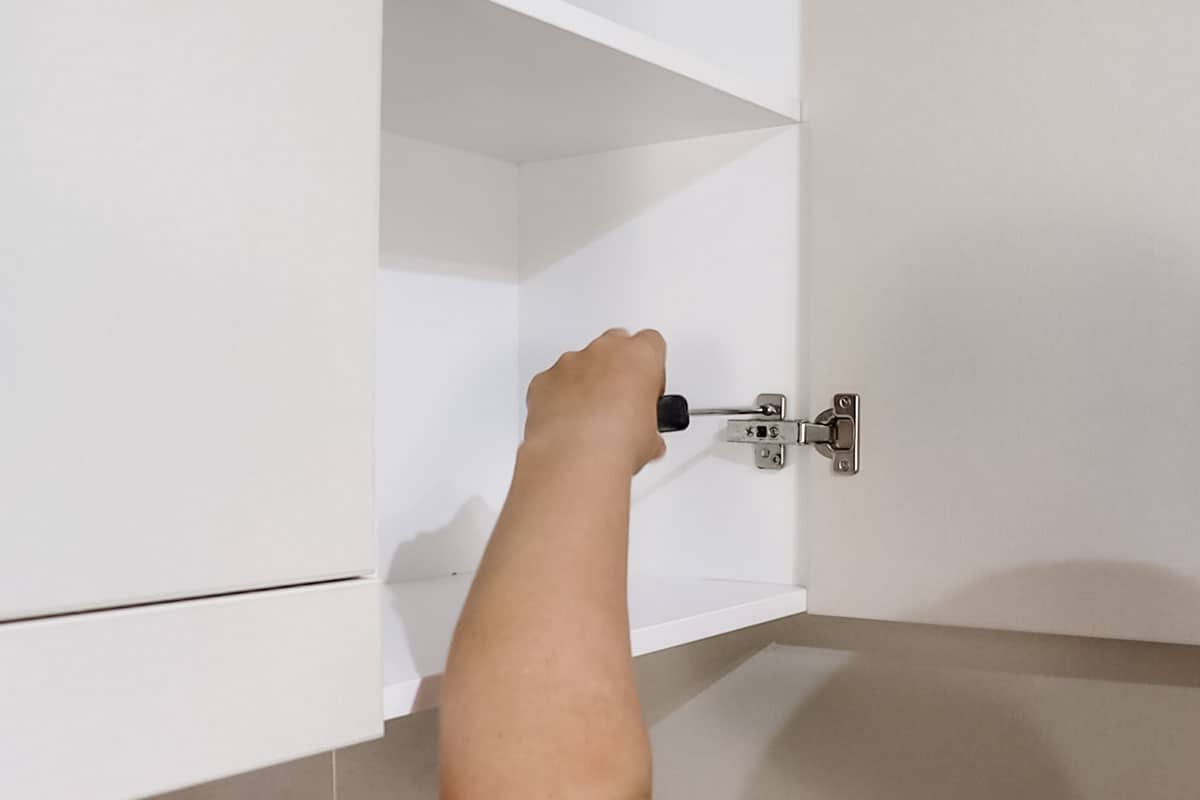
I found the best way to do this was to remove the lower screws first, then support the cabinet door with your hand when you when you remove the final upper screw.
If installed, you may also need to remove the plastic screw guides with a pair of pliers.
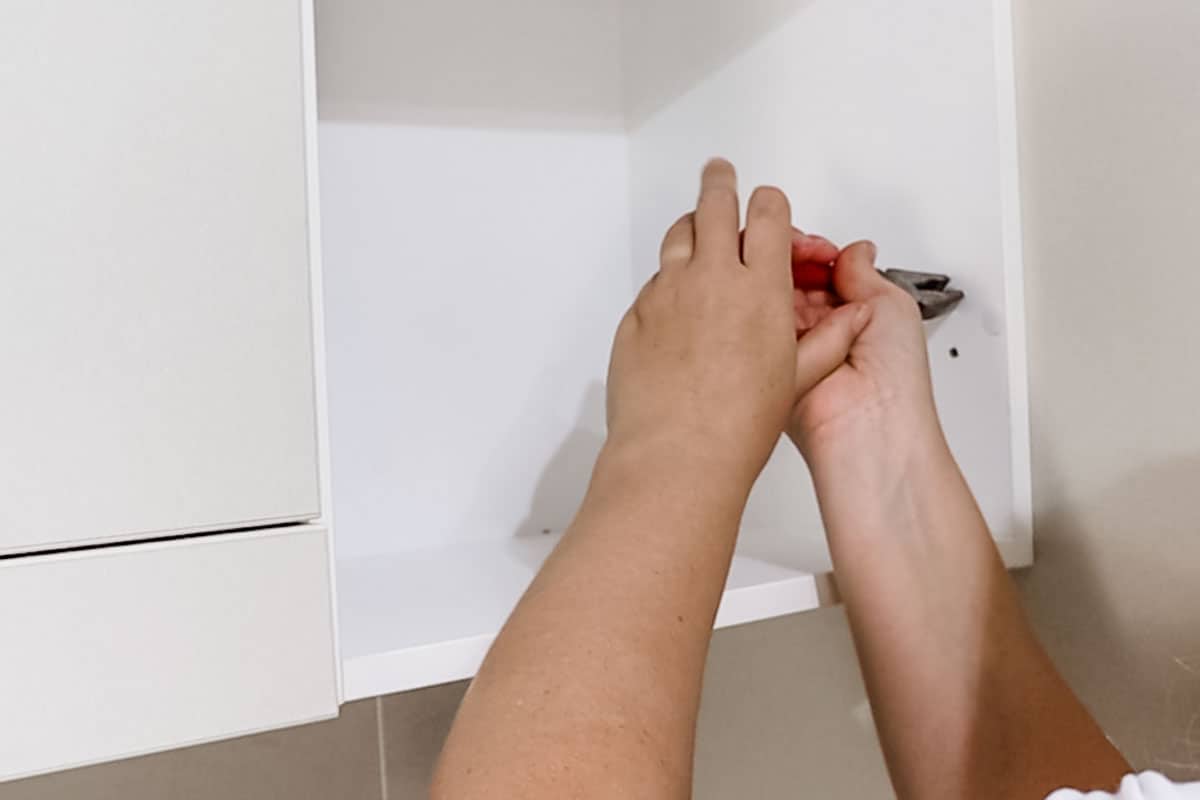
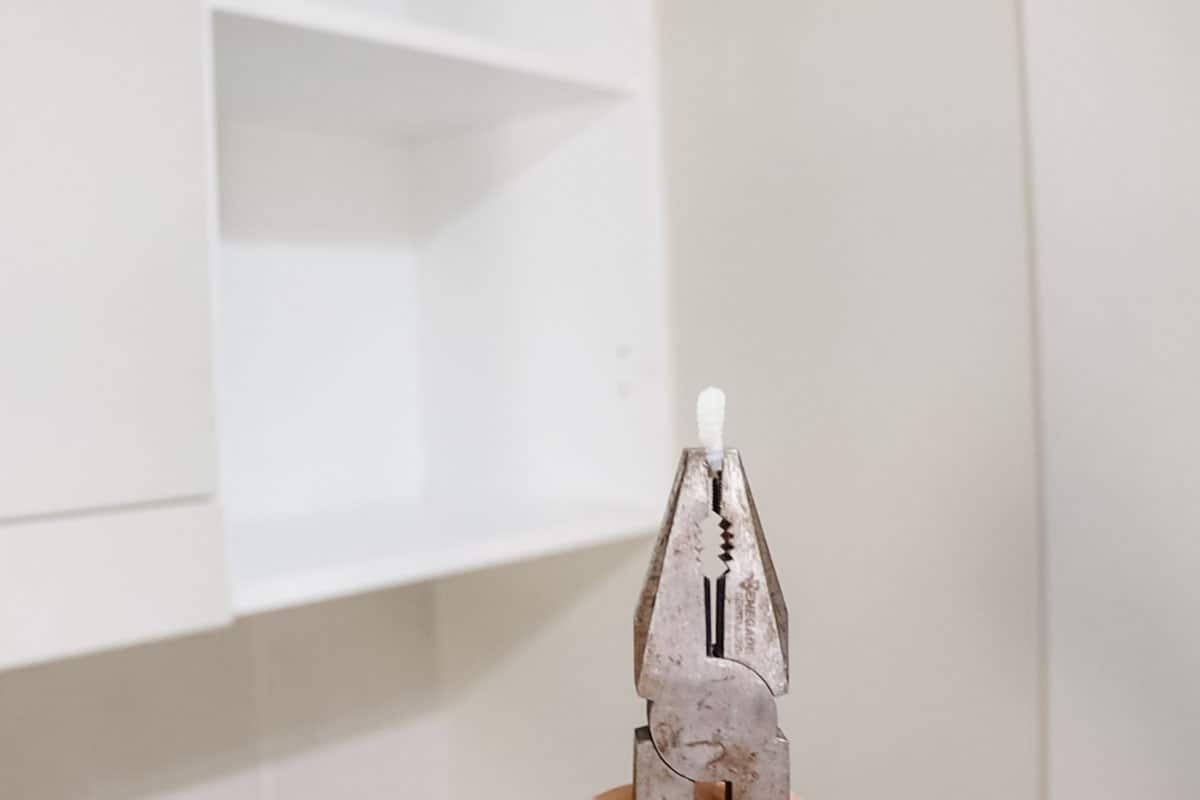
It's a good idea to put aside your cabinet shelves and hardware incase you change your mind, or need to reinstall them later.
Step two: Clean the surface
The next step is to remove any residue left by the screws and glue if it was used on your cabinets.
Give all the cabinets a good wipe over at the same time.
Step three: Apply screw caps
The final step is to apply the stick-on screw caps over the small holes where you removed the cabinet door screws.
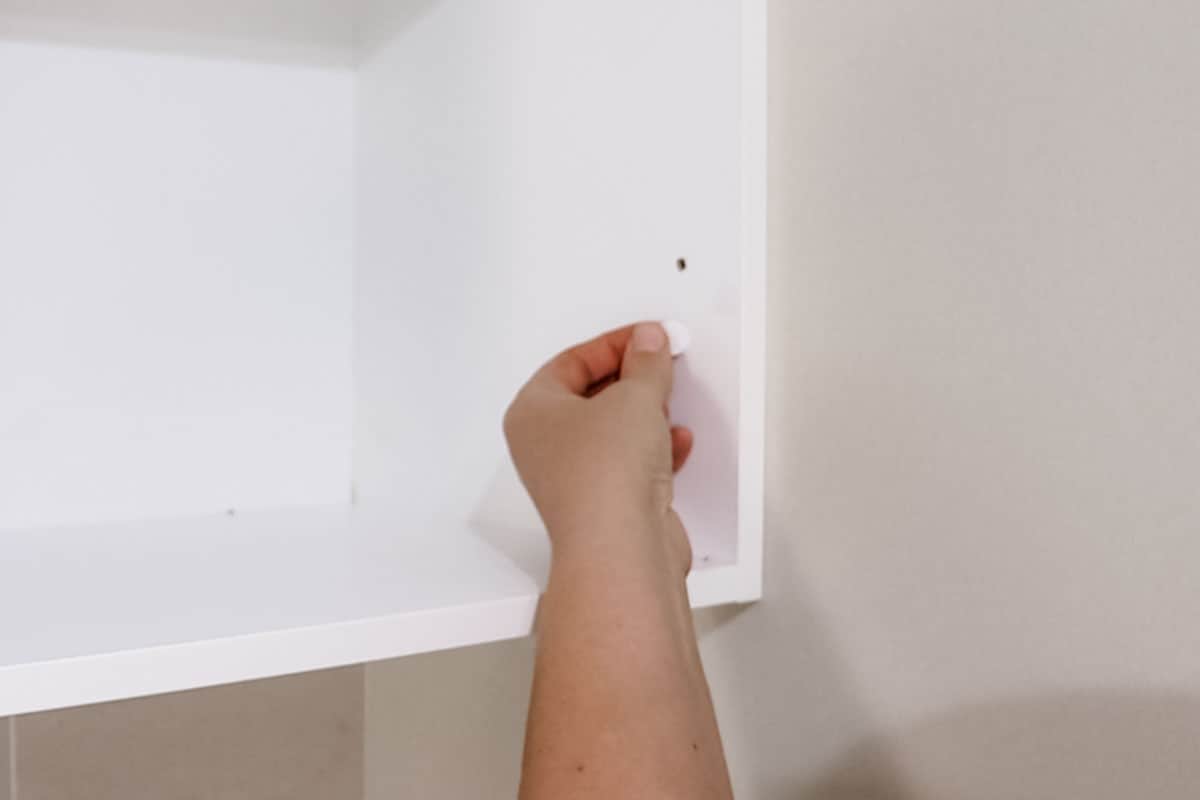
The end result is a unique kitchen storage space that doesn't take a lot of time. Easy peasy!
The best part
You can now style your open kitchen shelves!
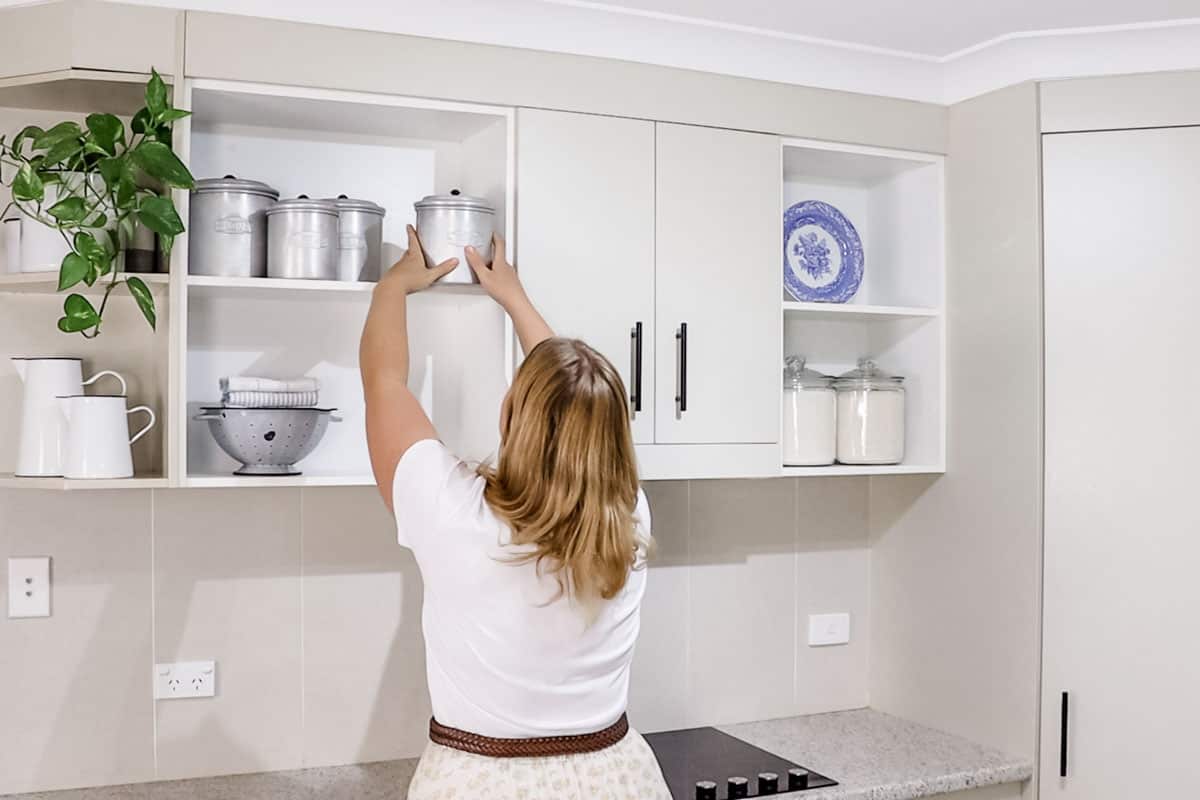
Be sure to use the top shelf of your upper cabinets to display more decorative and less heavily used items such as plants and antiques, and reserve the lower shelves for every day items such as ingredients and utensils.
DIY open shelving kitchen shelves: did it work?
I am really happy with how this project turned out.
In the spirit of full disclosure I will say that the only thing I found to be lacking was the ability to choose the shelf length and height, and the colour of the wall behind the shelf (which is the back of the cabinet).
Because the inside of the cabinets are white, it's not great for displaying white dishes. But other than that I am super happy with my new shelves, which cost me next to nothing.
Just last week I was admiring how good the shelves still looked a year after I completed the project with no sagging and very little sign of wear and tear.
The famous proverb 'less is more' certainly applies to this DIY. Sometimes it's not what you add to a space that makes the difference, but what you take away.
This method would also be perfect for small shelves, bathroom shelves, in the living room, kids room or anywhere that you have cabinets already installed.
I hope you've enjoyed how to make DIY open shelving by converting kitchen cabinets to shelves.
Thanks for following along!
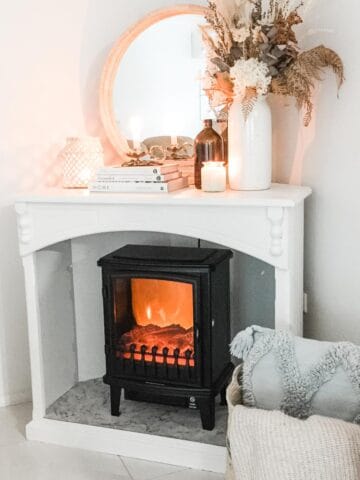
Looking for another easy project? Check out my DIY Fake Corner Fireplace: cozy, quick and easy.
FAQ
You can turn kitchen cabinets into open shelves by simply removing the cabinet doors.
Open shelves in the kitchen are a good idea because they add a decorative element to the room while at the same time provide storage space for utensils, ingredients and dishes.
One of the advantages of open shelving is that they give the illusion of a bigger Yes. space.
Yes. Open shelves make the room look bigger by giving a more open and airy feel.
The main disadvantage of shelving is that the items are exposed to collecting dust. Shelves can also becoming cluttered and messy looking if you're not careful.
Glass cabinet doors are an alternative to open kitchen shelves which still allow you to display your collections inside the cabinets.
Related
Looking for other tutorials like this? Try these:

Comments
No Comments