Open shelves are a great way to add style to your kitchen. Learn what to put on open kitchen shelves for a pretty yet practical storage solution, plus how to style them for a hint of farmhouse charm.
Open shelving in the kitchen is having a huge resurgence. I've seen open shelving popping up everywhere, especially in farmhouse inspired kitchens.
I love how open shelving allows everyday items be the main decoration in a space, which I believe to be the true essence of farmhouse style.
Adorned with jars, dishes, utensils and ornaments, open shelves not only look amazing, but they're also really convenient for storing high-use grab and go items.
But getting the balance between form and function can be tricky. Sure we want our shelves to look Pinterest perfect, but here in the real world we also need a practical storage solution for this hardworking space.
So in this blog I'm sharing what to put on open kitchen shelves for both beauty, and practicality.
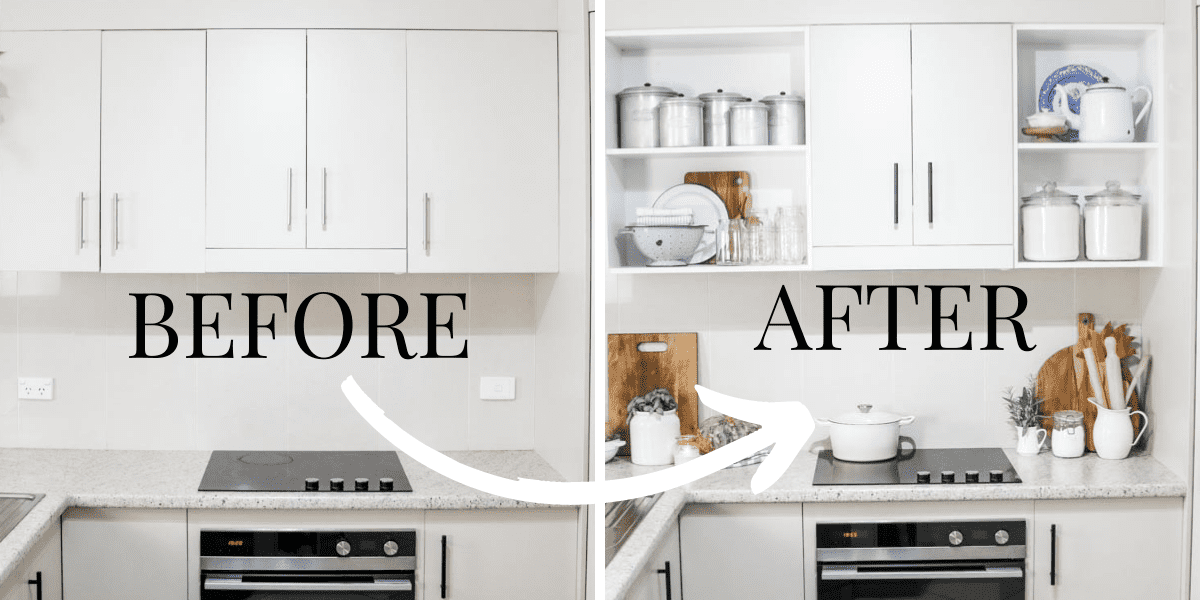
First, you'll need a shelf
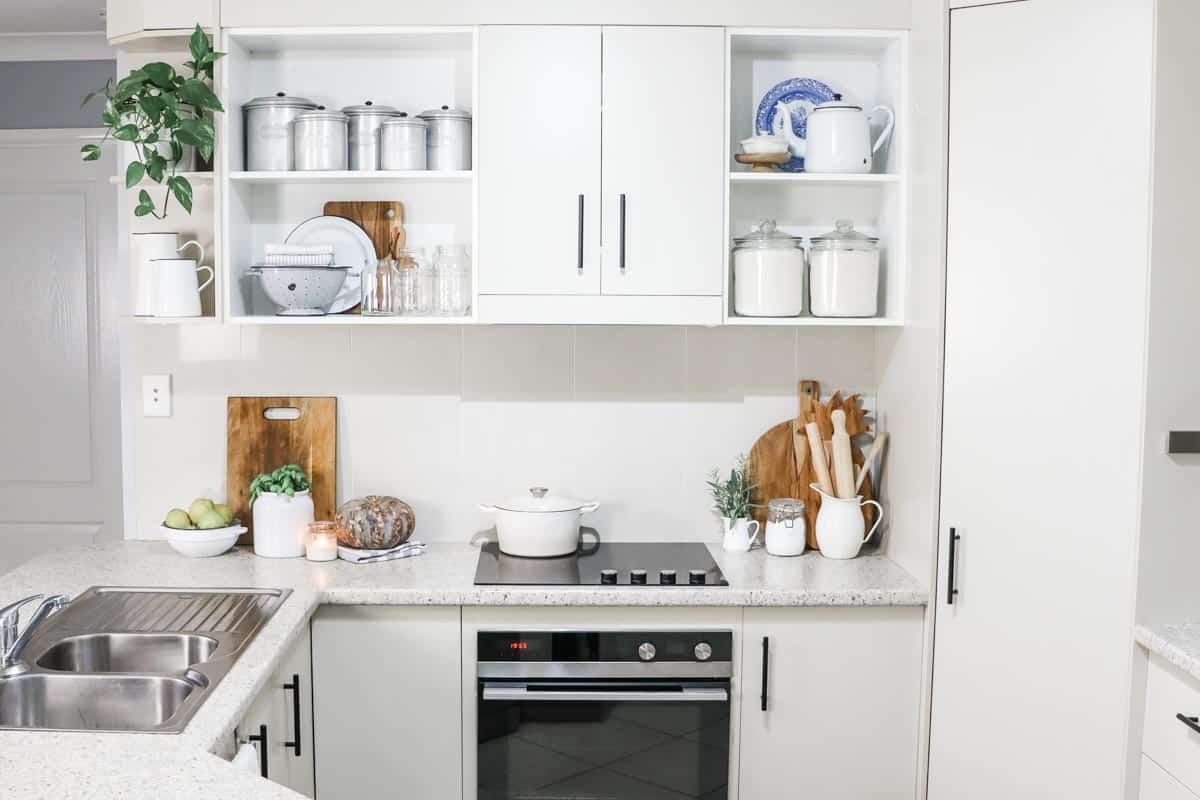
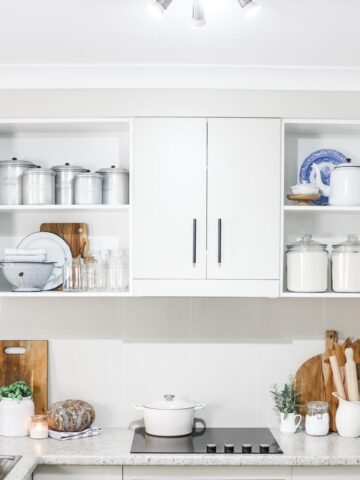
In our new home I decided I wanted to add a bit of farmhouse charm to our kitchen, so I set about converting two of our upper kitchen cabinets into open shelves, and I'm so glad I did.
Removing the cabinet doors was a quick, easy and affordable way to spruce up the kitchen and inject some farmhouse style into an otherwise bland space.
What to put on open kitchen shelves
I'm a practical girl at heart, so while I love the look of the artistically-styled vignettes there's no way I'm wasting precious kitchen space solely on 'look but don't touch' pieces. To earn a space on my open kitchen shelves you have to be:
- practical
- frequently used
- beautiful.
So now you know my three criteria for what to put on open kitchen shelves, let's get into the nitty gritty of exactly what I like to use.
What to display on open shelves
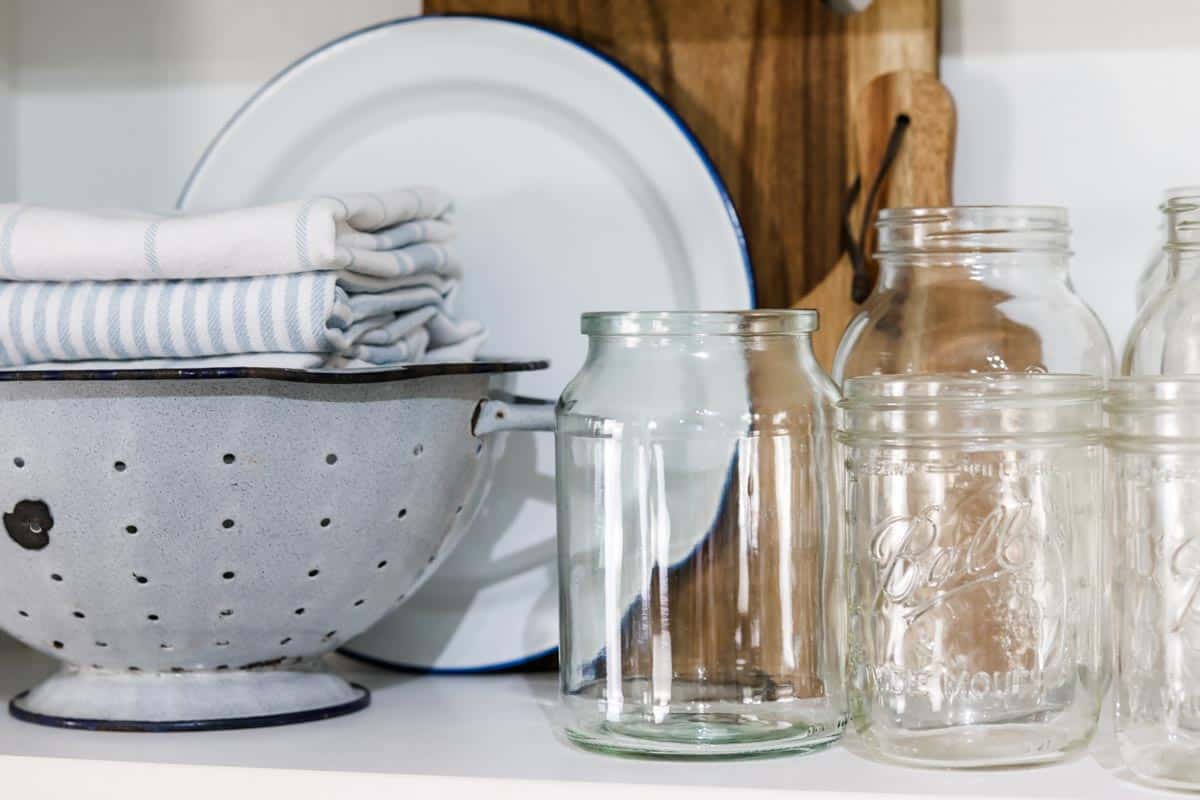
Glass jars
Whether its my sourdough starter, milk kefir or some other preserve or ferment, I use glass jars in my kitchen everyday. I love how they look grouped together in a range of varying heights and sizes. What's more, since they're fragile, it's great to have them up and out of the way of little hands.
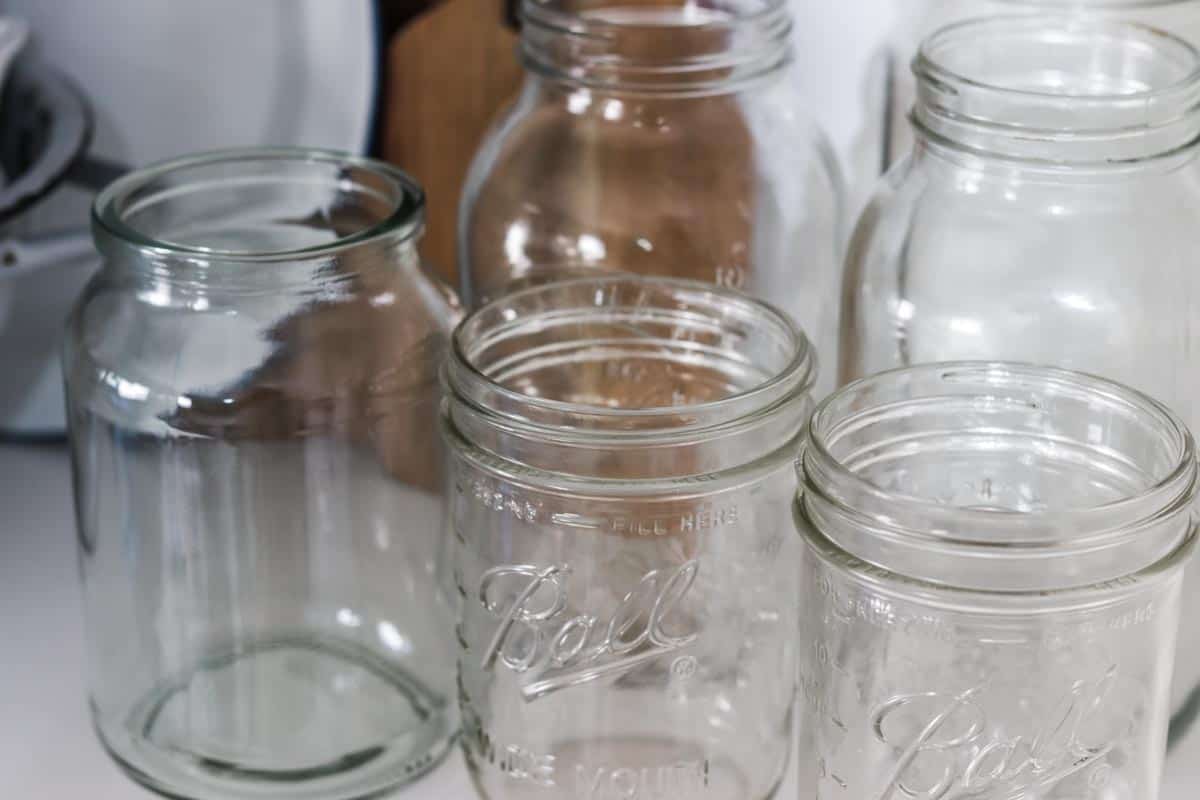
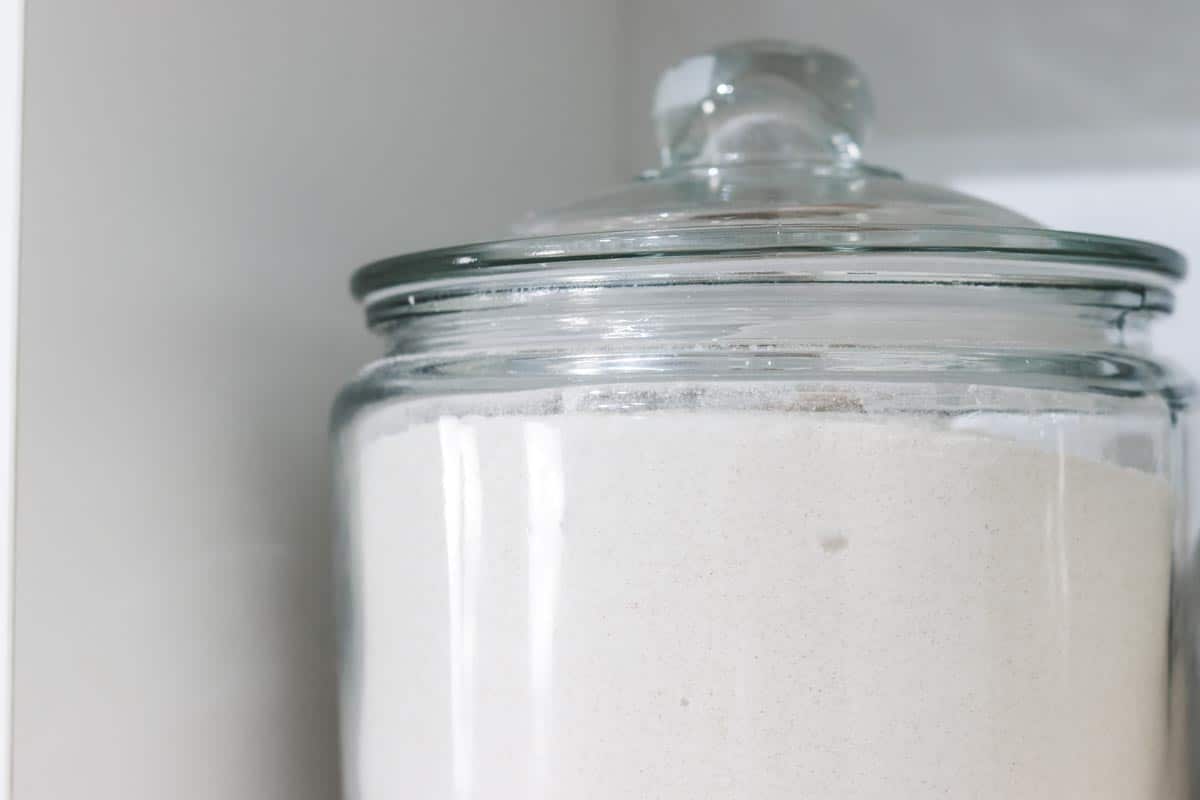
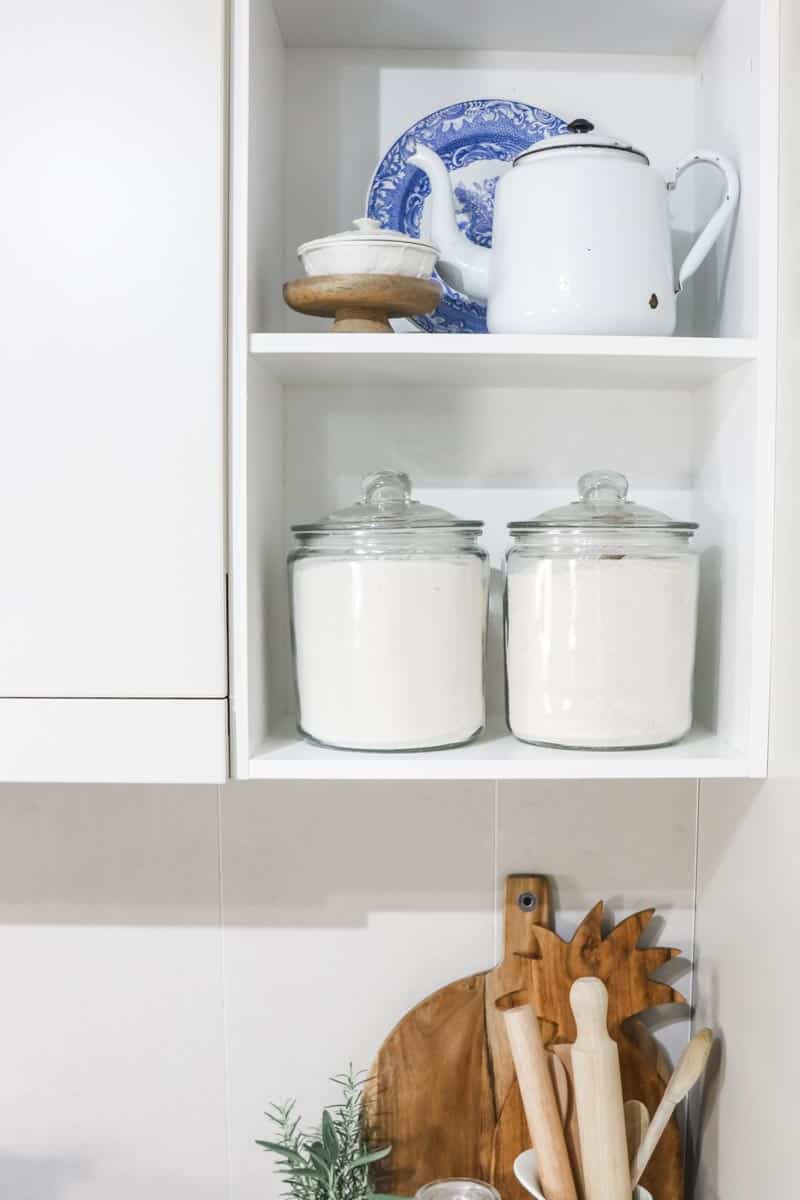
Glass jars are also great way to display raw ingredients to add colour and texture. I picked up a couple of large glass jars from Kmart to store my flour which I use nearly everyday.
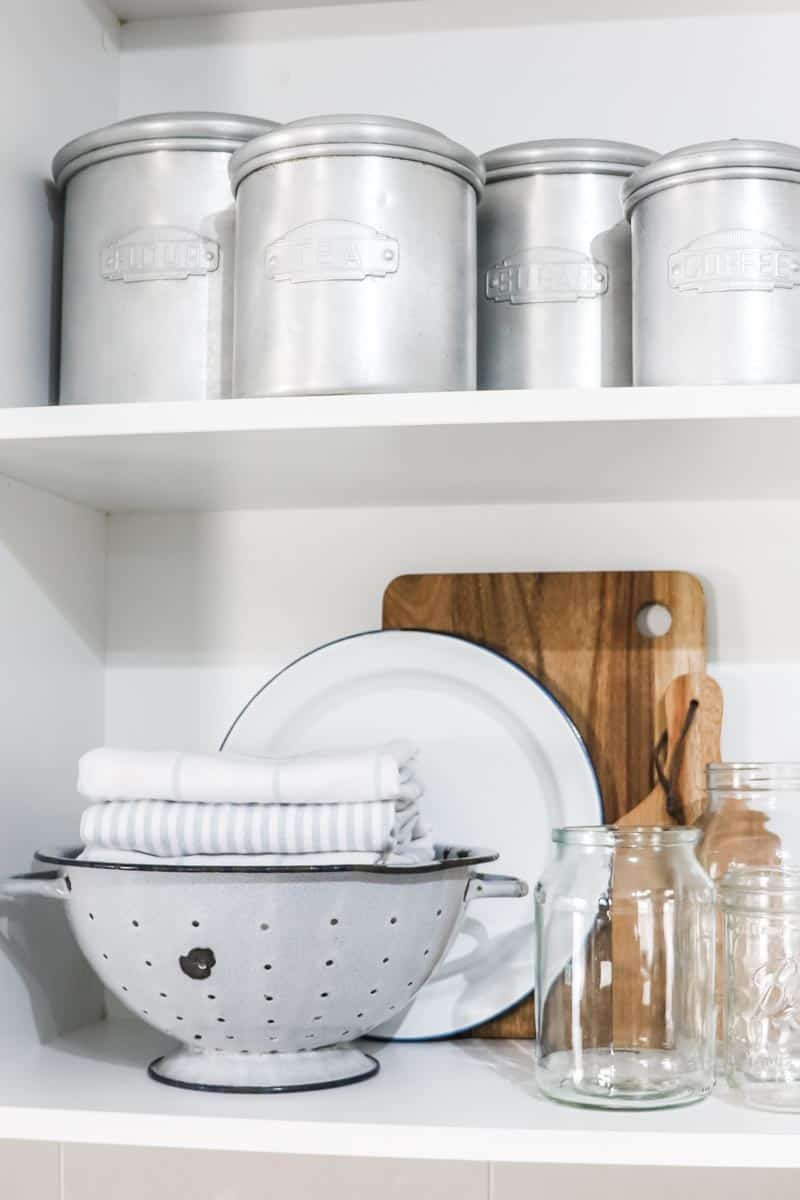
Canisters
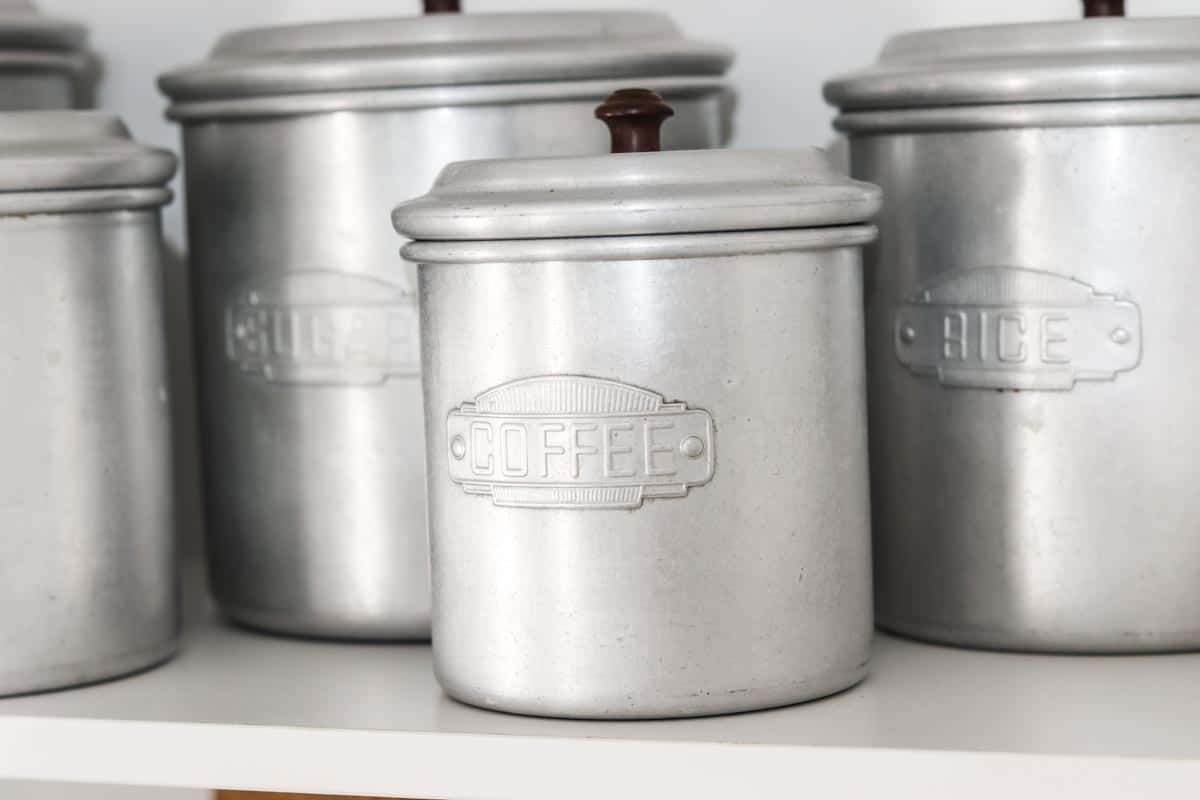
The vintage aluminium canisters I have displayed on my open kitchen shelves are not only beautiful, they're also super practical. They are on loan to me by my mother-in-law and they belonged to her mum. It feels really special to be reminded of this connection to my family's past every time I use them.
Since they're a little old and made of aluminium I don't put the ingredients directly into the canisters, I just use them to hide the packets in.
Vintage Kitchenware
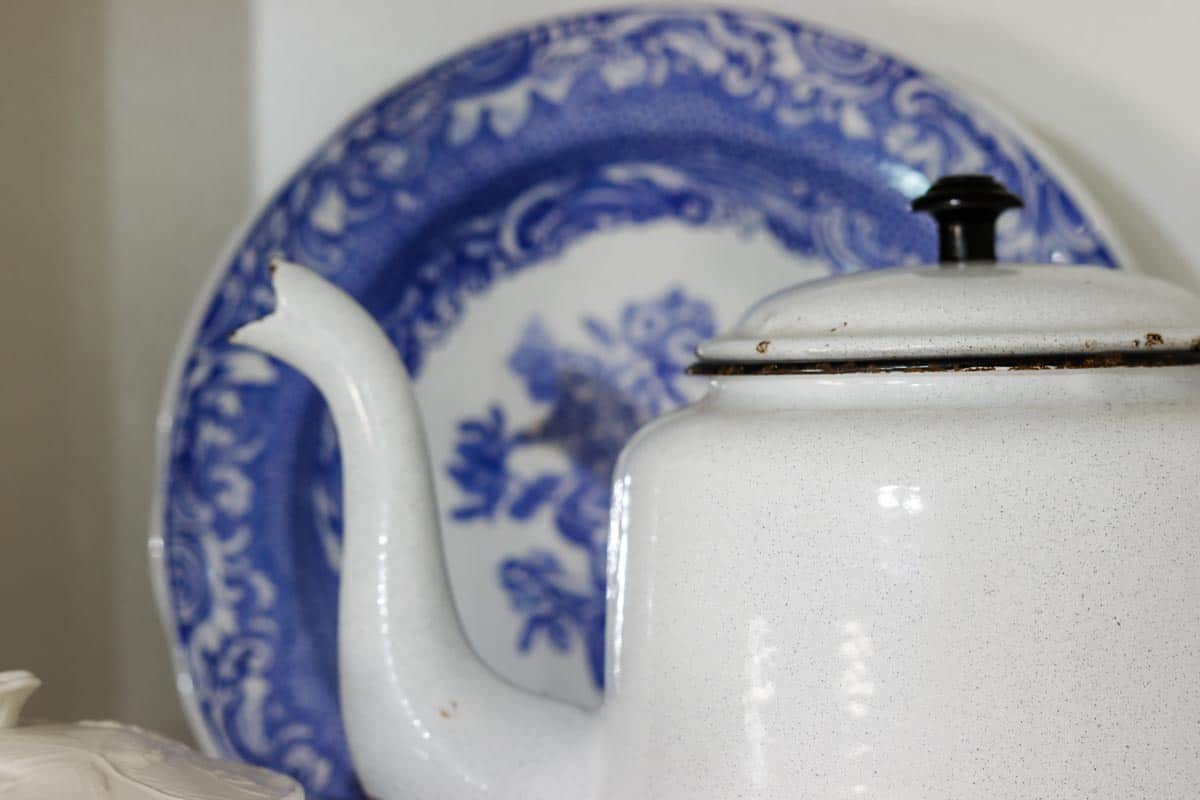
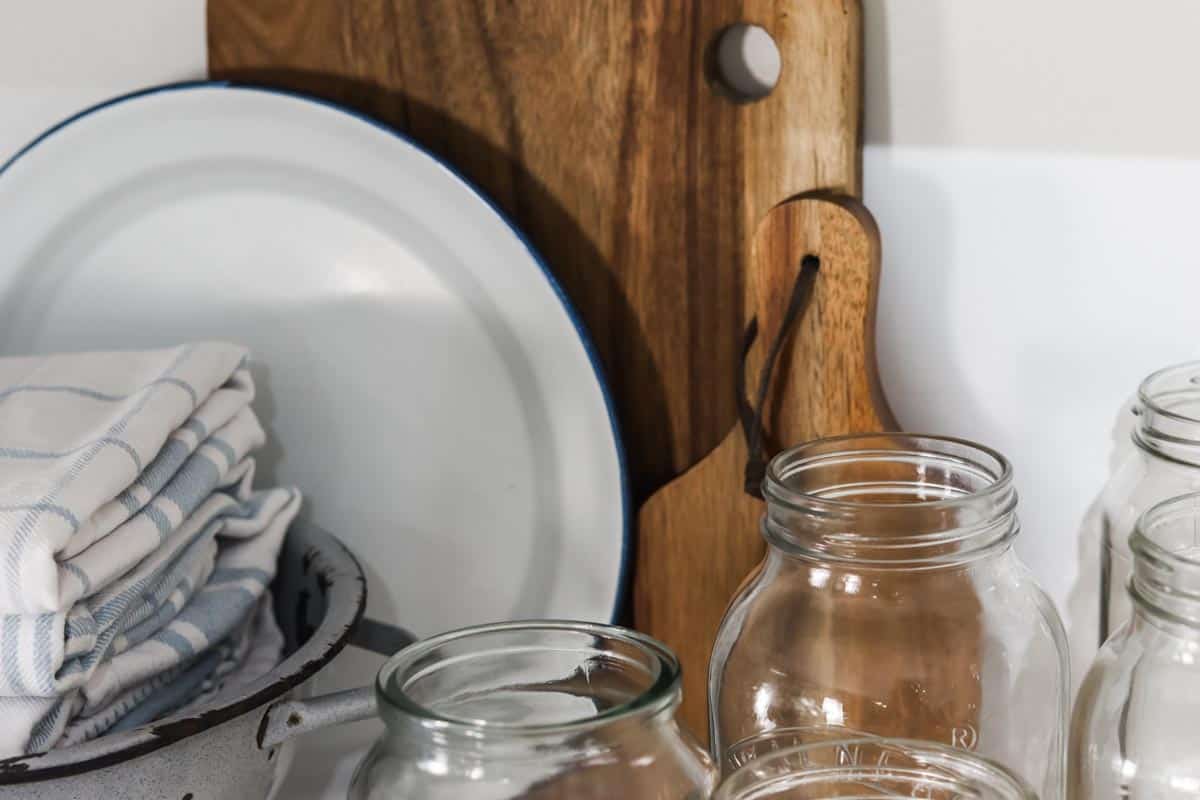
Vintage kitchenwares are an excellent addition to open shelves. I've used a chippy enamel colander to store tea towels and cloths and a decorative enamel teapot to give some vintage charm.
Decorative plates
I keep my everyday serving plates in a drawer as I find that to be more practical, but I have used couple of decorative plates to inject colour and provide a vertical focal point on my shelves. Plus plates just feel right for kitchen display.
Serving boards
Like plates, I have used a couple of wooden serving boards to add height as well as texture and warmth.
Textiles
Textiles are another practical way to inject colour and texture. I've used tea towels and popped them in my chippy enamel colander for a practical solution.

How to style kitchen shelves
After you've chosen what you'll put on your shelves it's time to get creative and bring it all together.
I'll admit I am no expert when it comes to design and find the whole styling process pretty frustrating at times.
Unless you're a professionally trained stylist, I think it just comes down to moving things around until they 'feel right', so be patient with yourself. Here are a few tips to get you heading in the right direction.
Curate
Try and pick a cohesive collection of pieces by editing out anything that doesn't quite 'fit'. Pick a couple of statement pieces and use them as a starting point. For me it was the chippy enamel colander and teapot that guided the rest of my selections and colour palate.
If you want to create a collected vintage look, you will need to be patient. It has taken me literally years to collect vintage farmhouse-inspired pieces from a variety of sources including family heirlooms, the op shop and home goods stores.
Colour palate
Working within a pre-determined selection of colours will help guide you to create a cohesive look.
I have used blue, white, silver and cream to compliment the grey-blue tones of my statement pieces.
Texture
By incorporating a variety of textures, I have added interest and warmth to my shelves. The timber grain contrasts beautifully with the smooth glass and enamel, as does the matte finish of the aluminium canisters.
Balance
Try to balance what's happening on one side of the shelves with the other. This helps to build symmetry and is more pleasing to the eye.
I positioned my two statement pieces on opposite sides and levels to acheive a sense of balance, and did the same with the canisters.
Arrangement
A little tip I learned was to create arrangements of items in odd numbers and triangle shapes. There is something about this combo which makes it really beautiful.
How to arrange and organise kitchen shelves
I recommend placing high-use items like utensils, jars, textiles and ingredients, plus heavier items, on the lower more accessible levels. Keep decorative pieces and vintage treasures up on the higher ones.
The same principal applies to layers within your shelves. Place taller and less frequently used items at the back so you can easily access the smaller more frequently used items in the front.
Frequently asked questions
Are open kitchen shelves a good idea?
Like anything there are pros and cons. Do I think they're a good idea? Heck yes! I love them because they just look so great and I don't have to open a cupboard door every time I want to get something.
On the flip side, open shelves do tend to attract more dust compared to a closed cabinet, so they do require a good wiping over from time to time.
How much weight can kitchen shelves hold?
This is an important factor to consider when deciding what to put on your open kitchen shelves.
The weight limit will dependent on a number of factors including how the shelves are anchored to the wall, whether they're attached to the studs (structural timber behind the plaster), as well as the number of anchor points and the strength of the shelving itself.
As a rule of thumb, shelves anchored to the studs can hold considerably more weight than those anchored into plaster only. Shelves with brackets, or those that have been professionally installed, tend to be stronger than DIY floating shelf kits.
If you're installing a DIY kit, the packaging will usually indicate the recommended weight limit. Heed their advice.
Personally, I like to test the strength of a shelf by pressing down on the shelf and slowing increasing pressure to see how much weight it can take. Even though it's risky, I figure it's better to do the damage during testing, rather than have the whole lot come crashing down later.
To be sure, and avoid any damage, you could always hire a builder or cabinet maker to come and asses it.
Thanks for following along!
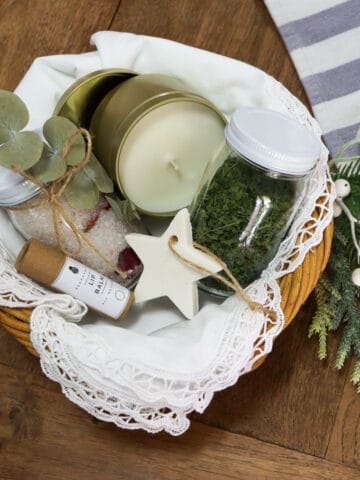
Want to try another farmhouse DIY? Check out our DIY Faux Corner Fireplace.
Comments
No Comments