
Pineapple Farmhouse

  • About
    • Meet Emily From Pineapple Farmhouse
    • Privacy
    • Disclosure
  • Real Food Recipes
    • Recipe Index
  • Handmade home
  • Contact Us
    • Media Enquiries
  • Subscribe
menu icon
go to homepage
  • Real Food Recipes
  • Homesteading
  • Handmade home
    • Facebook
    • Instagram
    • Pinterest
    • YouTube
  • subscribe
    search icon
    Homepage link
    • Real Food Recipes
    • Homesteading
    • Handmade home
    • Facebook
    • Instagram
    • Pinterest
    • YouTube
  • ×
    Home » Blog » Handmade home

    DIY Paper Napkin Decoupage Christmas Ornaments

    Headshot of the blog author Emily
    Modified: Oct 10, 2026 · Published: Oct 10, 2026 by Emily · This post may contain affiliate links · Leave a Comment
    • Share
    A graphic for Pinterest with an image of decoupage christmas ornaments in a metallic bowl with text "DIY Paper Napkin Decoupage Christmas Ornaments"

    Decoupage with paper napkins is a beautiful DIY project that turns plain baubles into designer, heirloom-style Christmas ornaments. Plus, it's an easy and budget-friendly way to give your tired old Christmas decorations a fresh new look.
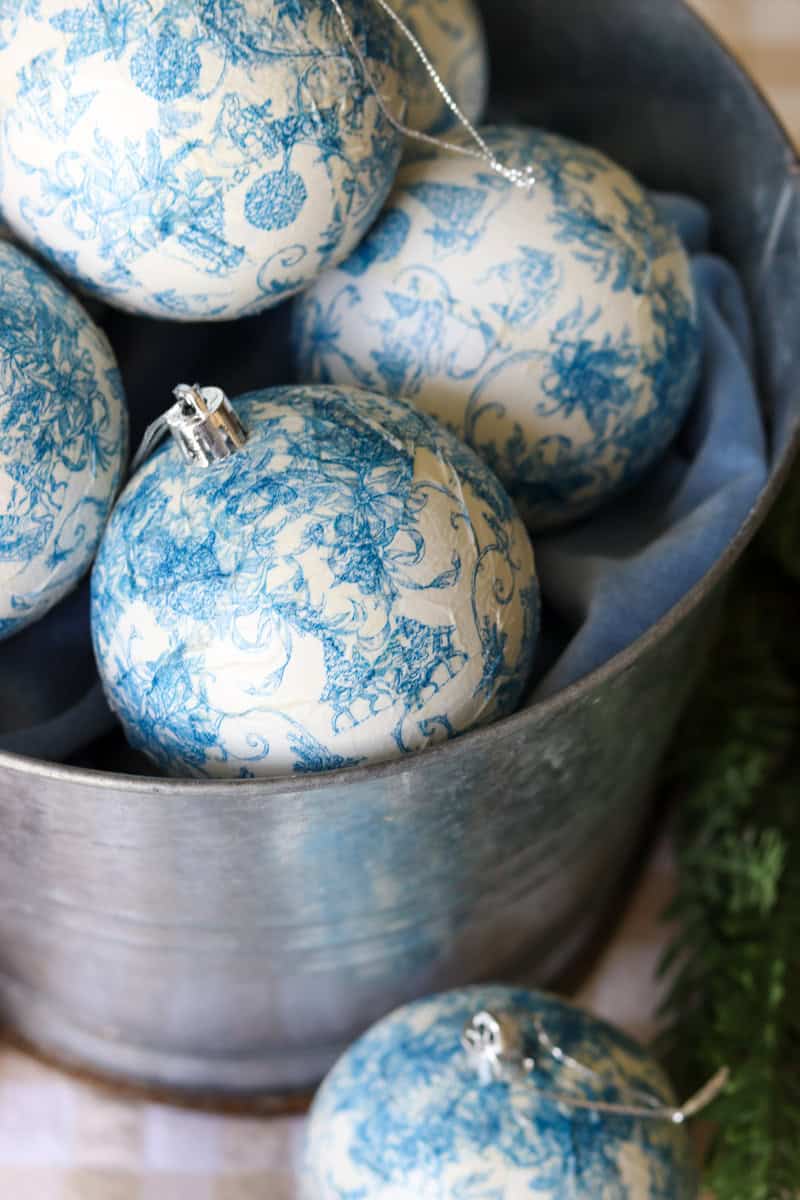
    Close up image of DIY blue and white paper napkin decoupage Christmas ornaments stacked in a silver bucket
    Jump to:
    • Why you'll love these DIY decoupage ornaments
    • Materials you will need
    • Method
    • Tips
    • Frequently Asked Questions
    • Related
    • Comments

    Whether you're crafting at the kitchen table with kids, decorating your home for the holidays, or looking for an easy way to give your Christmas decorations a makeover on a budget, these DIY paper napkin decoupage Christmas ornaments are a fun project to try this season. 

    Made using everyday materials and completed in just an afternoon, these ornaments transform plain baubles into one-of-a-kind keepsakes using festive paper napkins and a little glue. 

    Perfect for cosy December crafting, this technique is beginner-friendly, budget-conscious, and endlessly creative-making it an ideal way to slow down, get creative, and add a personal touch to your Christmas tree.

    Looking for more handmade Christmas decorations to make? Check out my Baking Soda Christmas Ornaments and Air Dry Clay Christmas Tree Ornaments.
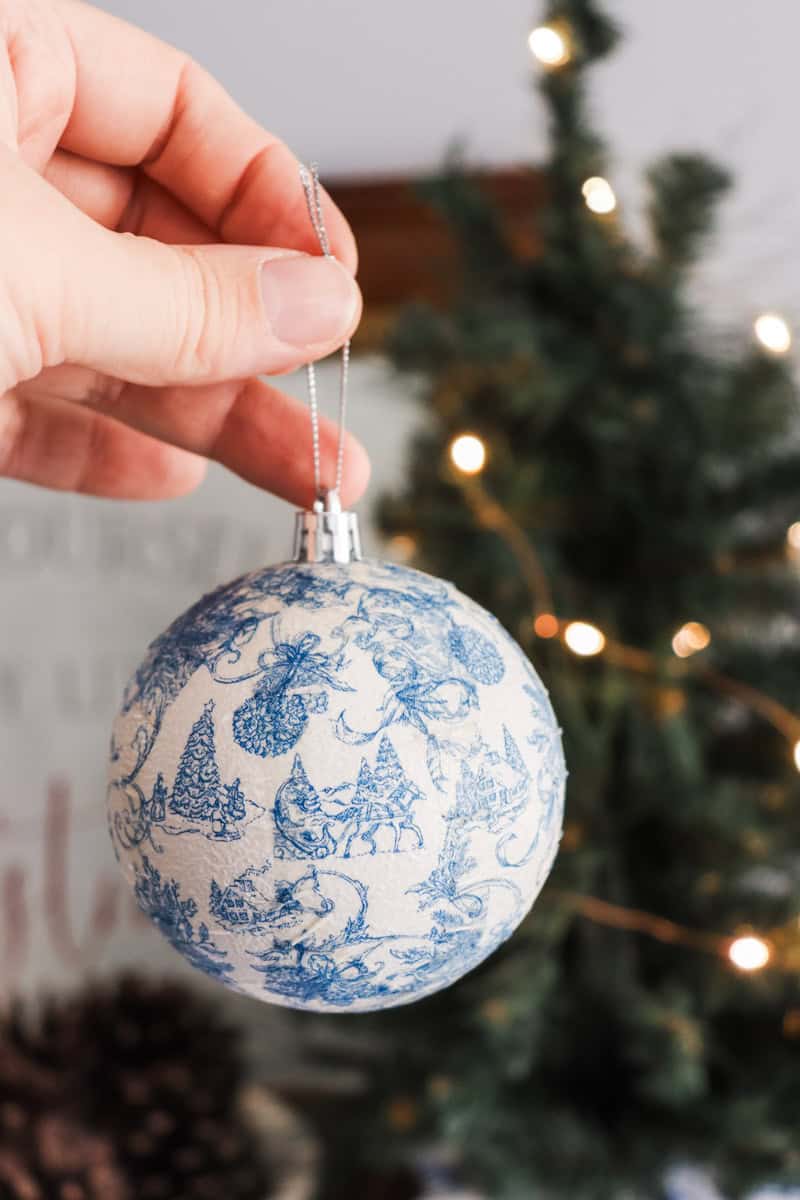
    Close up image of DIY blue and white paper napkin decoupage Christmas ornament being held in front of a Christmas tree

    Why you'll love these DIY decoupage ornaments

    • Budget-friendly - Achieve a designer look for less
    • Give your old Christmas baubles a makeover
    • Each ornament is completely unique, with endless design possibilities to match your theme
    • Customise to suit your Christmas style-traditional, vintage, minimalist, or modern
    • A relaxing, mindful craft perfect for slowing down during the holidays
    • Quick to make, ideal for afternoon or weekend crafting
    • Add a handmade, heirloom feel to your Christmas tree
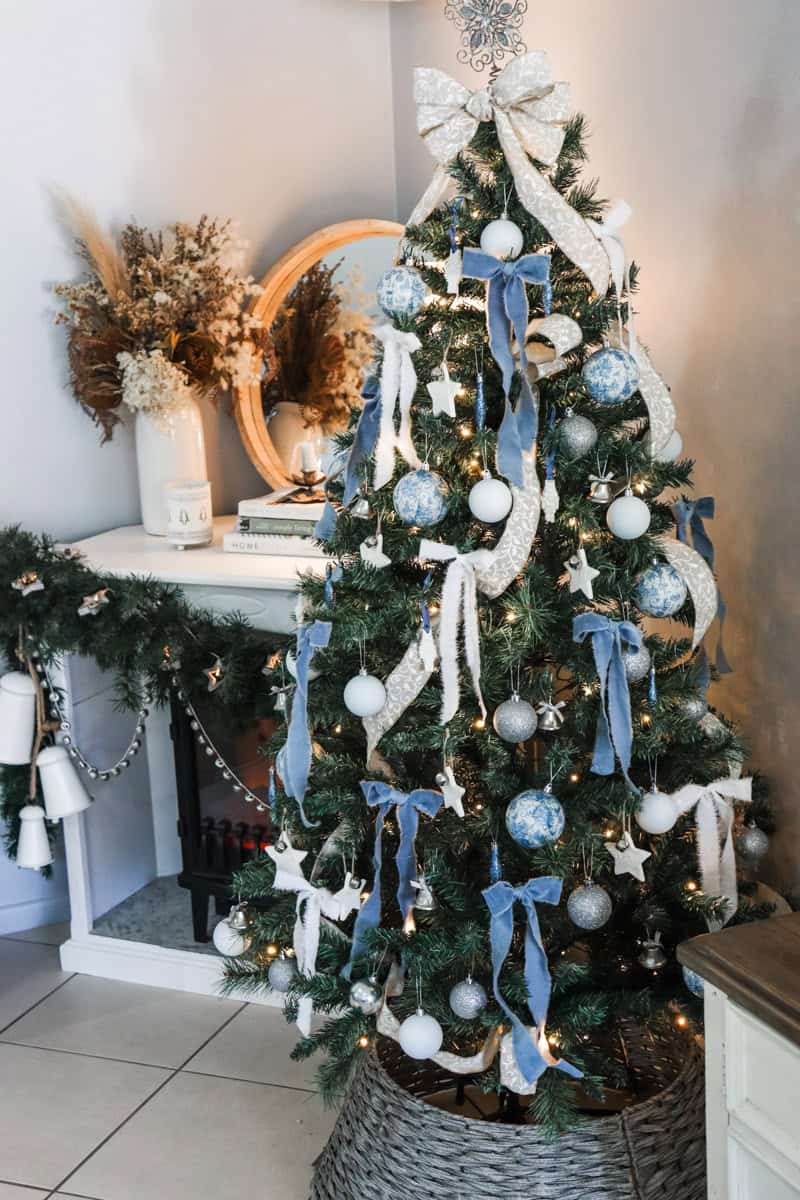
    A blue and white themed Christmas tree with decoupage Christmas ornaments set infant of a fire place

    Materials you will need

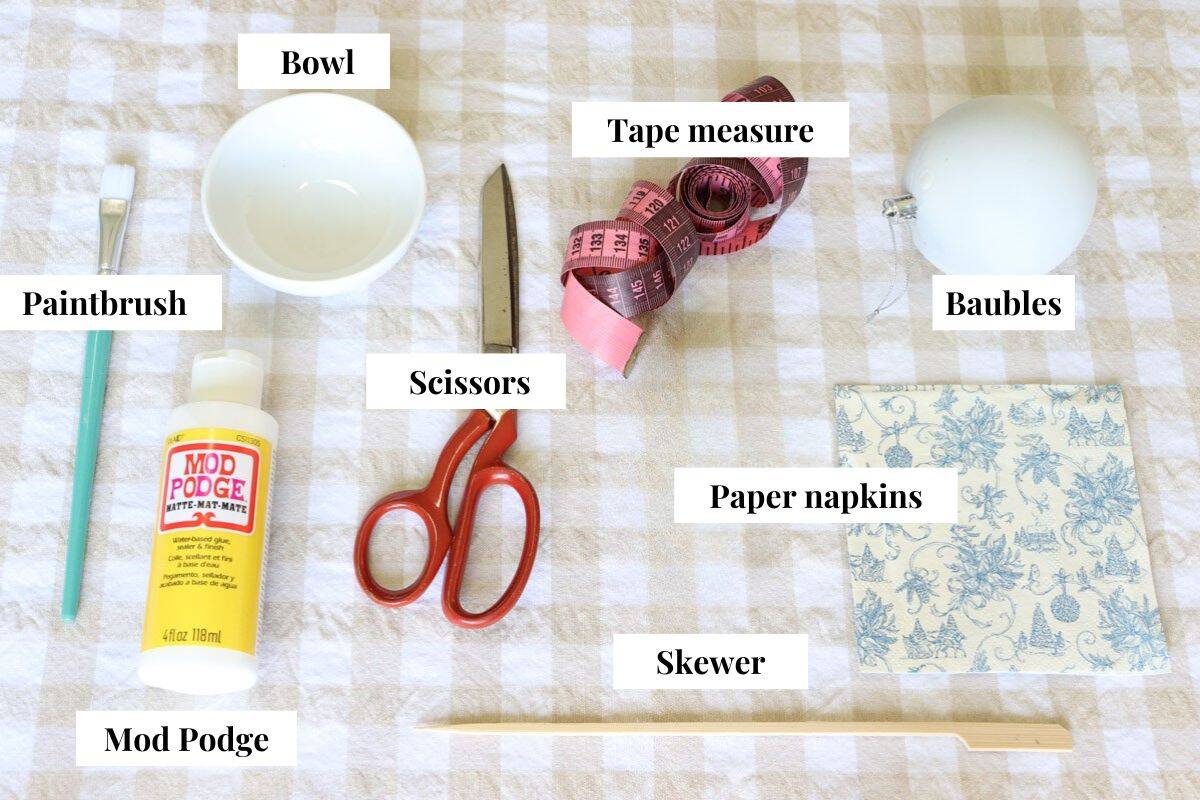
    A graphic with the materials required for the project and text labels including paintbrush, bowl, Mod Podge, scissors, tape measure, baubles, paper napkins and skewer
    • White Christmas baubles-or give coloured baubles a quick coat of matte white spray paint first
    • Paper napkins with pretty designs-choose a festive Christmas print or any pattern and colour to suit your theme
    • Measuring tape
    • Mod Podge water-based glue and sealer-I've opted for the matte finish
    • Small bowl
    • Skewer to fit the bauble opening (optional)-helpful for holding the bauble while you apply the glue and napkin strips to the second half of the bauble
    • Soft paintbrush-I used a flat number 8 brush

    Tip: Use a tablecloth or cover to protect your work surface.

    Method
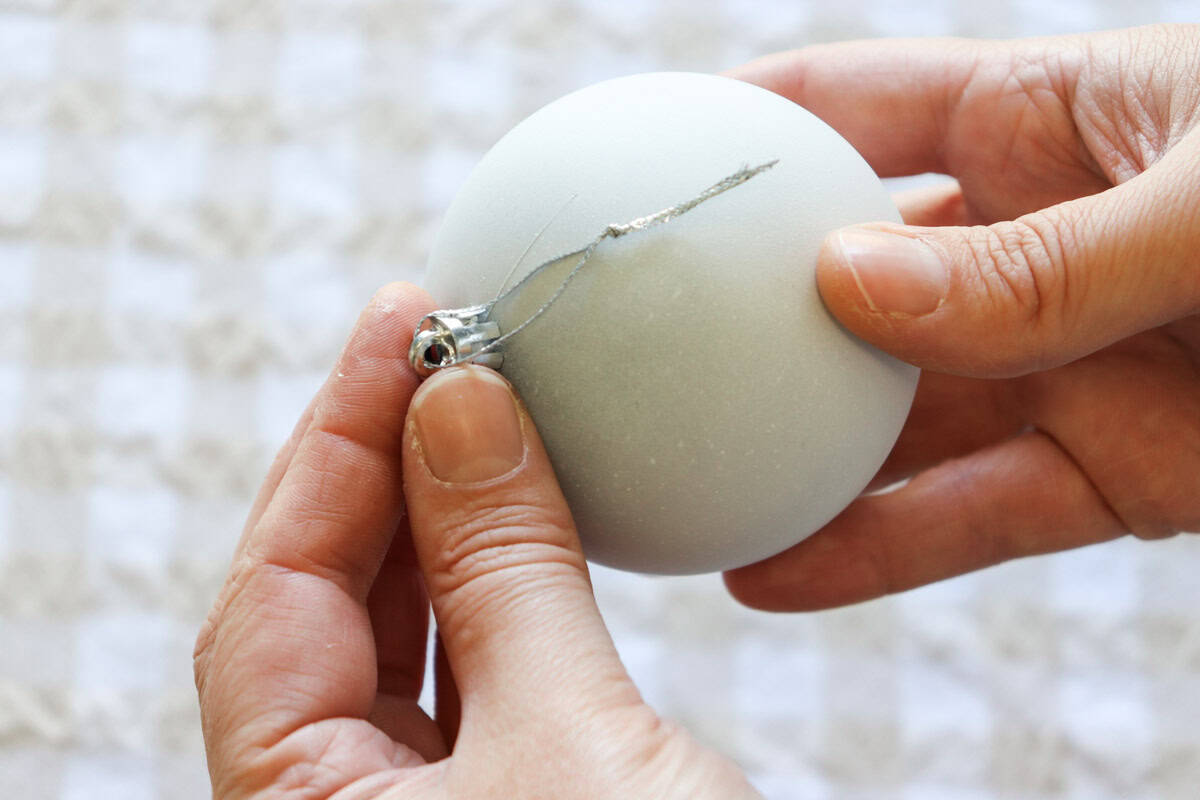
    The hanger is removed from the bauble
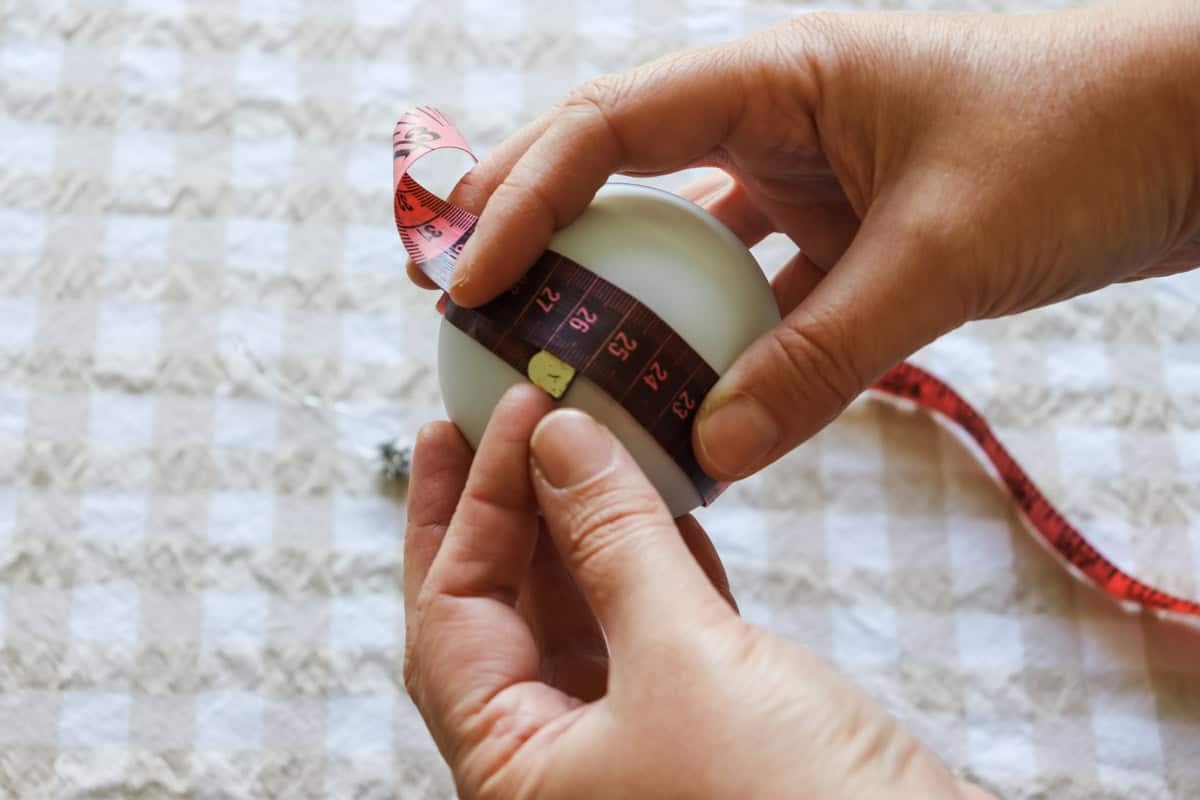
    A tape measure is used to measure the circumference of the bauble

    Step 1: Gently remove the hanger from the bauble and put it aside for later.

    Step 2: Measure the circumference of the bauble. You will use this measurement to calculate the size of the paper napkin strips needed to cover the bauble.

    You will need eight strips of napkin in total. The length of each strip should be half of the circumference, while the width should be one-eighth of the circumference, plus approx. 1cm added (0.4 inch) to overlap each strip.

    For this 25cm (9.8 inch) bauble, I used eight 12.5cm (4.9 inch) x 4cm (1.6 inch) strips. And don't worry! If your math ain't mathin, just go by eye, using inch wide strips.
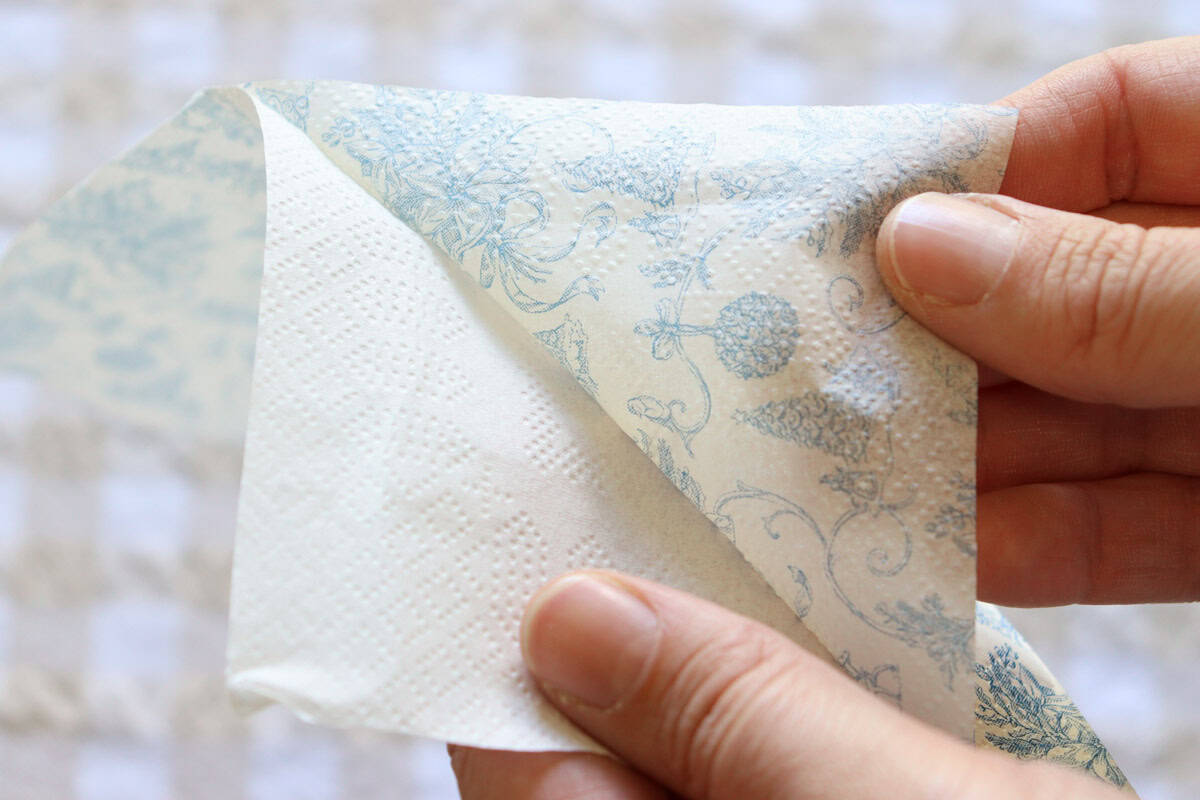
    The paper napkins are separated into layers
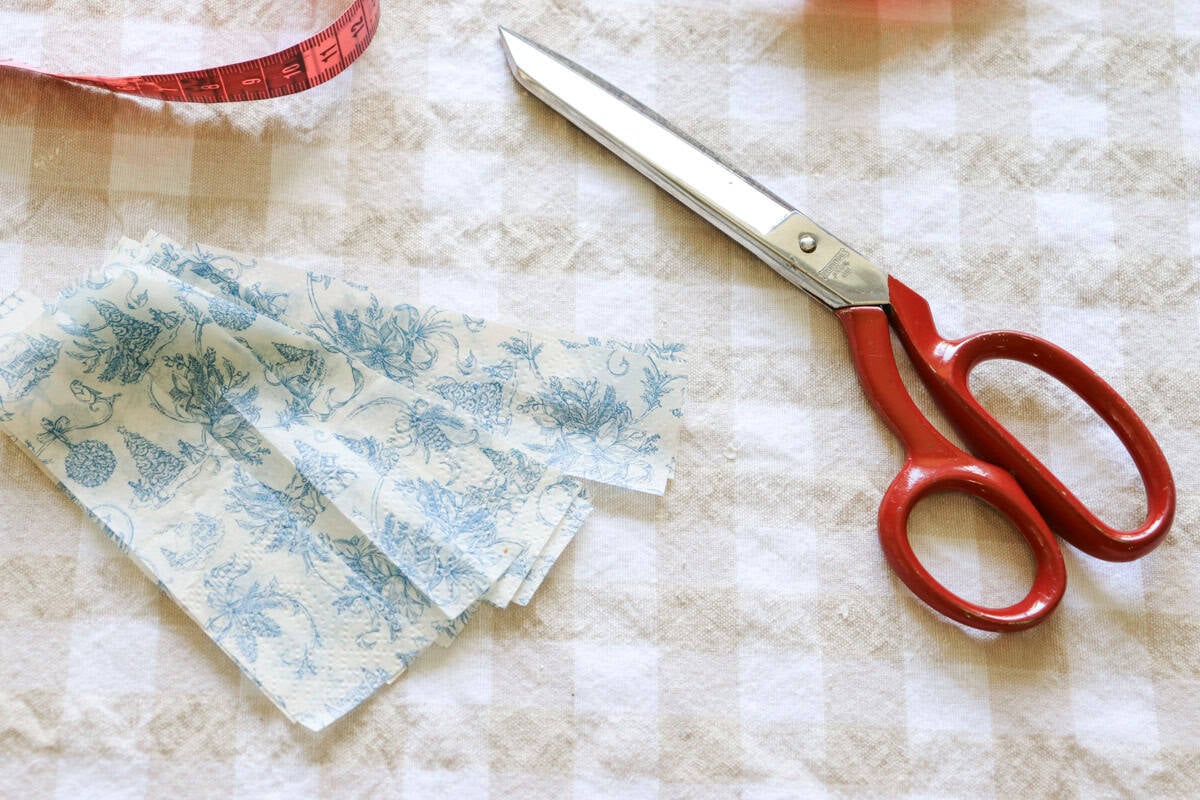
    The strips of napkin are cut and ready to be applied

    Step 3: Separate the top printed layer from your paper napkin. To do this, gently rub a corner of the napkin between your fingers until the layers begin to separate. Dampening your fingers with a little water can help. Once you see an opening, slide a skewer into the gap and carefully lift the printed layer away from the plain layers underneath.

    Step 4: Cut the top layer of the paper napkin into 8 strips using your calculations.
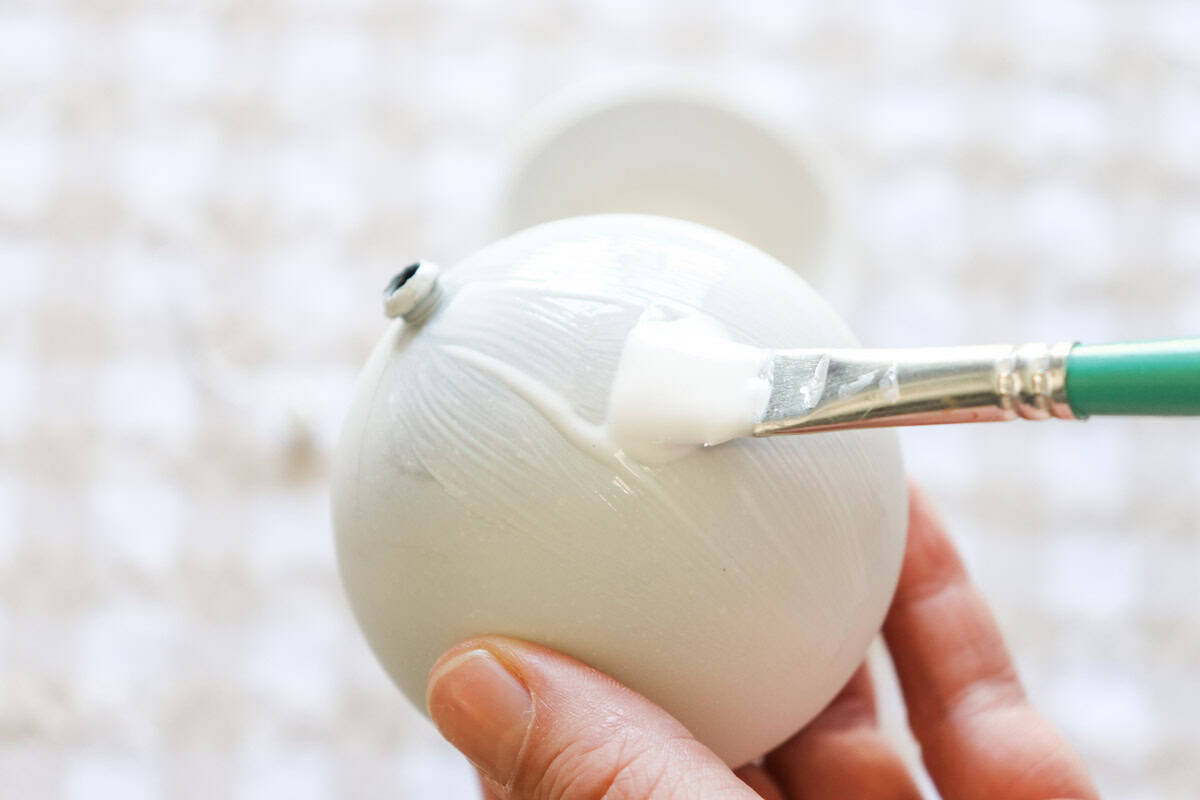
    Applying Mod Podge glue to the bauble with a paintbrush
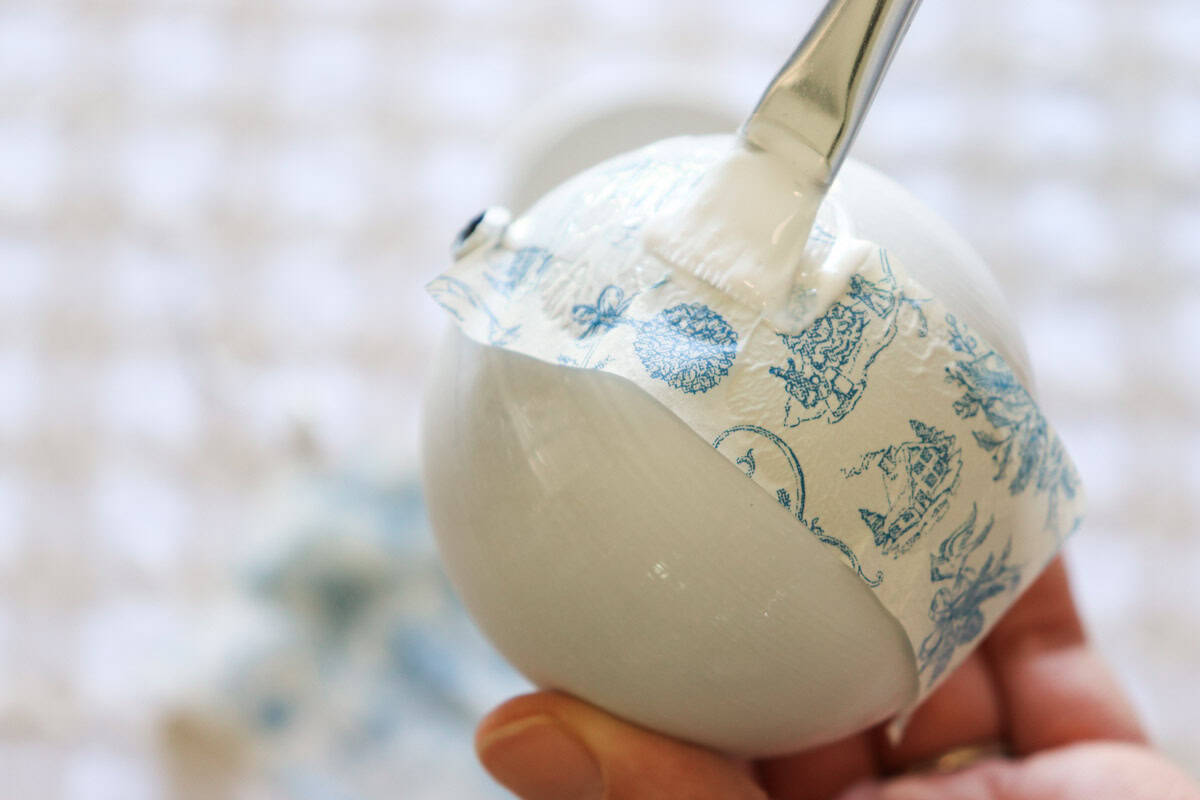
    Glue is applied to the top of the napkin strip on the bauble

    Step 5: Brush a thin layer of Mod Podge onto half of the ornament.

    Step 6: Lay the first strip of napkin over the glue, starting from the top of the bauble and finishing at the bottom. Paint over the strip with Mod Podge, smoothing down the edges as you go.
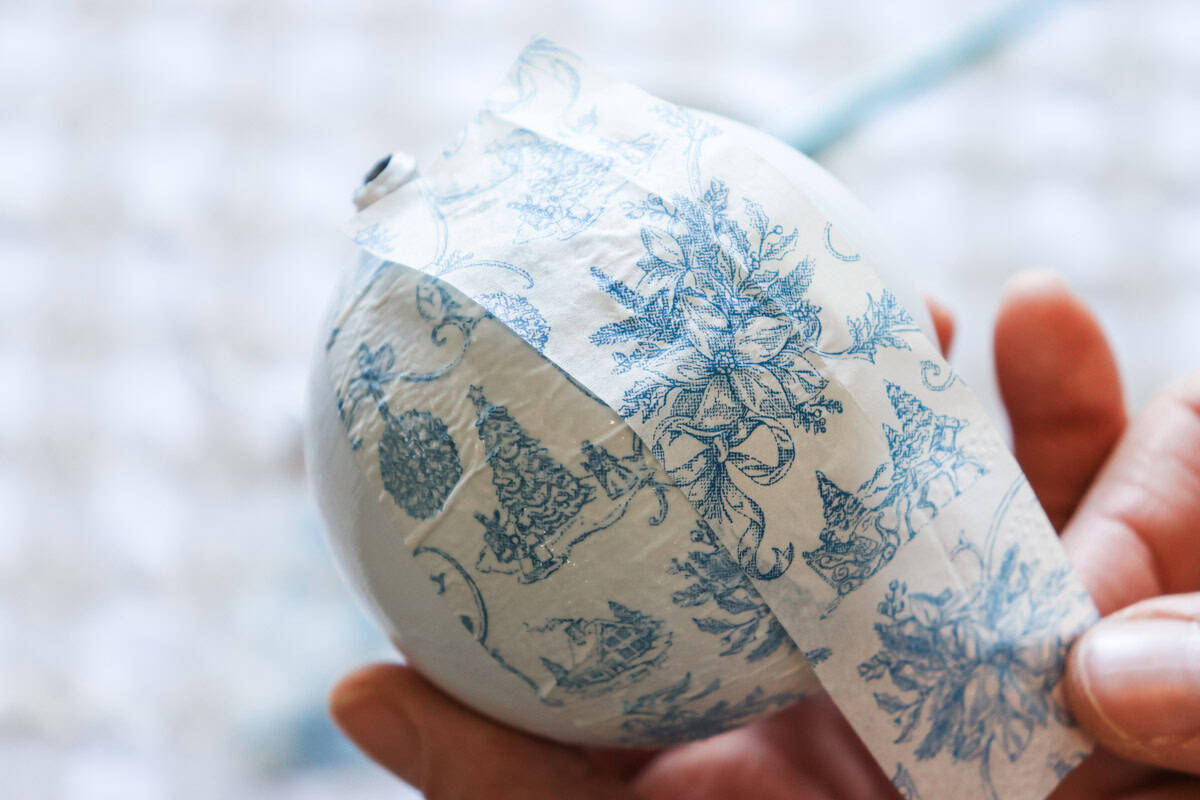
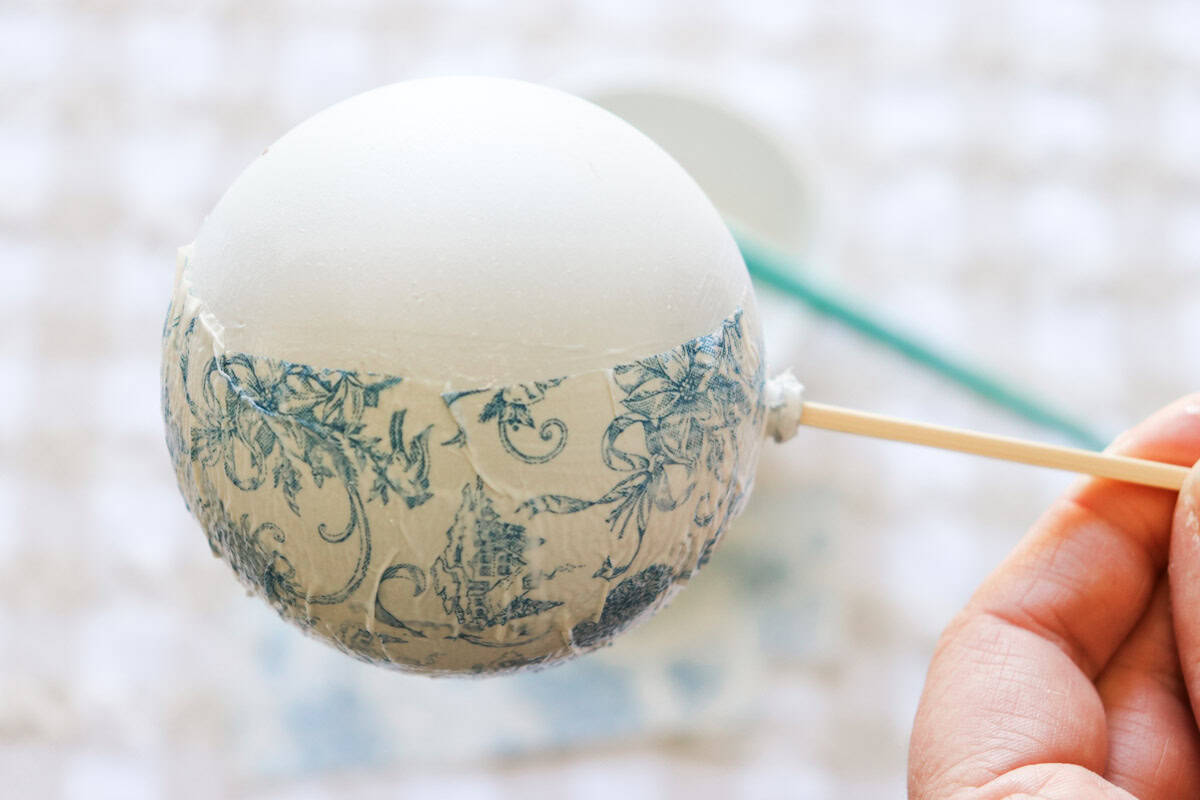
    The strips of paper napkin are added to the ornament with glue
    A skewer is inserted into the bauble

    Step 7: Place the second strip next to the first, overlapping the edges by about half a centimetre (at the circumference) so none of the bauble underneath is showing. Continue glueing and applying two more strips until the first half of the ornament is covered.

    Step 8: Insert the skewer into the ornament (use some Blu Tack or left over napkin to wedge it into the opening to stop it wobbling around too much). This will help you apply the rest of the strips without getting too much glue on your hands.
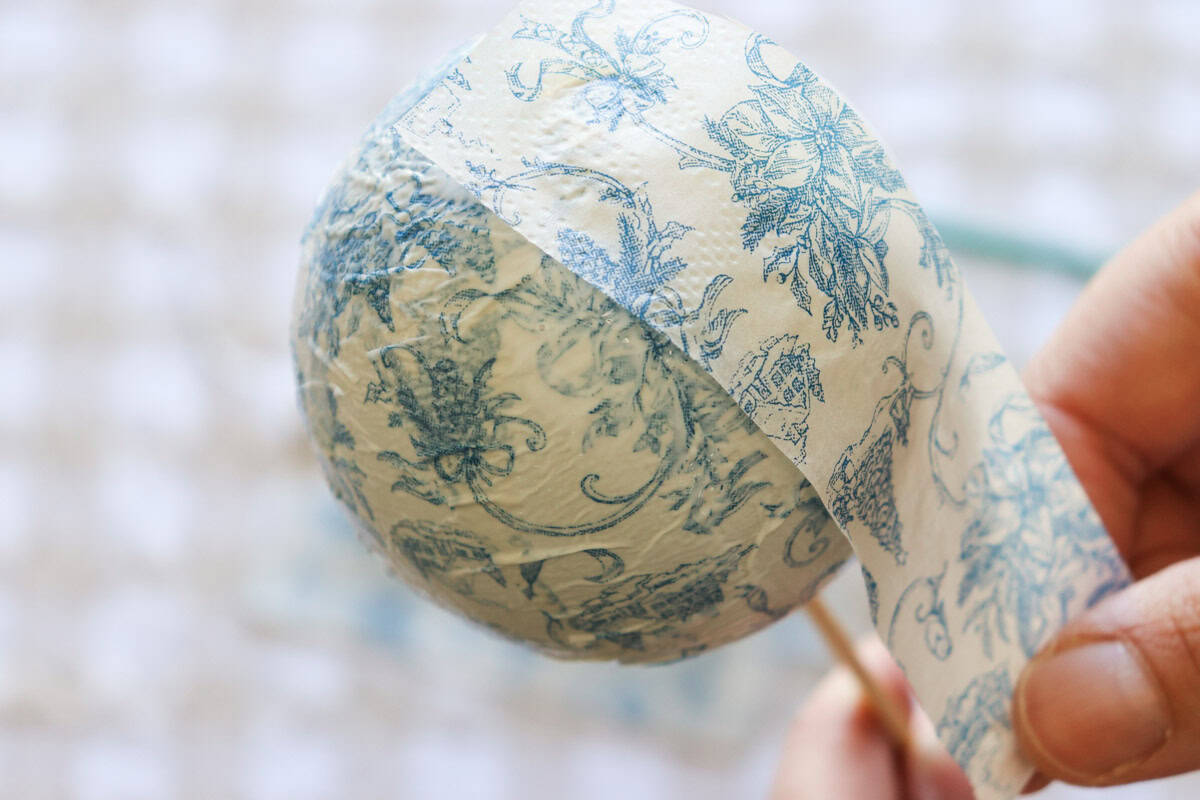
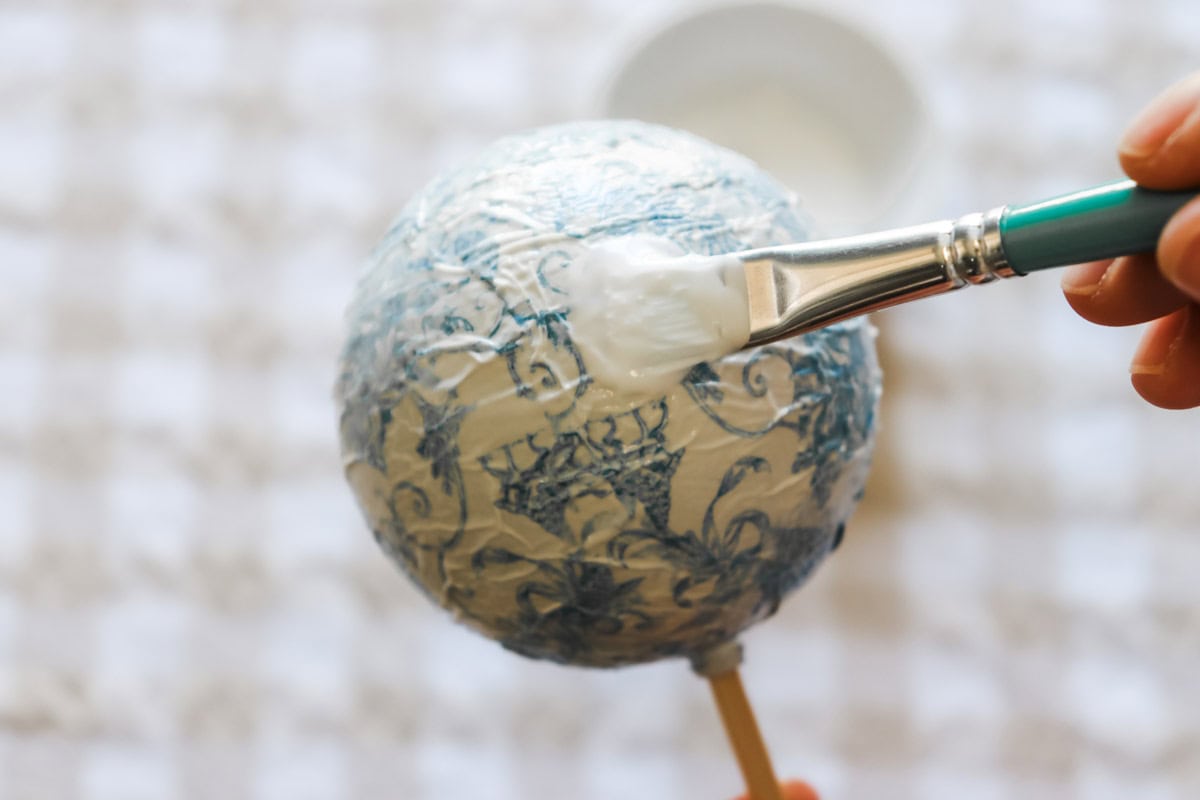
    A skewer holds the bauble as the final strips of paper napkin are added to the ornament
    A final layer of glue is applied over the top of the decoupage bauble to seal it

    Step 9: Apply Mod Podge to the other half of the bauble and continue adding the remaining four napkin strips until the bauble is fully covered.

    Step 10: Gently apply a final layer of Mod Podge on top of the napkin strips, smoothing down any wrinkles as you go.
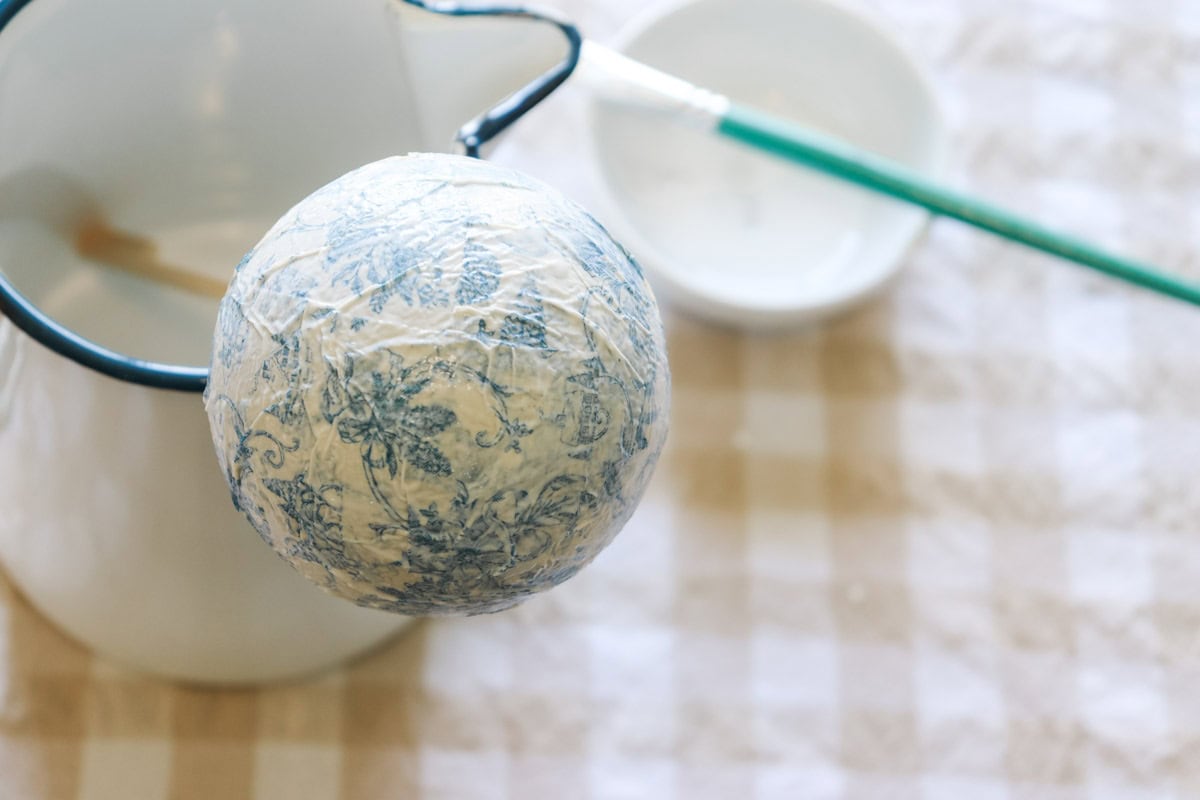
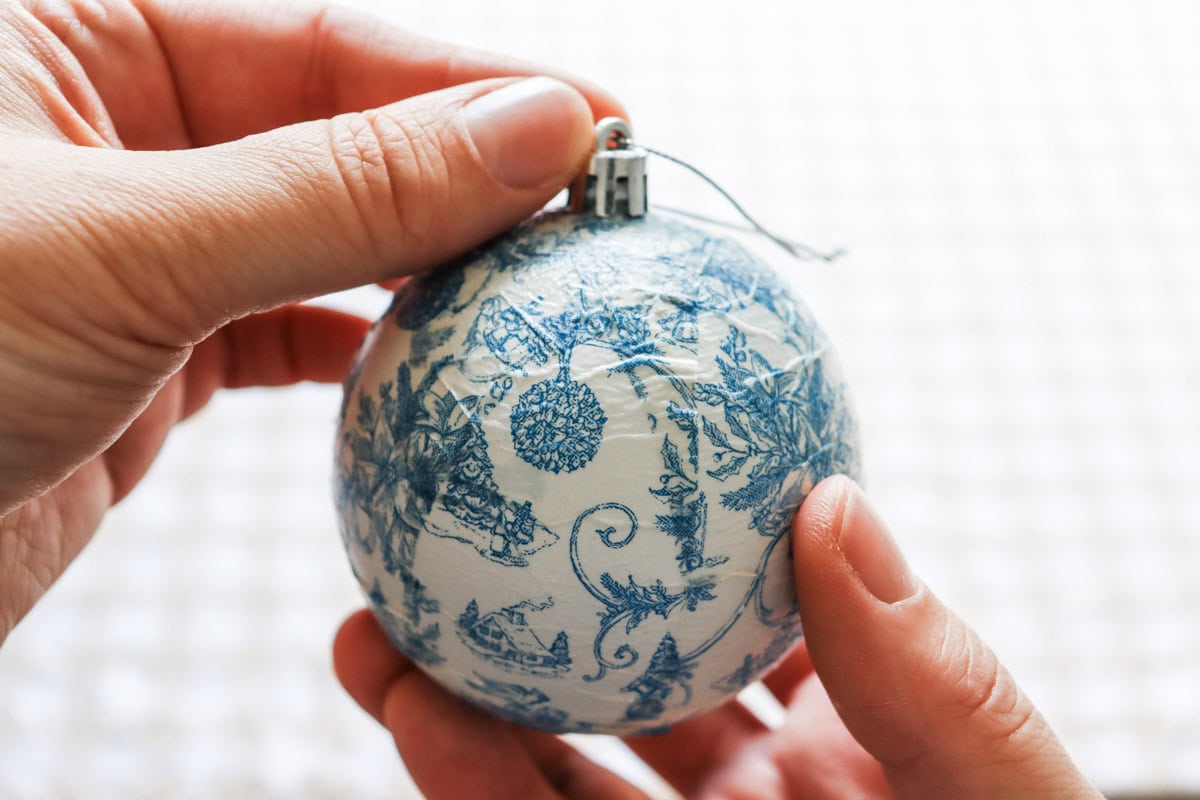
    The bauble is fully covered and drying on the skewer
    The bauble hanger is replaced

    Step 11: Leave the bauble on the skewer and place it in a container to dry.

    Step 12: Once dry, re-attach the bauble hanger.

    Tips

    • Check if the napkins are two or three-ply and separate the napkin layers carefully to ensure you're only using the top printed layer of the napkin. The thinner the paper the better the result will be.
    • Apply glue in thin, even layers to avoid wetting the napkin too much.
    • Work in small sections rather than covering the whole ornament at once.
    • Use a soft brush and gentle strokes to prevent the napkins from tearing.
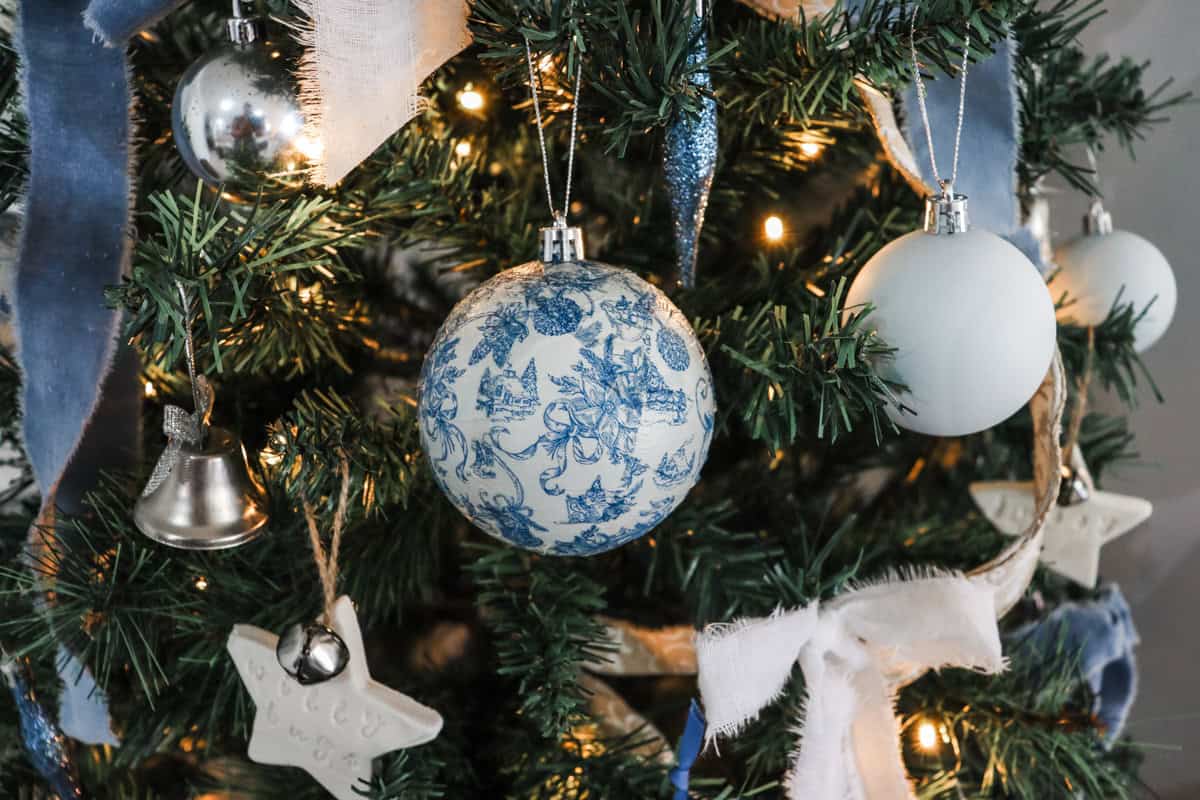
    A decoupage Christmas ornament hangs on the Christmas tree surrounded by fairy lights and other ornaments in blue and white

    If you try this project and love it, please leave a comment below. Your support means so much and helps me share my tutorials for free. Tag me on Instagram @pineapple.farmhouse, I'd love to see what you make!

    Frequently Asked Questions

    Can I use paper napkins for decoupage?

    Yes. Paper napkins are great to use for decoupage because the top layer is very thin and easier to apply in strips to a rounded surface like a Christmas bauble.

    Can you decoupage Christmas ornaments?

    Yes Christmas ornaments can be decorated with decoupage. For best results follow this tutorial and use white Christmas bauble ornaments or spray paint coloured baubles white before covering them.

    How to separate paper napkins for decoupage?

    Gently rub a corner of the napkin between your fingers until the layers begin to separate. Dampening your fingers with a little water can help. Once you see an opening, slide a skewer into the gap and carefully lift the printed layer away from the plain layers underneath. Check the packaging to see if the napkins are two or three-ply to ensure you separate each layer individually.

    Can regular paper be used for decoupage?

    Yes, regular paper can be used for decoupage, however paper napkins are usually thinner and better suited for applying in strips to rounded Christmas ornaments.

    Can you use napkins for modge podge?

    Yes, paper napkins can be used with Mod Podge for decoupage decoration. Simply follow the steps in this tutorial to see how.
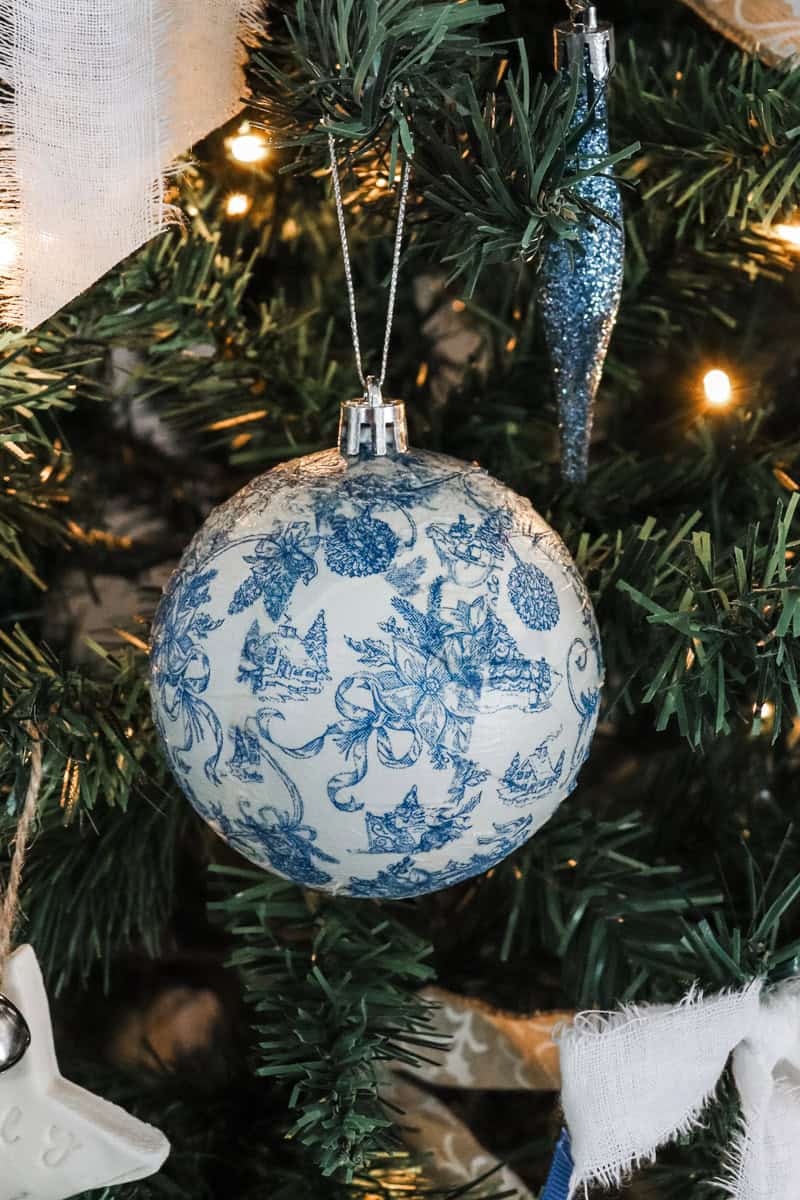
    A decoupage Christmas ornament hangs on the Christmas tree surrounded by fairy lights and other ornaments in blue and white

    Related

    • air dry clay Christmas tree ornaments on a wooden tray
      DIY air dry clay Christmas tree ornaments
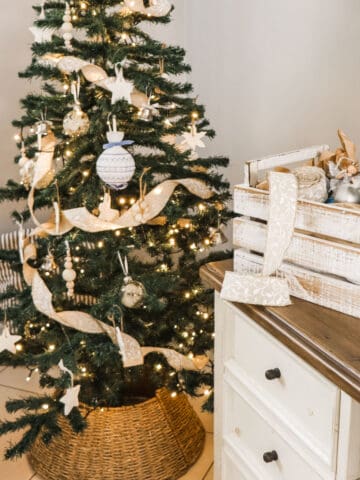
    • Christmas tree decorated with thrifty handmade ornaments in a cottage style next to a box of ribbon and ornaments
      Thrifty cottage Christmas decorating ideas
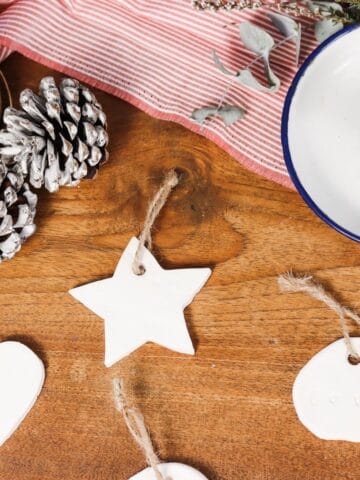
    • Image of ornaments laid out on a wooden table with a red and white striped table cloth next to two pine cones twine and a candle
      How to make baking soda Christmas ornament dough
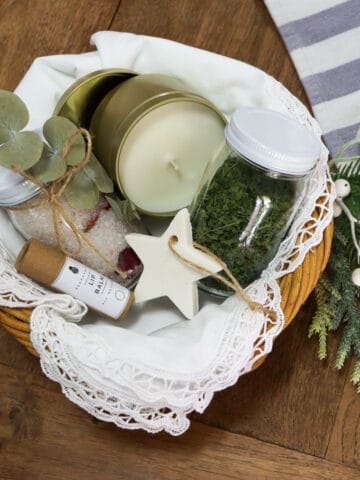
    • Christmas gift hamper basket with lip balm, bath salts, handmade baking soda ornament, dried herbs and a soy wax candle
      5 Homemade Christmas Gift Hamper Ideas
    Image of Emily in the kitchen mixing a jar of sourdough starter

    Hi, I'm Emily!

    I'm a mum of two who is passionate about making real food from scratch, homesteading and creating a cosy handmade home. Here on my blog you'll find recipes, DIY projects and inspiration for simple living.
    Find out more about me

    More Handmade home

    • open shelves in a kitchen with a kitchen cabinet in the middle
      DIY open shelving: Converting kitchen cabinets to shelves
    • Image of a group of empty glass jars, an enamel colander filled with blue and white folded tea towels, a white and blue enamel plate, two wooden serving boards arranged on a shelf
      What to put on open kitchen shelves
    • Close up image of a glass soy wax container candle which is lit, sitting on a cotton and lace doily, next to eucalyptus leaves with candle making supplies in the background
      How to make soy wax candles with essential oils
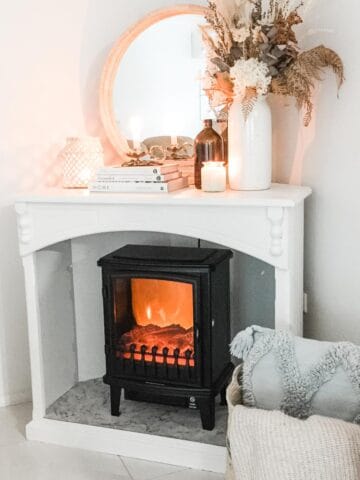
    • Image of a black faux fireplace hater in a white cabinet next to a basket with a cushion and throw rug and decorated with a round mirror, books, lantern candle and vase with dried florals
      DIY Fake Corner Fireplace: cozy, quick and easy

    Comments

    No Comments

    Leave a Reply Cancel reply

    Your email address will not be published. Required fields are marked *

    Recipe Rating


    Image of Emily in the kitchen mixing a jar of sourdough starter

    Hi, I'm Emily. I’m a mum of 2 who is passionate about making real food from scratch, homesteading and creating a cozy handmade home. Here on my blog you’ll find recipes, DIY projects and inspiration for simple living.
    More about Emily →

    Trending

    • Jars of tomato relish next to raw tomatoes and a dish of tomato relish
      Tomato relish recipe for canning
    • Lamb cutlets served on a plate with fresh oregano
      Air Fryer Lamb Cutlets
    • Instant pot air fryer
      How to use an instant pot air fryer
    • Crumbed lamb cutlets served in a bowl with a small bowl of sauce
      Air Fryer Crumbed Lamb Cutlets

    Preserving

    • Jars of tomato relish next to raw tomatoes and a dish of tomato relish
      Tomato relish recipe for canning
    • An open jar of mango chutney on a tray surrounded by canned jars of mango chutnet
      Mango chutney canning recipe
    • A drink of easy homemade lime cordial and ice in a glass
      Easy Homemade Lime Juice Cordial
    • Overhead image of an open jar of strawberry jam next to a dish of cream and a tray of scones
      Simple + delicious strawberry jam making recipes

    Footer

    ↑ back to top

    About

    • About
    • Privacy Policy
    • Disclosure

    Subscribe

    Join our simple living community and never miss a post plus get FREE access to our subscriber library!

    Contact

    • Contact
    • Media Enquiries

    As an Amazon Associate, and member of other affiliate programs, I earn from qualifying purchases.

    Copyright © 2025