


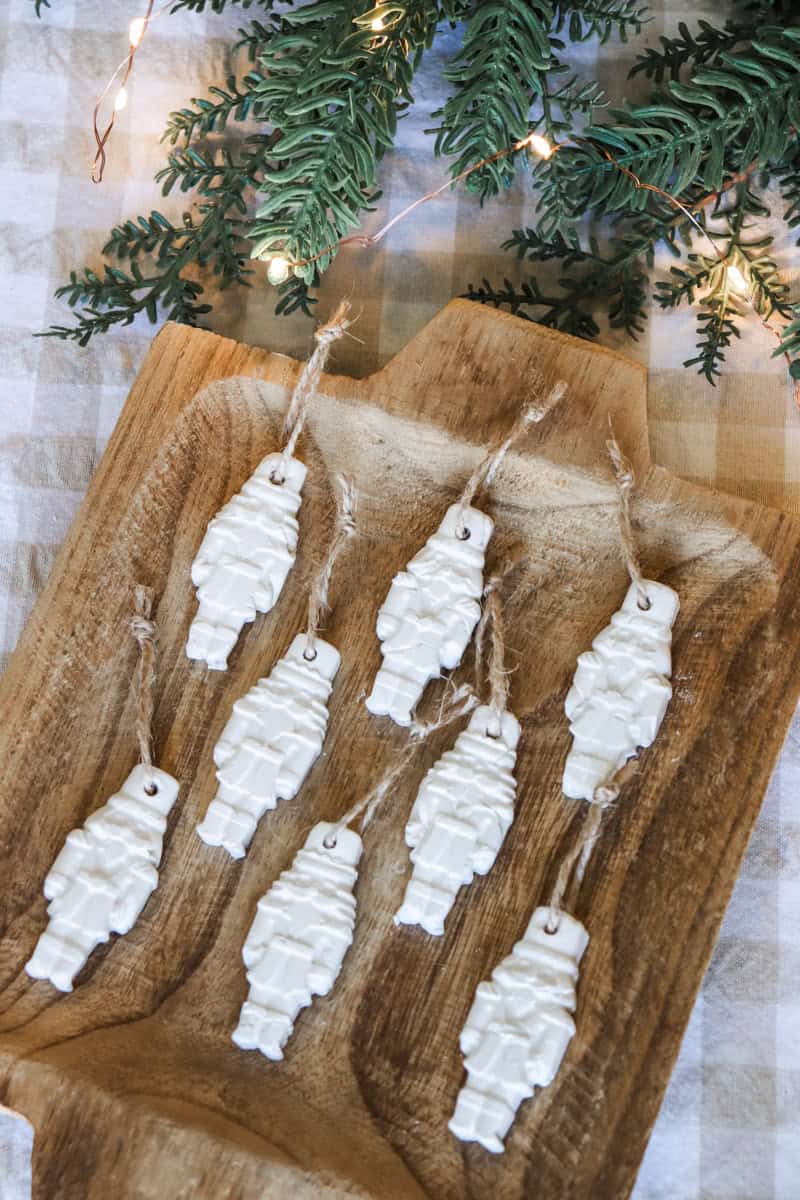
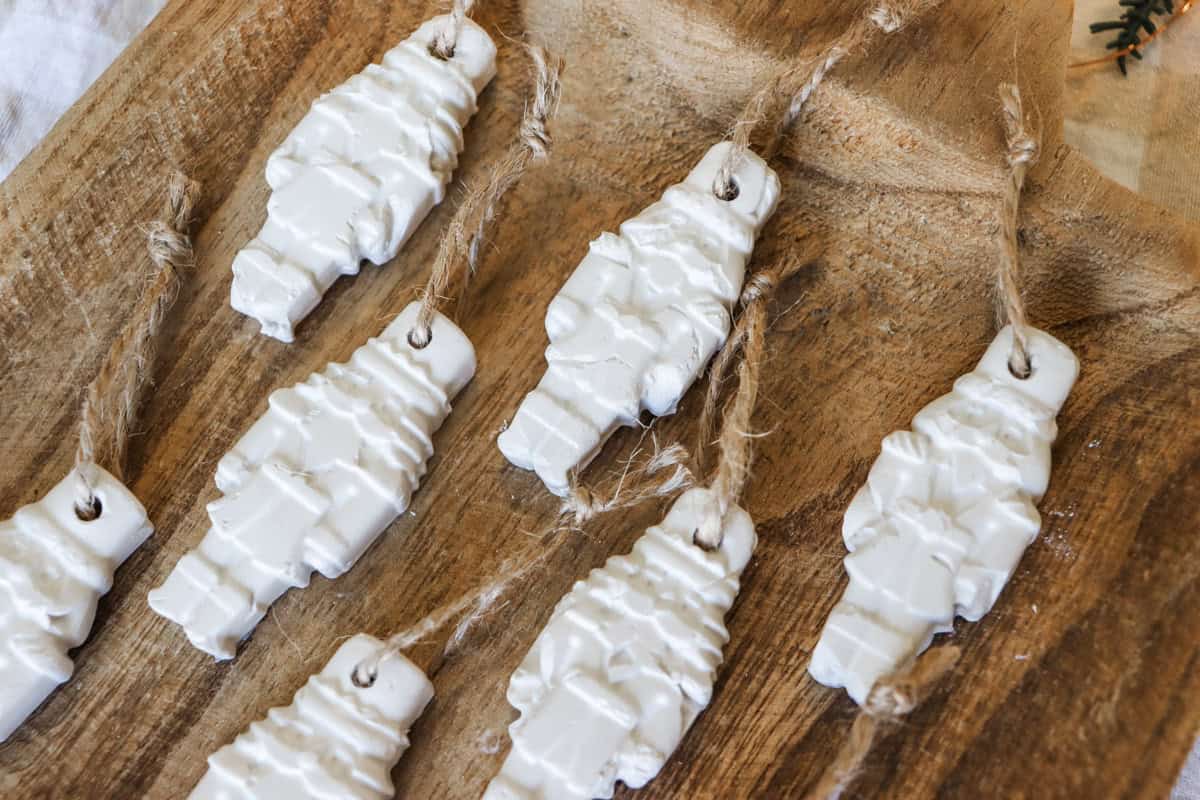
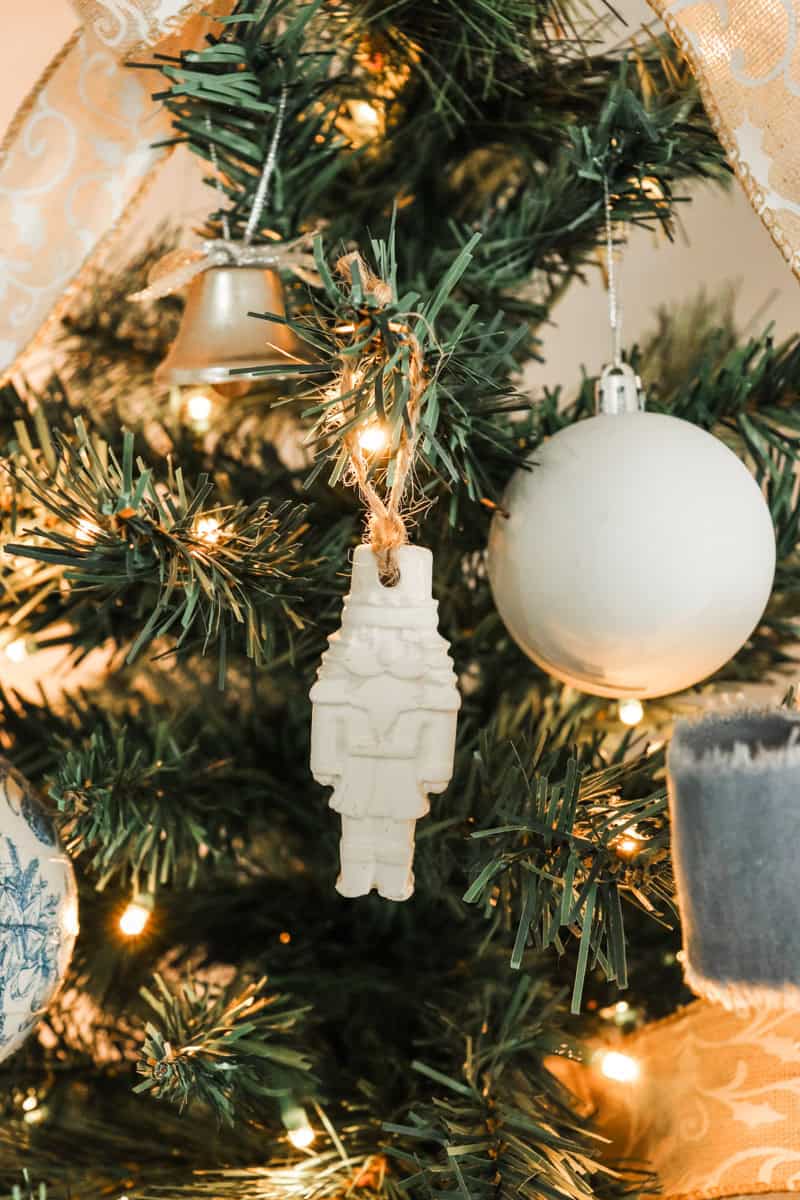
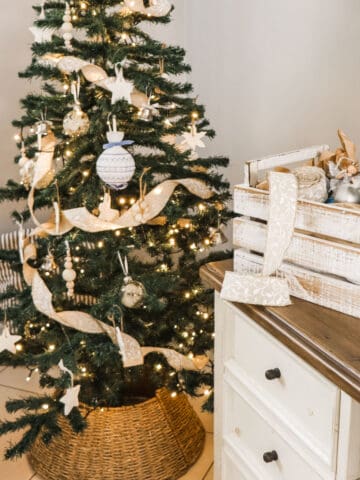
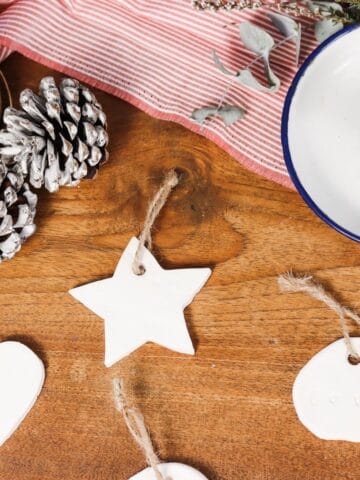
Looking for a simple, creative way to add a handmade touch to your festive decorating? These DIY air dry clay Christmas tree ornaments are fun and easy to make at home. All you need is air dry clay, a silicone mould, and a few basic tools. It's the perfect DIY project for slow afternoons and cosy holiday crafting with the kids or your friends.
Jump to:
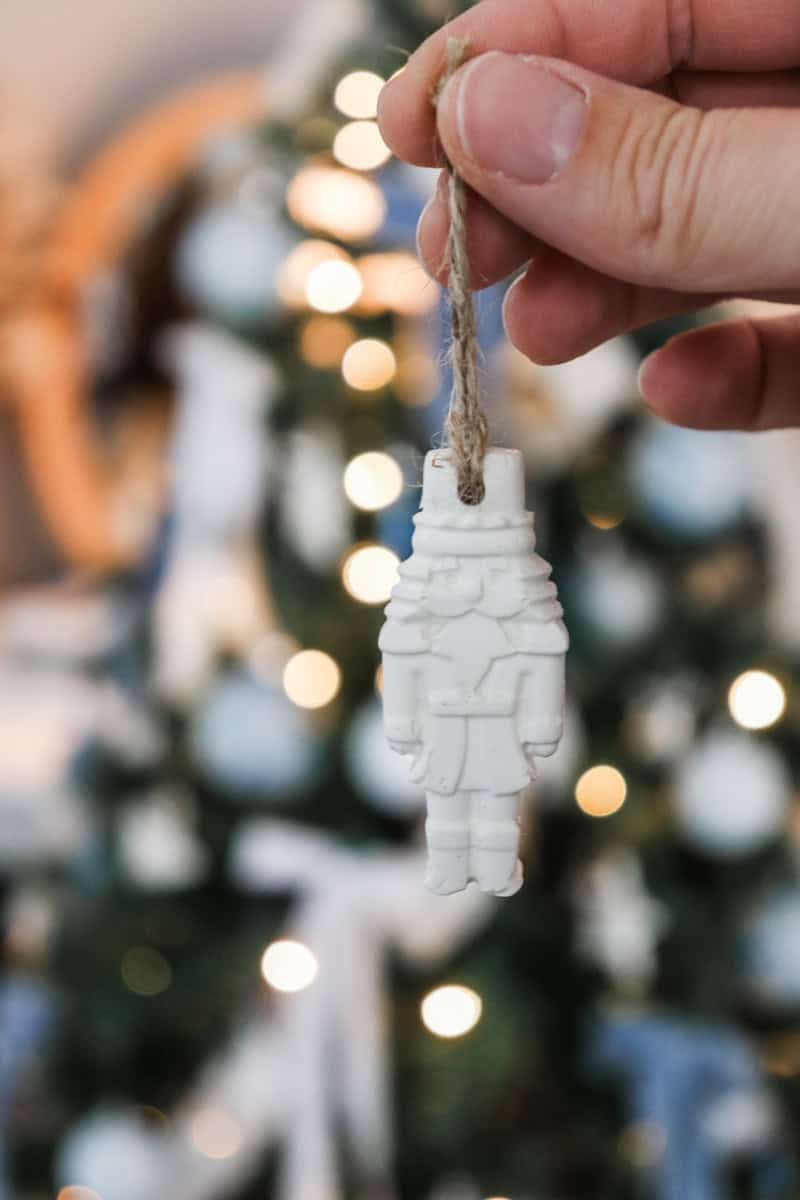
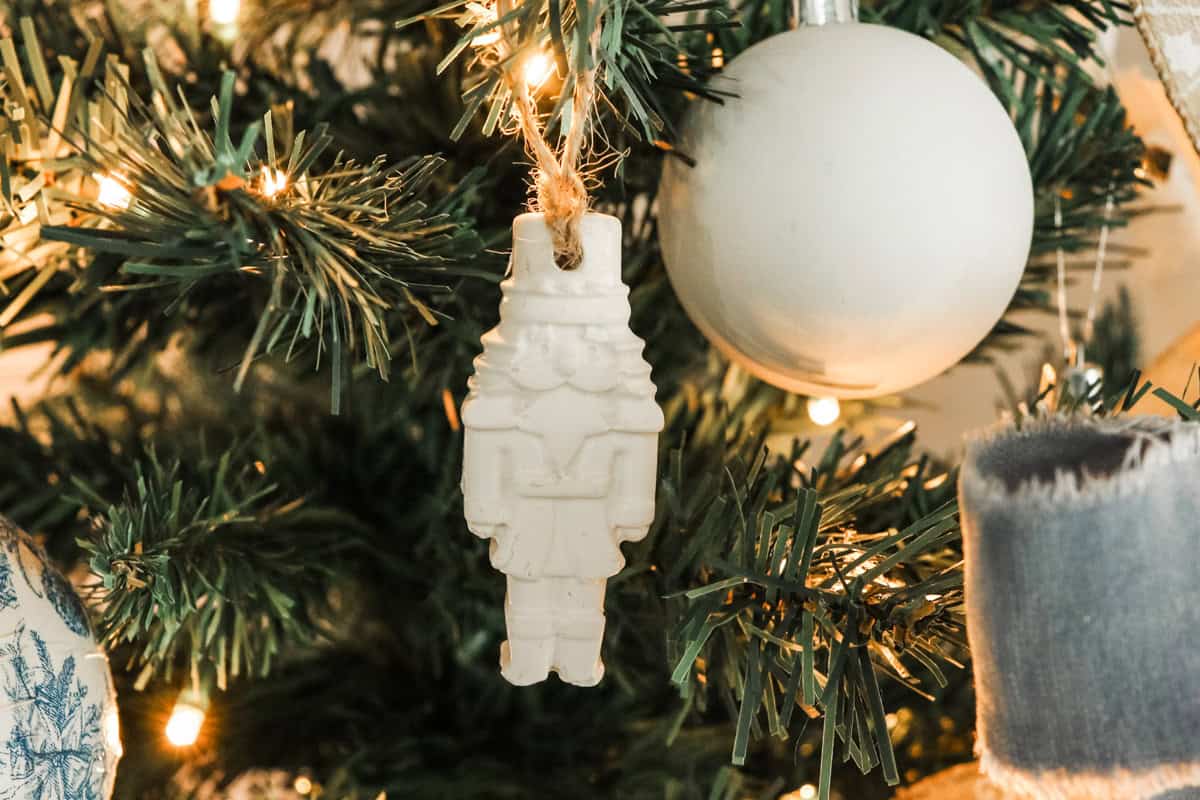
Making DIY air dry clay Christmas tree ornaments is a great way to slow down and create something meaningful during the busy holiday season. Each ornament becomes a small keepsake, imperfect in the best way, adding warmth and personality to your Christmas tree year after year. The real value is in the process itself: taking time to make, create, and build traditions that feel personal and lasting.
Making Christmas tree ornaments with air dry clay is affordable, easy to do, and doesn't require a pottery kiln, making it accessible for beginners and DIYers.
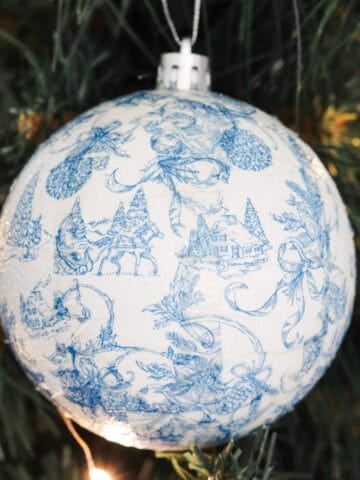
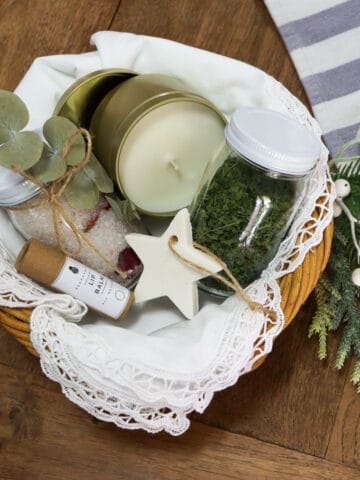
Looking for more handmade Christmas decorations to make? Check out my Baking Soda Christmas Ornaments and DIY Paper Napkin Decoupage Christmas Ornaments.
Why you'll love these air dry clay cHrisTmas ornaments
- Beginner-friendly and forgiving - Air dry clay is soft, easy to reshape, and perfect for learning.
- No special equipment needed - There's no kiln, oven, or professional tools required-just clay, your hands, and a silicone mould.
- Great for all ages - It's a wonderful activity to do with children, friends, or on your own.
- Highly customisable - Leave them natural, or paint them to match your aesthetic.
- Budget-friendly - A single block of clay can make many ornaments, keeping costs low.
- Perfect for gifting - Handmade ornaments make thoughtful, heartfelt gifts that feel far more personal than store-bought decorations.
Materials you will need
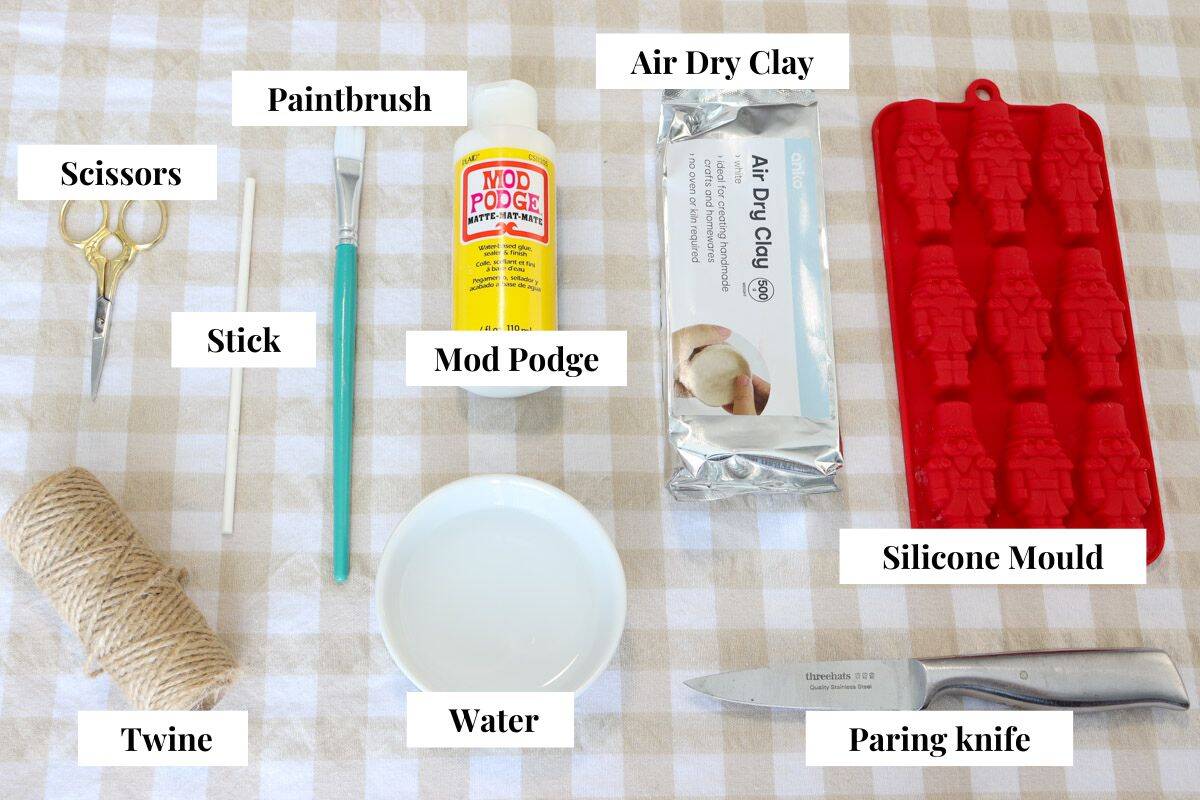
- Silicone mould - You'll need a silicone ice cube mould in a Christmas design. I found a cute nutcracker shaped one at the dollar store.
- Air dry clay - I opted for white air dry clay from Kmart.
- Water - in a small bowl, to soften and smooth the clay.
- Paring knife - to smooth the top of the clay in the mould.
- Stick - to make a hole to hang the ornament. I used a cake pop stick but you could also use a skewer or a thin straw.
- Mod Podge water-based glue and sealer (optional) - I've opted for a matte finish to seal and protect the clay.
- Paintbrush - to apply the sealer.
- Twine - to hang the ornament. You could use any type of string or ribbon.
- Scissors - to cut the twine.
Tip: Use a table cloth or cover to protect your work surface. Have some paper towel near by to dry your hands after working with the clay.
Method
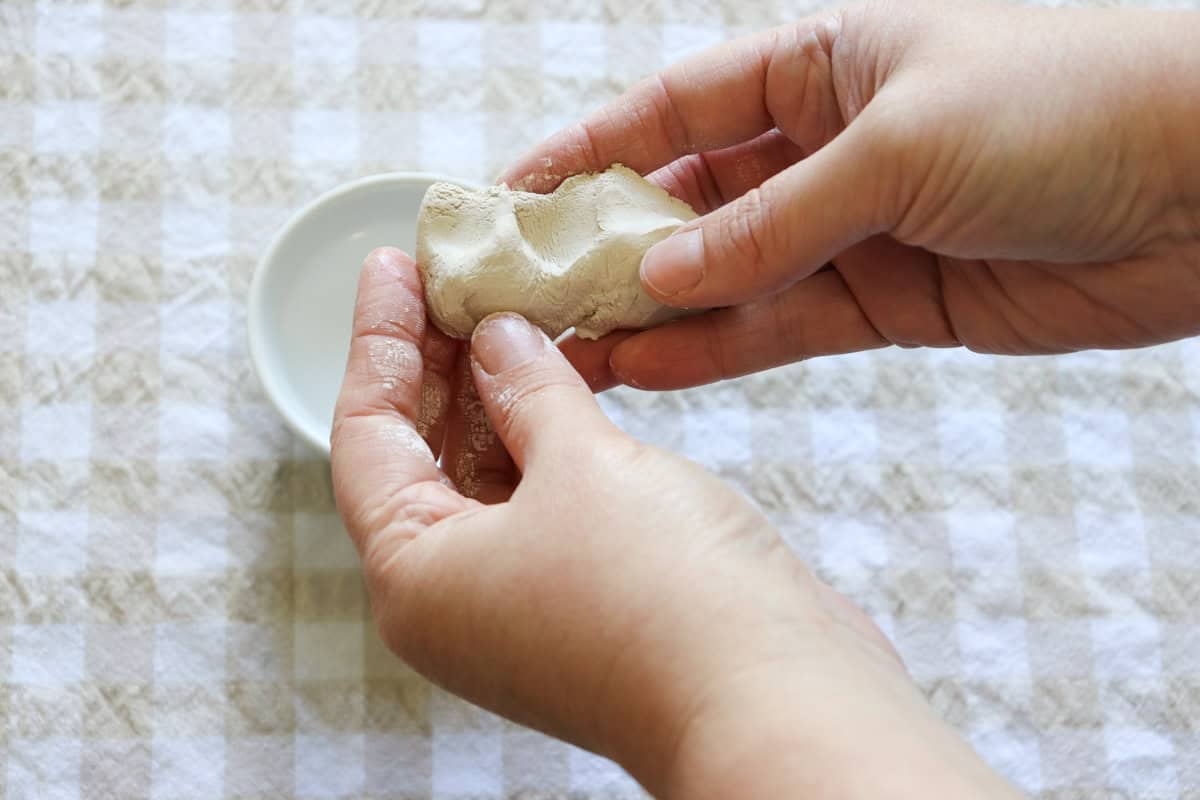
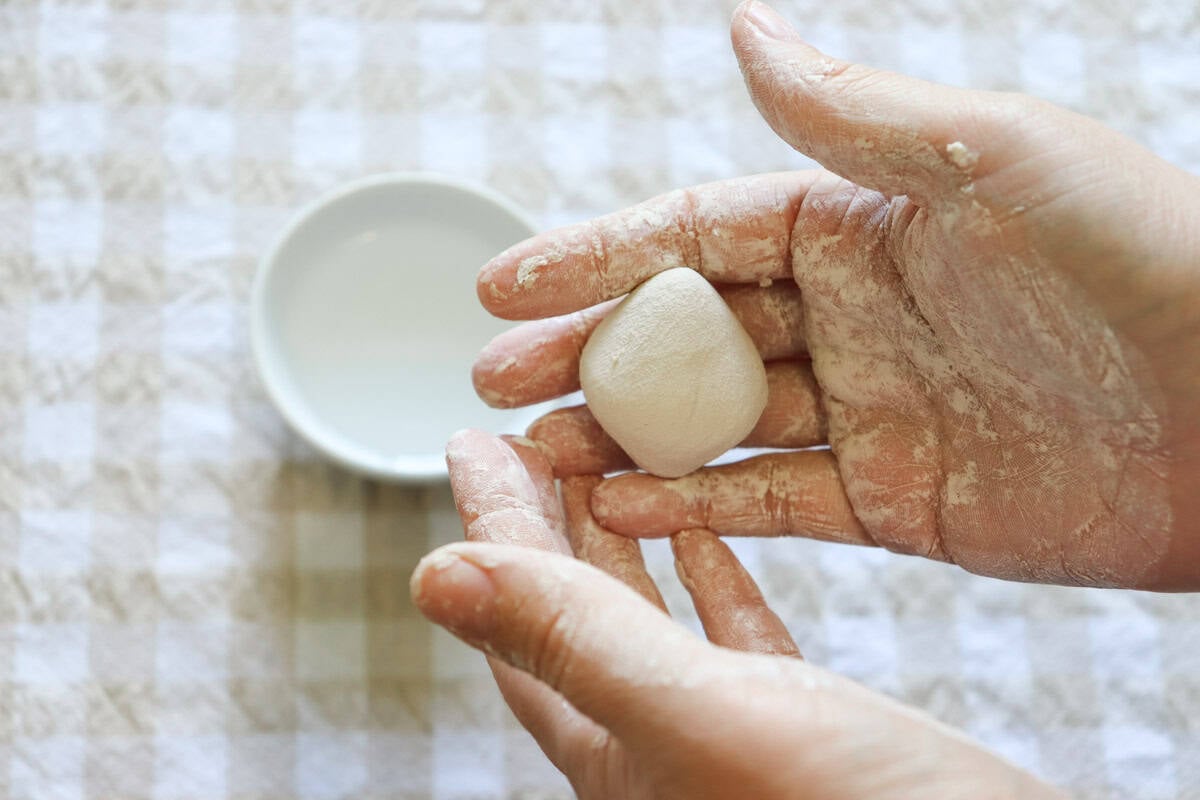
Step 1: Take a small handful of clay in one hand and dip your free hand in the water. Massage a few drops of water into the clay and kneed until it is smooth and pliable.
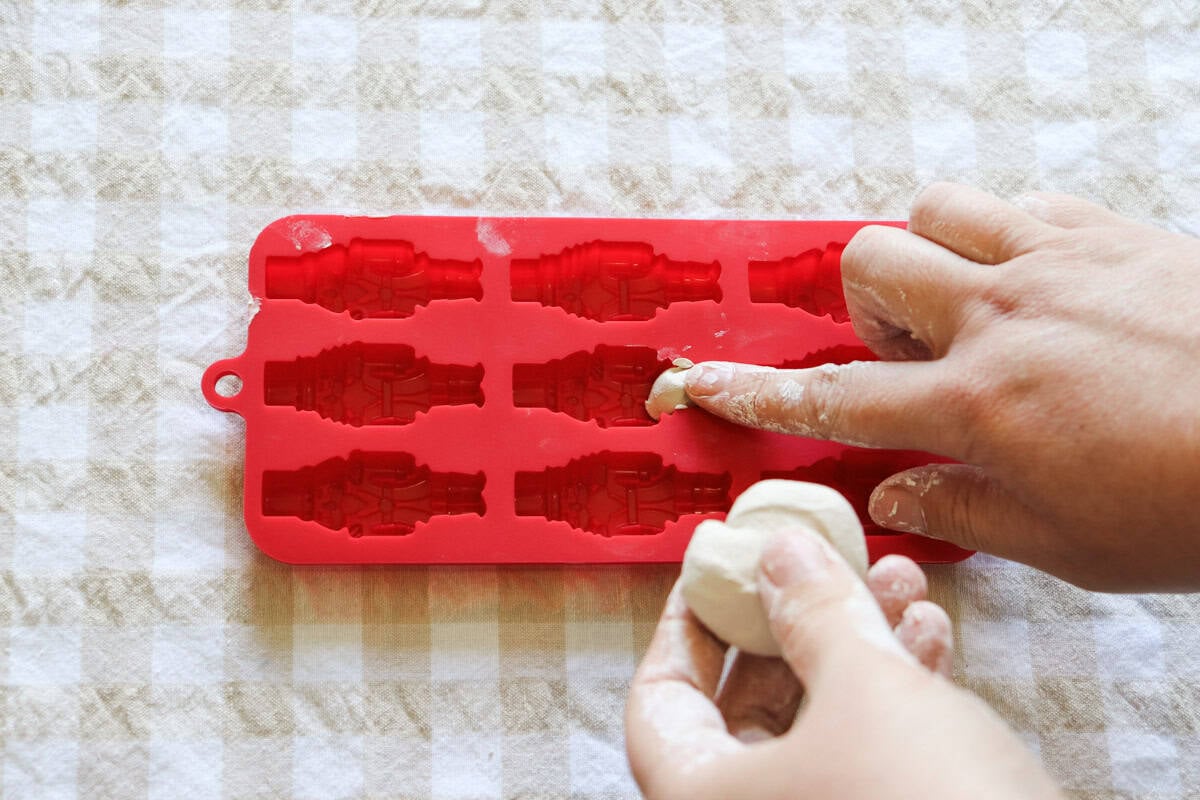
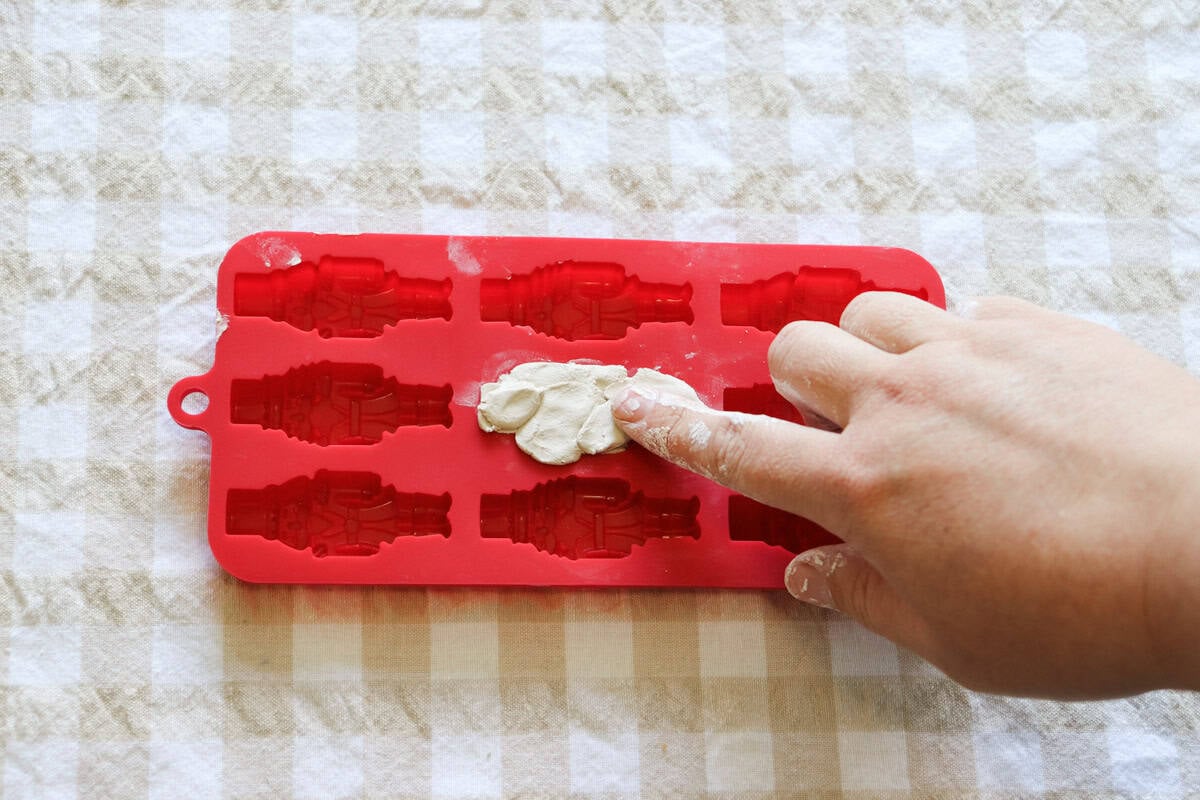
Step 2: Pinch small pieces of clay and press them firmly into the mould.
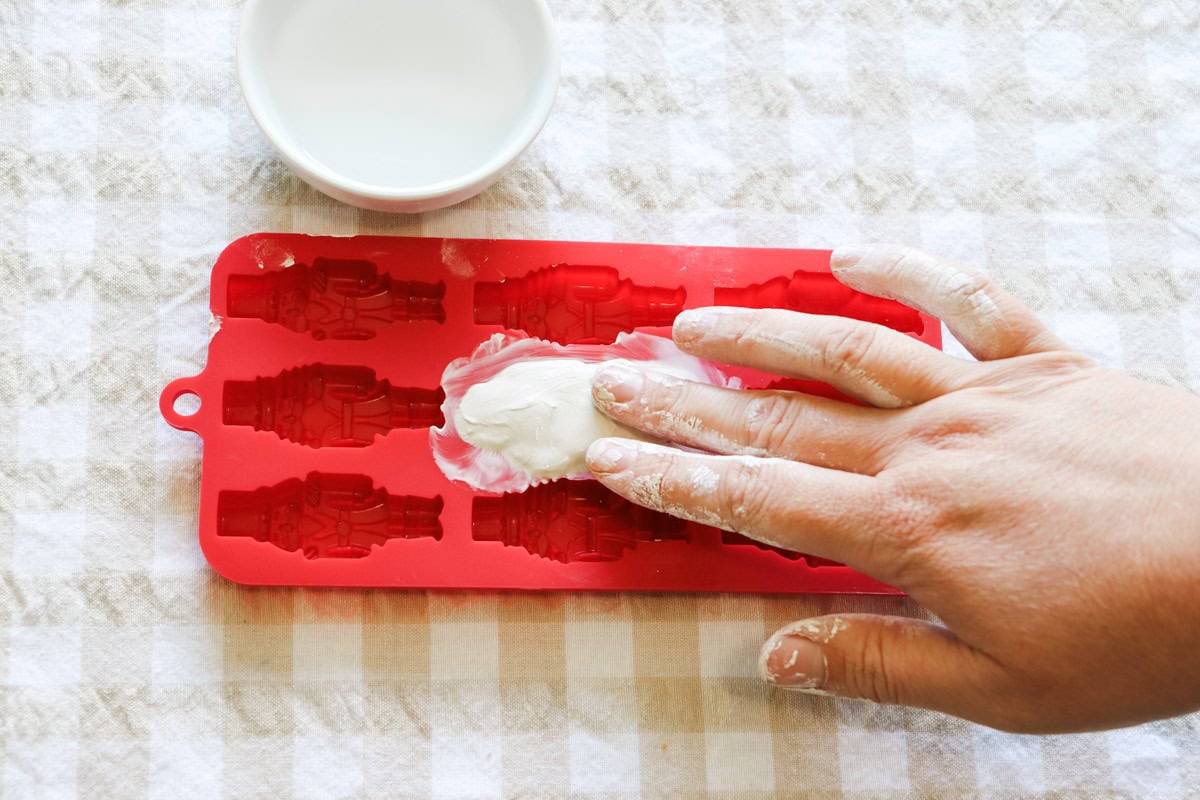
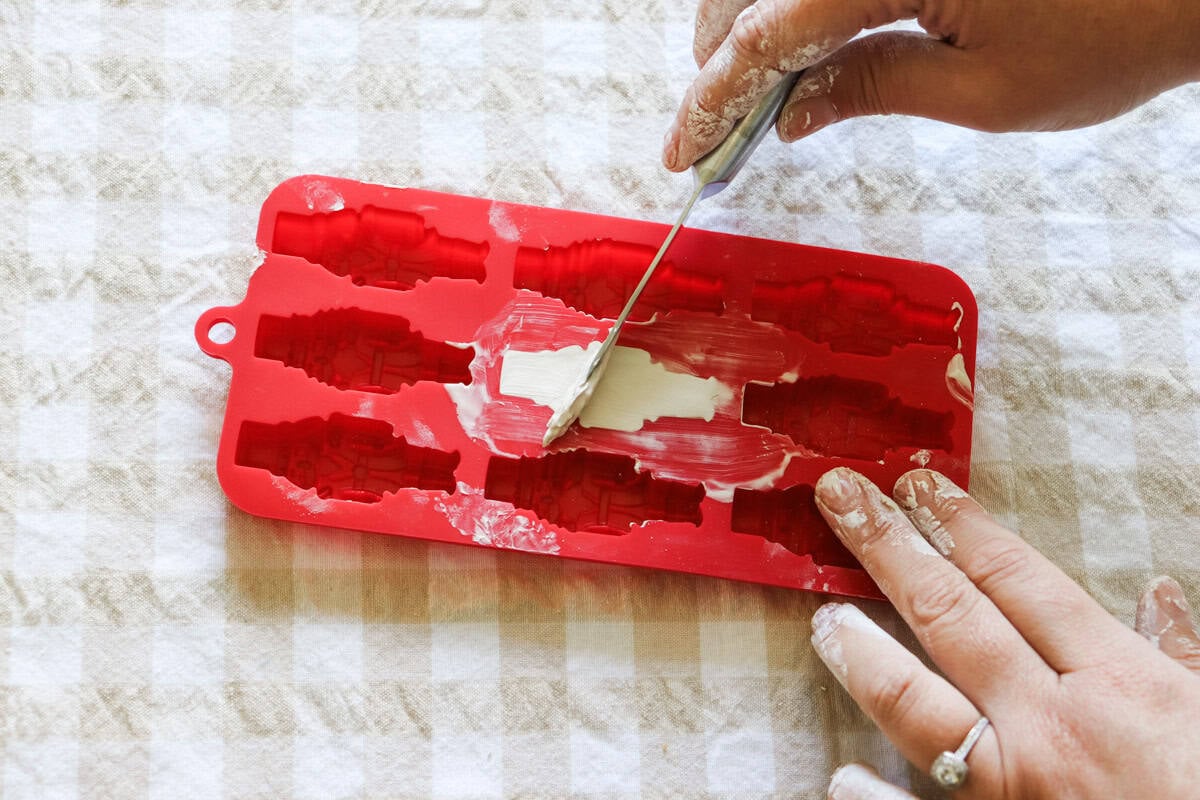
Step 3: Once filled, dip your finger in the water then smooth over the top. Use the knife to scrape the top of the mould to remove excess clay. Repeat this process until all the shapes in the mould are filled.
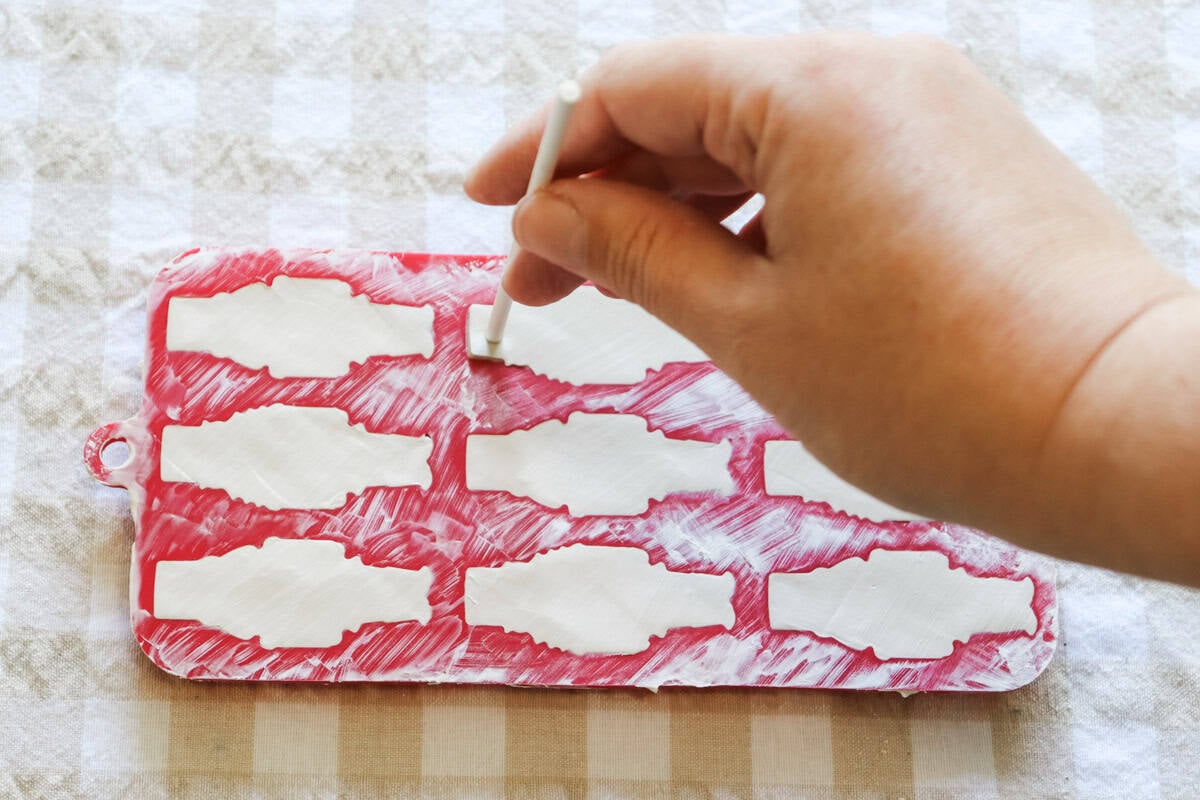
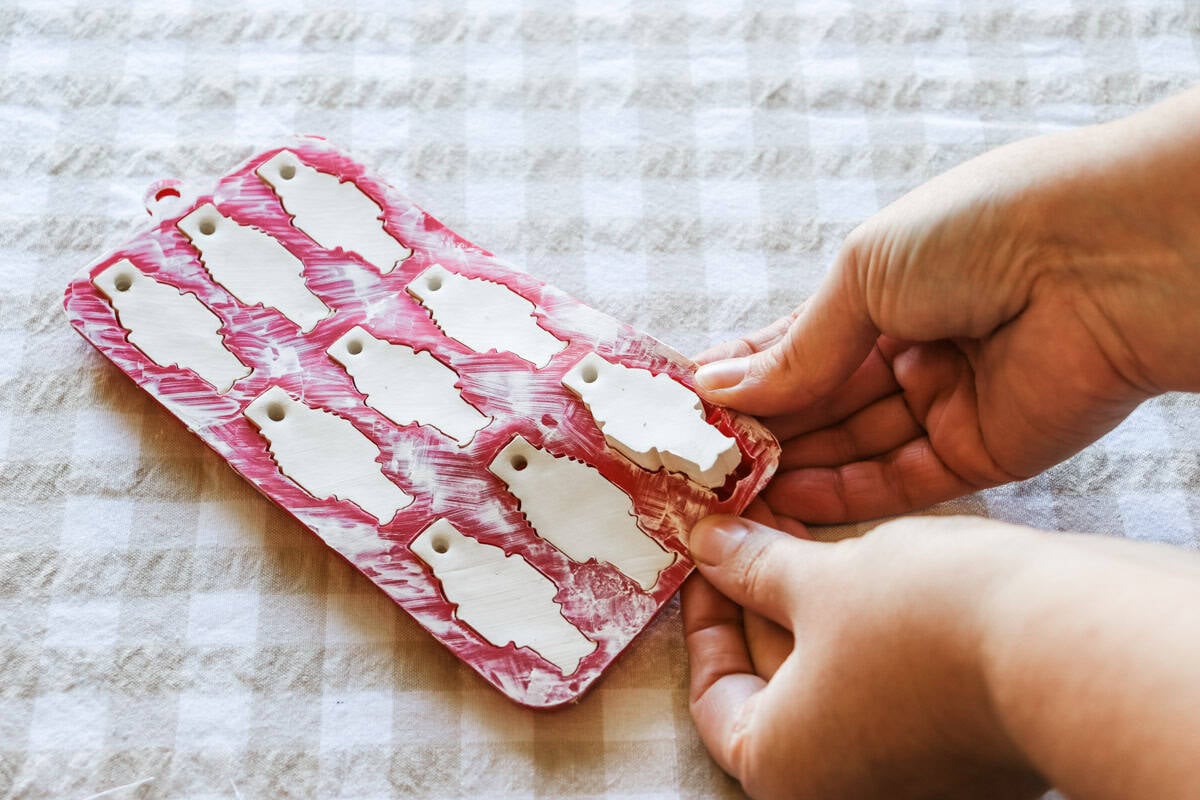
Step 4: Use a stick to make a hole in the top of each ornament for hanging.
Step 5: Allow the ornaments to dry in the mould for 24 hours.
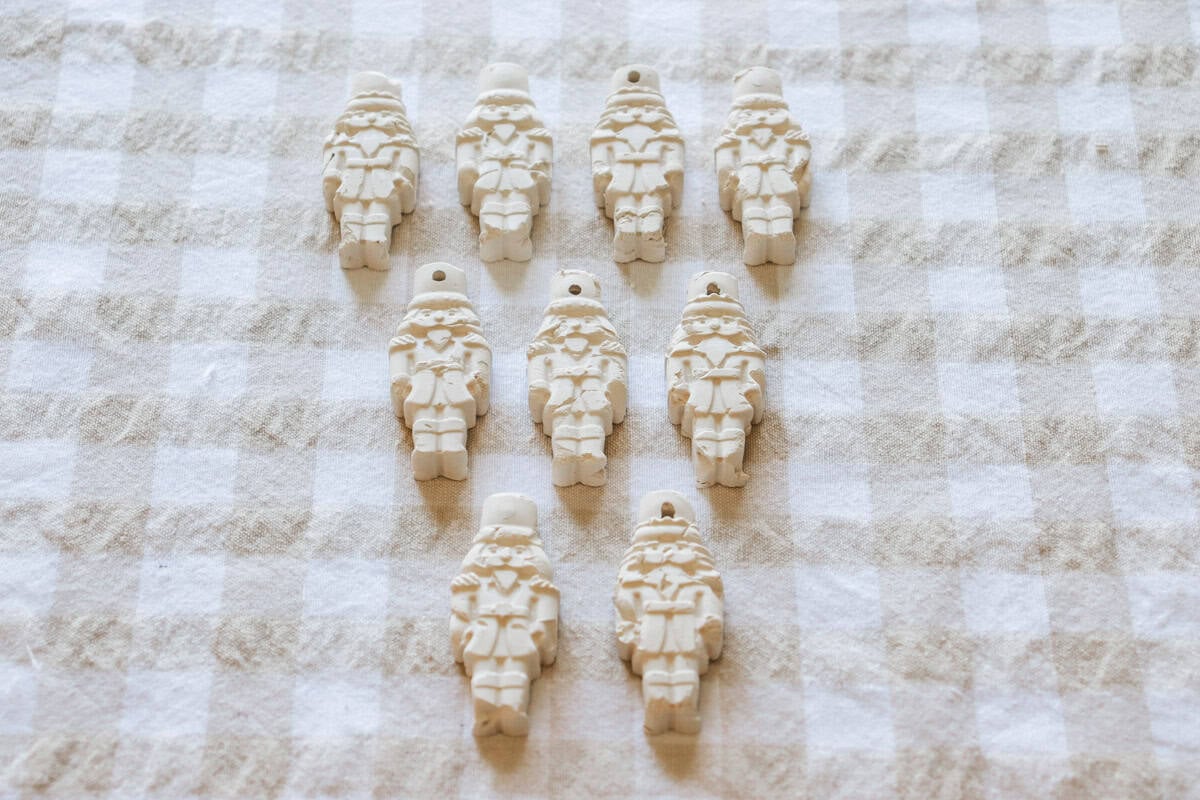
Step 6: Carefully remove the ornaments from the mould and leave them to dry on a flat surface for another 24 hours.
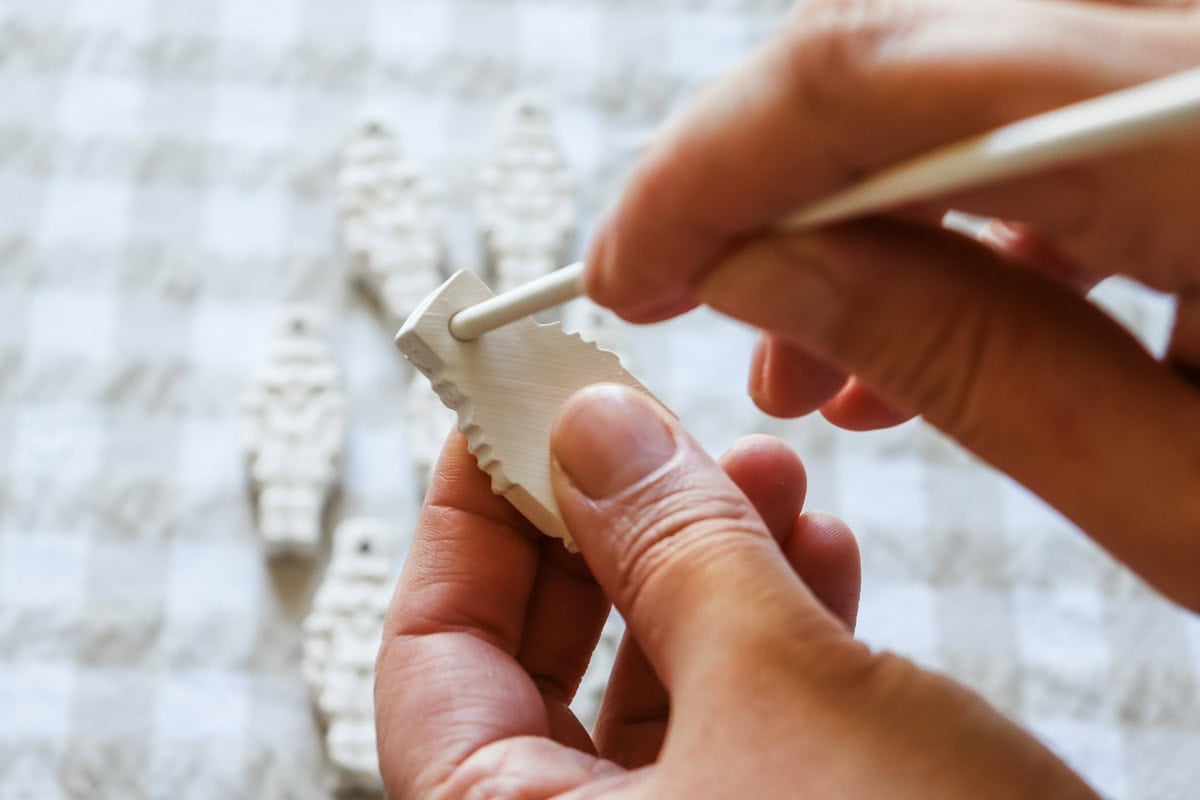
Step 7: Once fully dry, use the stick to gently clear any remaining clay from the hole.
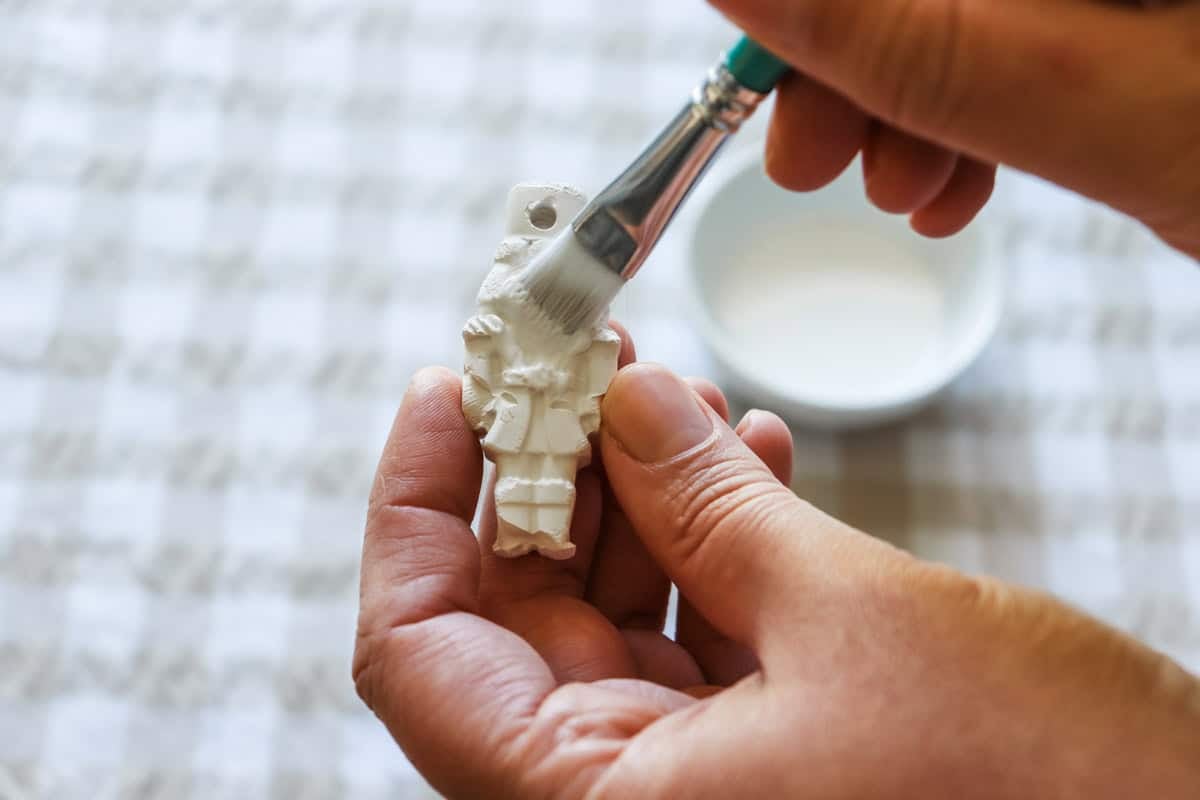
Step 8: Use the paintbrush to lightly coat each ornament with sealer. This step is optional but helps to protect the ornaments.
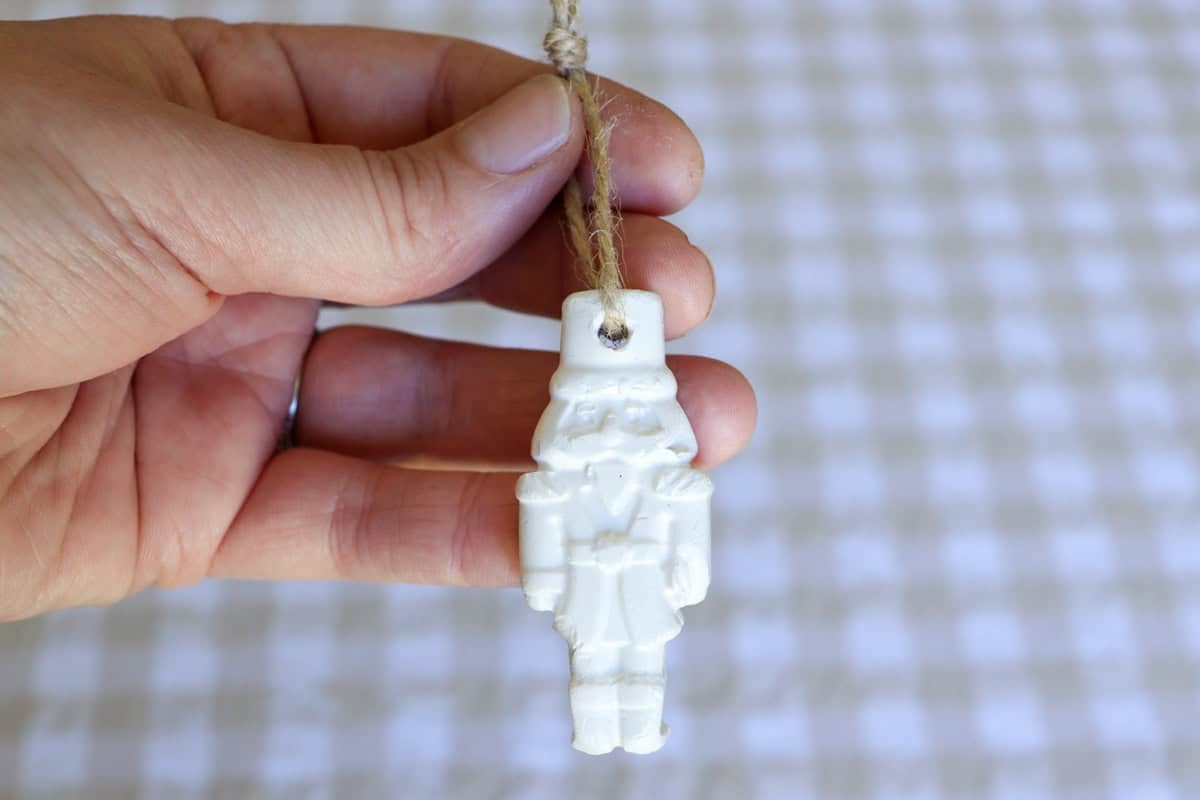
Step 9: Thread twine through the hole and tie a loop to create a hanger.
Tips
- Keep unused clay covered - Air dry clay dries quickly when exposed to air, so wrap what you're not using in plastic or keep it in an airtight container while you work.
- Use water sparingly - Water helps smooth cracks and seams, but too much can weaken the clay. Dip a finger and lightly massage into the clay rather than soaking it.
- Condition the clay first - Knead it briefly to warm it up and make it more pliable before pressing it into mould.
- Press the clay into the moulds firmly to ensure all the air is forced out and the mould is well filled.
- Add hanging holes before drying - Use a stick or skewer to create holes before drying so the clay doesn't crack later.
- Release ornaments gently from the mould and allow them to dry fully on a flat surface.
- Expect minor imperfections - Small cracks or rough edges are normal and add to the charm.
- Seal finished ornaments - A clear sealer helps protect ornaments from moisture and keeps them looking beautiful for years to come.
If you try this project and love it, please leave a comment below. Your support means so much and helps me share my tutorials for free. Tag me on Instagram @pineapple.farmhouse, I'd love to see what you make!
Frequently Asked Questions
Air-dry clay can last many years when it's stored properly.
Before it's used: Unopened air-dry clay can last 1-3 years (sometimes longer) if it's kept airtight, cool, and away from heat. Once opened, wrap it tightly in plastic and store it in an airtight container to prevent drying out. After it's made into ornaments: Finished air-dry clay pieces can last for decades when fully dried and protected from moisture and humidity. It will last longer when sealed with varnish, Mod Podge, or acrylic sealer.
A 500 gram block of air dry clay costs about $3.50 (AUD) at Kmart.
Related
Hi, I'm Emily!
I'm a mum of 2 who is passionate about making real food from scratch, homesteading and creating a cosy handmade home. Here on my blog you'll find recipes, DIY projects and inspiration for simple living.
Comments
No Comments